All the flowers are blooming and the sun is shining outside in sunny San Diego today and I cannot seem to stop wearing winter colors. Time to put a spring in my step and make something bright and summery!
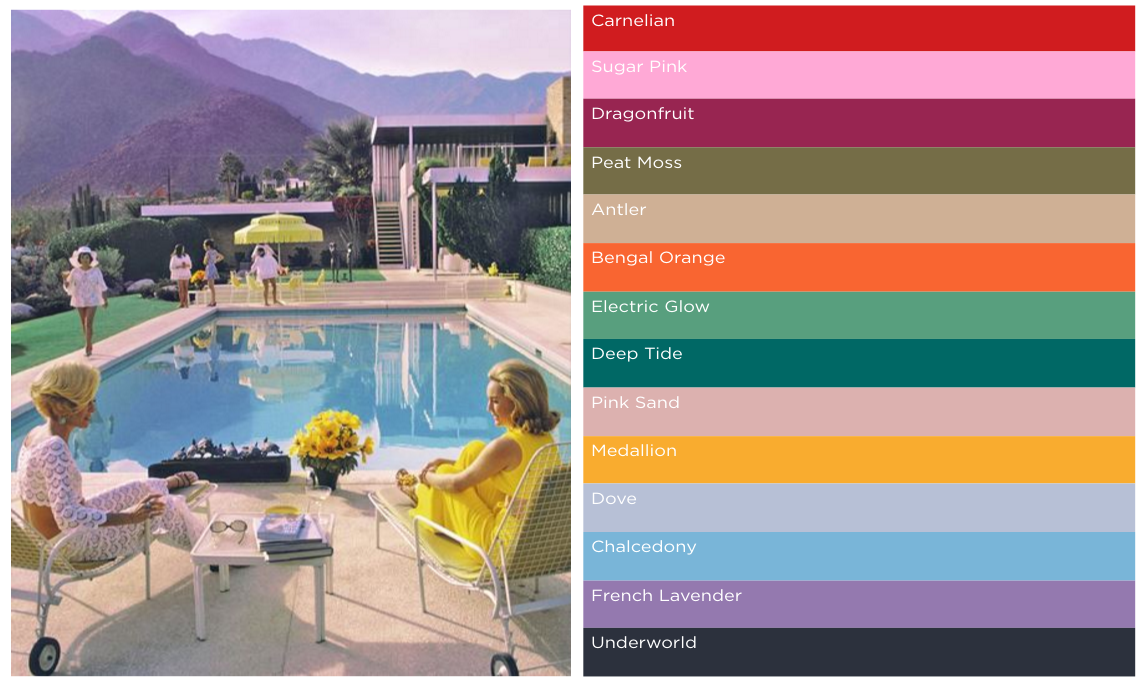
After I snooped around on Fashion Snoops (as one does) I came across just the right inspiration: Vermillion Sands…
Fashion Snoops is a fashion trend forecasting service that provided oodles of inspiration for creatives.
‘The retro-fantastic look captures optimism and an air of cool prep. Jacquards, punchy petals and stylized shapes leverage a lively color palette, while midi silhouettes speak to a retro flavor. This postcard from paradise is comes at a perfect time, offering bright nostalgia before the political and cultural moment we’re in.’
 I obviously couldn’t pass up the color pallette. I usually wear bland colors day-to-day so when I make something myself, I want it to be bright!
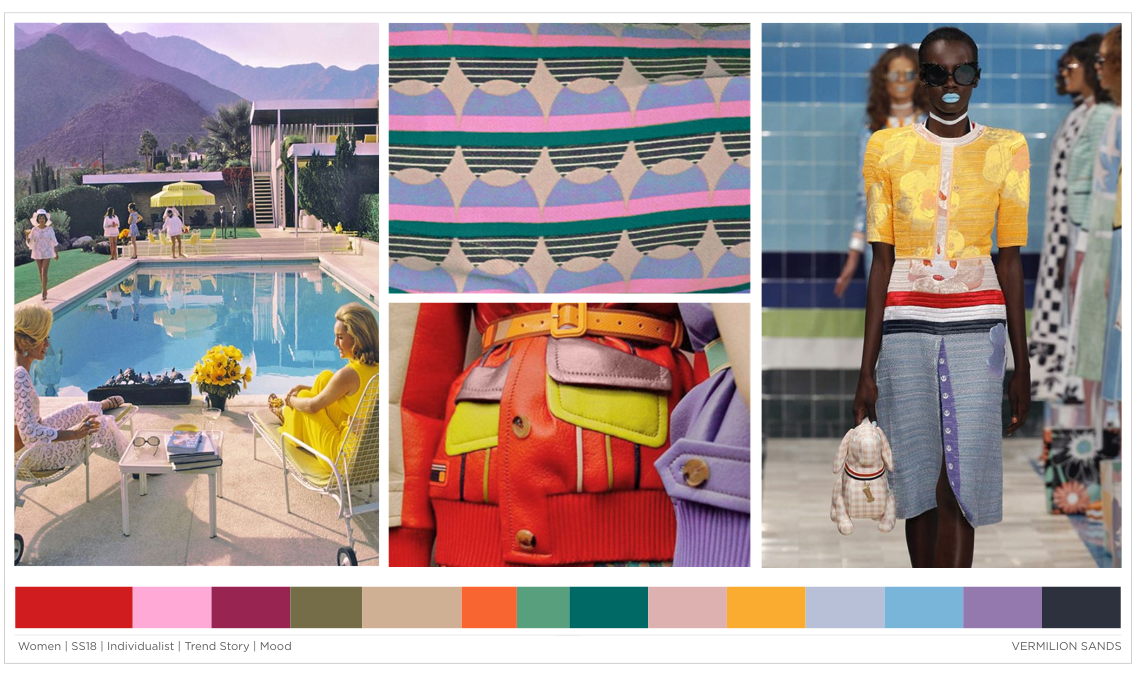
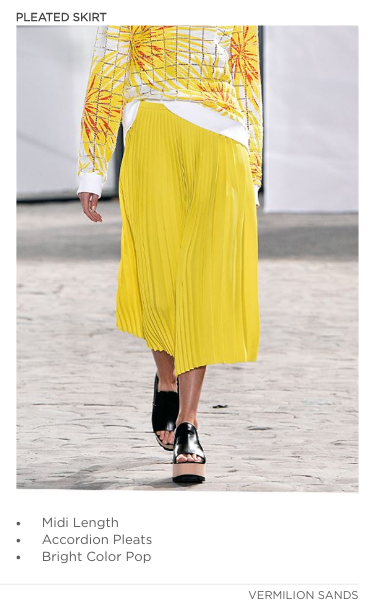
Skirts are always easy and breezy with Garment Designer so I’m choosing to follow some forecasted trend details for Spring Summer 2018 and make my own take on a pleated skirt.
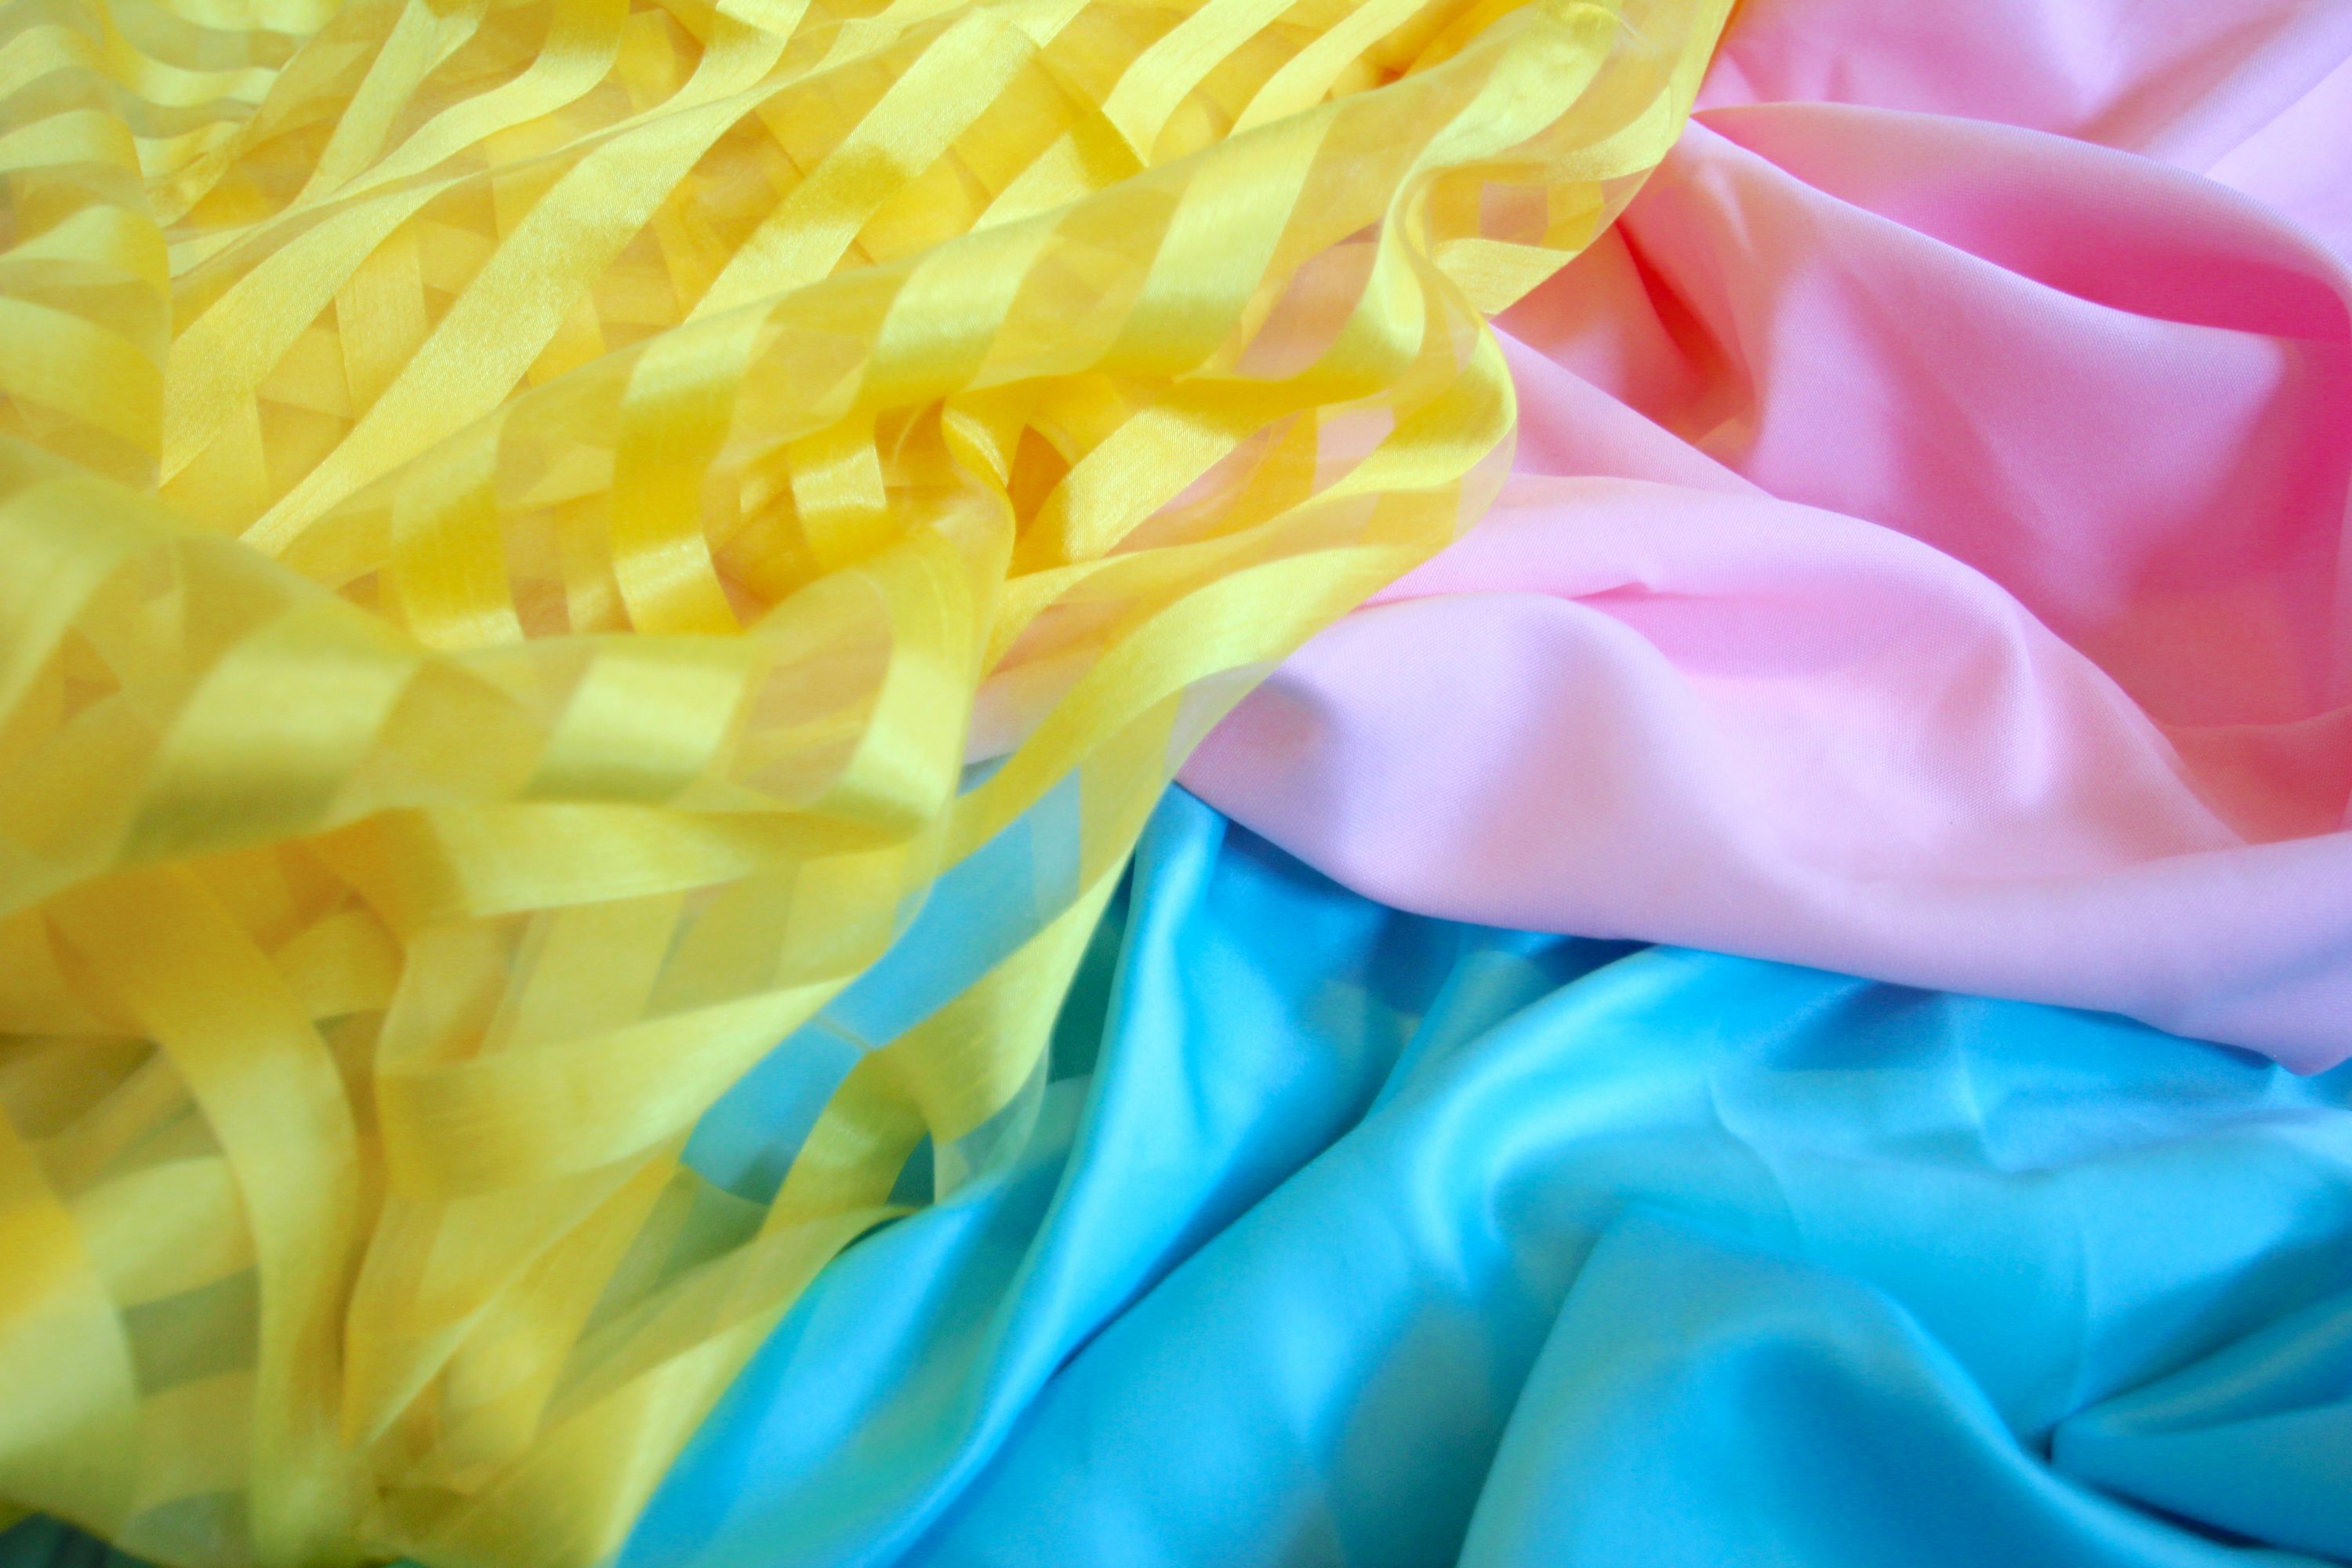
Now I have a pretty hefty amount of bright colors to choose from in my fabric stash, because I love to buy them for all those projects I don’t get around to making…sigh
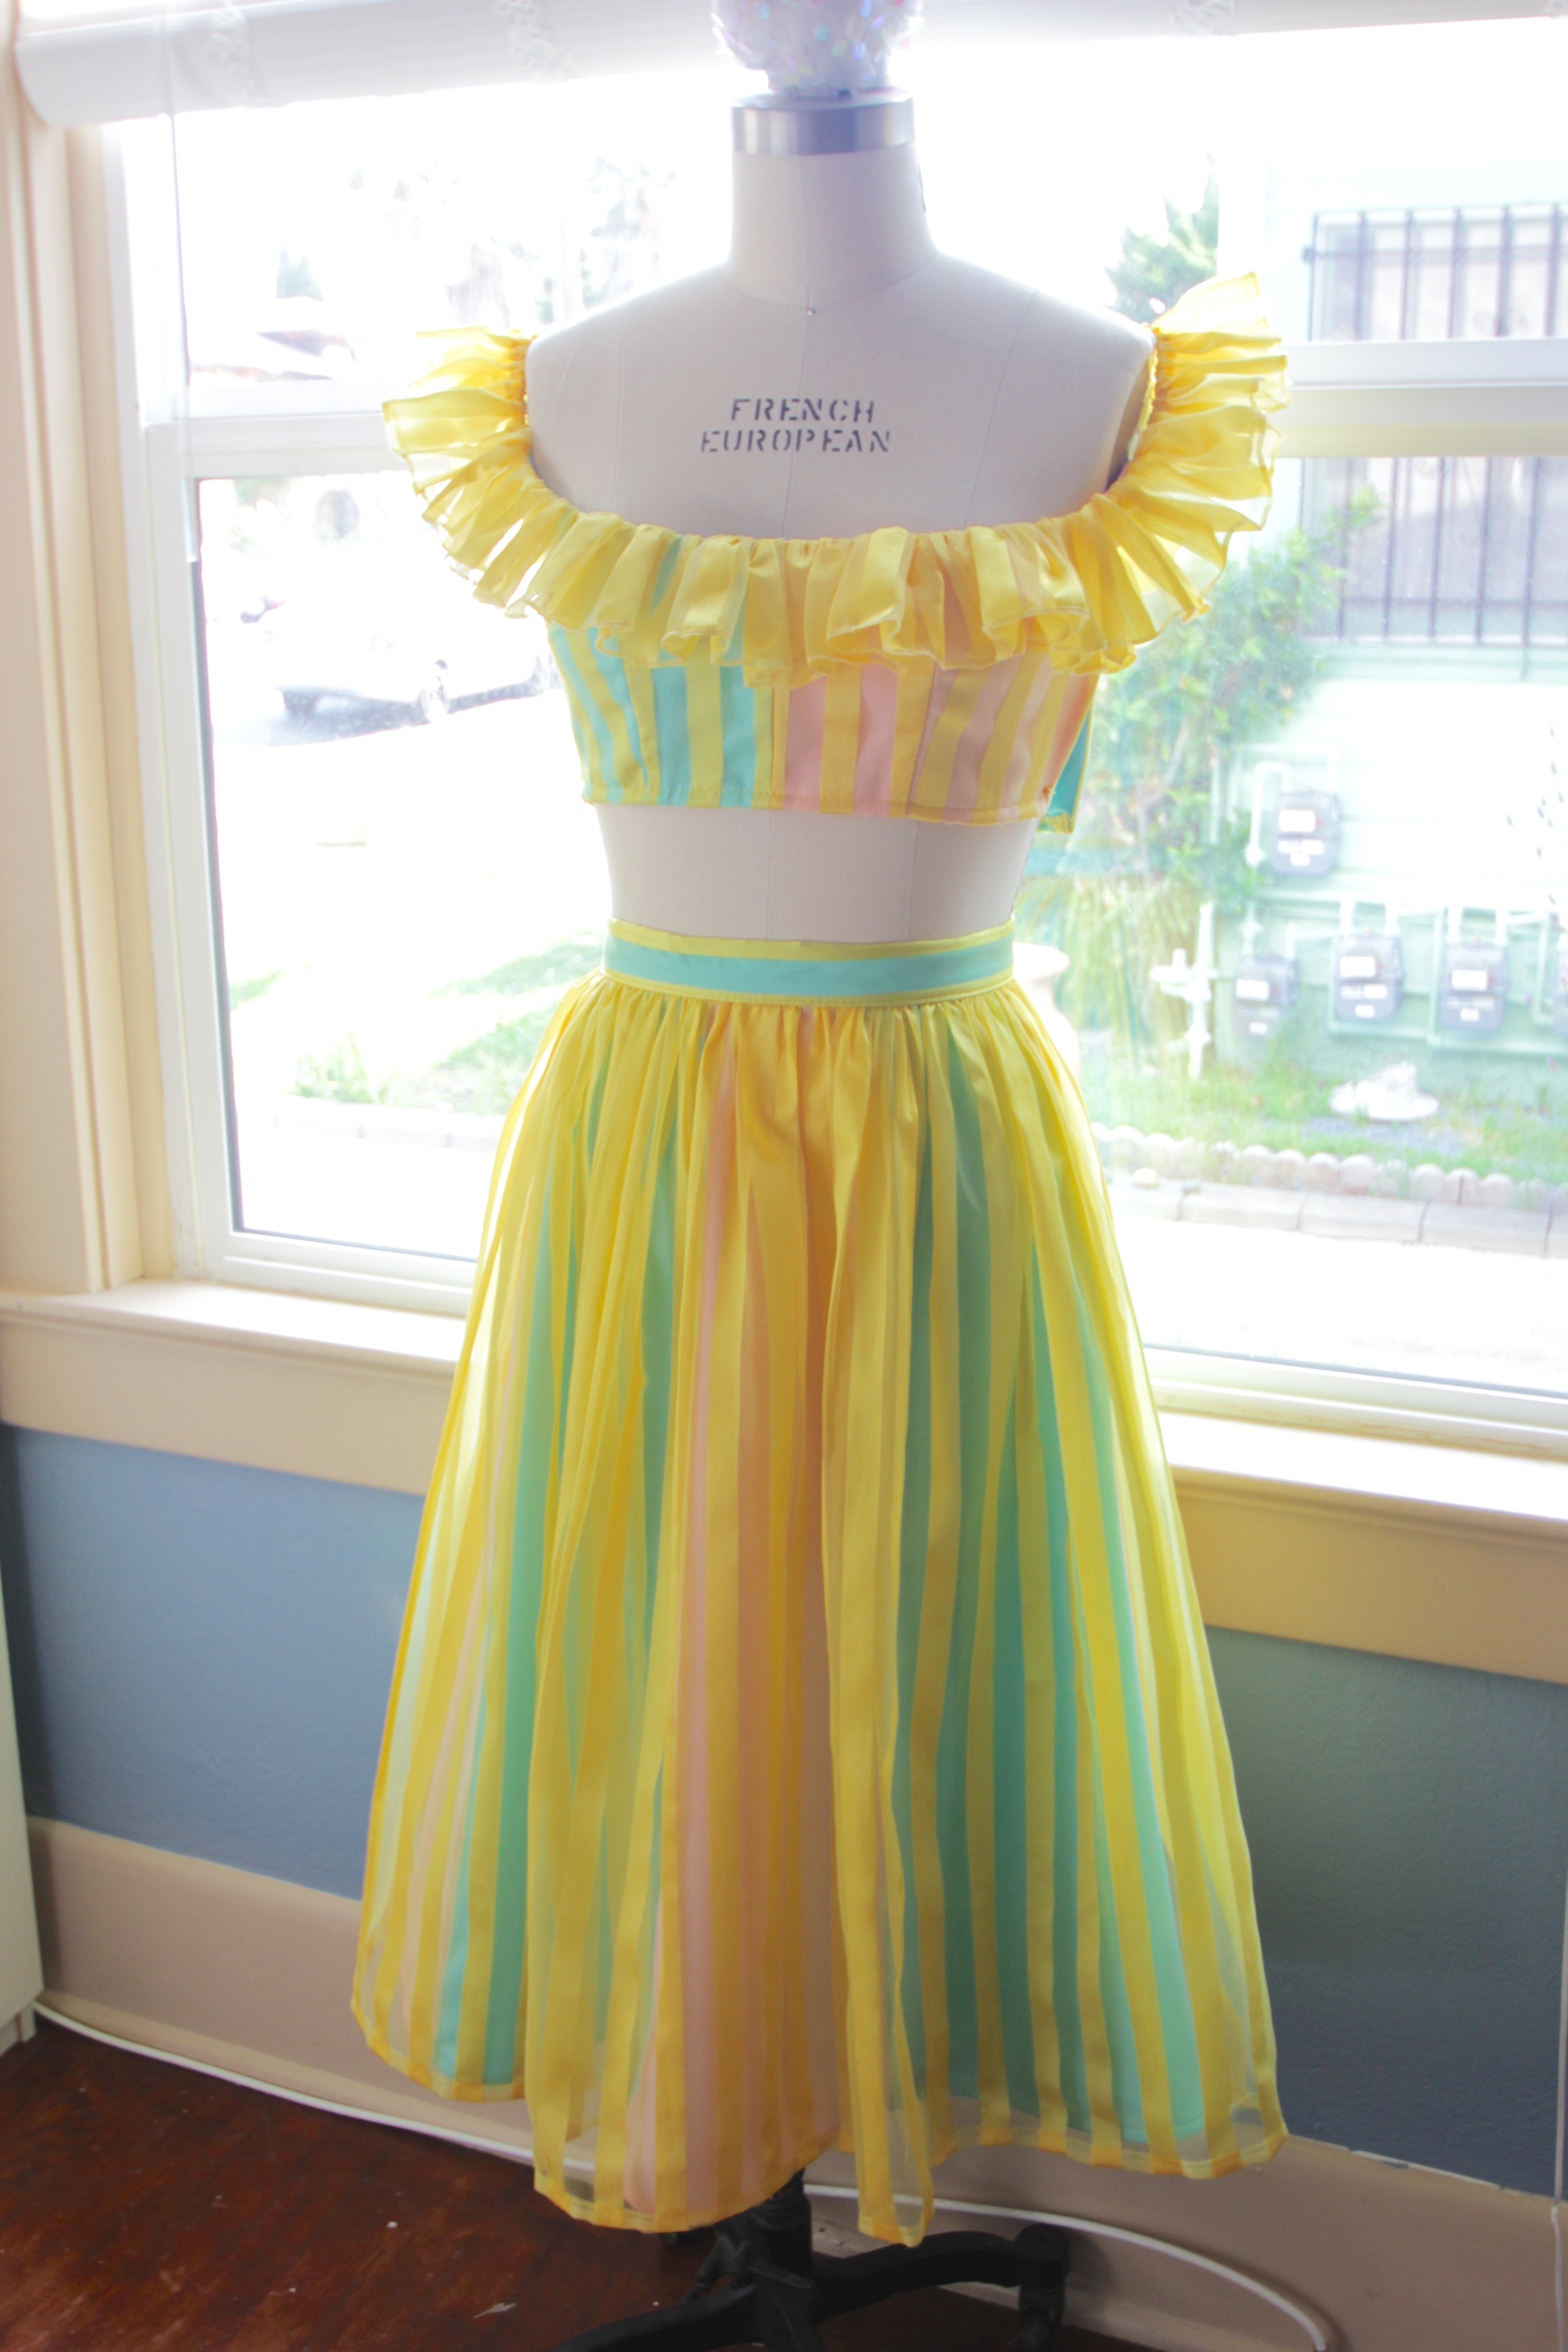
I have striped bright yellow organza that was given to me by a friend and a couple remnants from past projects. Since I cant choose which one to be the underlay…why not just do both!?
First I’m going to pattern the overlay which I plan on pleating. I want to do the overlay first so that once I make the pattern I can measure the hem length and see how full my gores need to be for the underlay.
When I go to Garment Designer I decide to use a shape instead of skirt option…why? Because I’m basically just gathering a rectangle for the skirt so I can keep my stripes perpendicular to the floor without any of that chevroning at the side seams business.
I have a lot of the yellow fabric so I decided I’m going to gather or pleat it at a 3:1 ratio to make it full.
I take my waist and multiply it by 3 to get 81″ for the width. I want my skirt length to be 28″ from my waist with a 1″ hem.
Width= 81″+.75″ (seam allowance)= 81.75″
Length= 28″+1″+ 3/8 (waist seam allowance) = 29.375″
 Simple enough… l’ll be cutting this on the fold.
I’m not going to worry about printing this out since I can just cut a rectangle without a pattern but I want to save it for future reference so I know the measurements I used for this skirt.
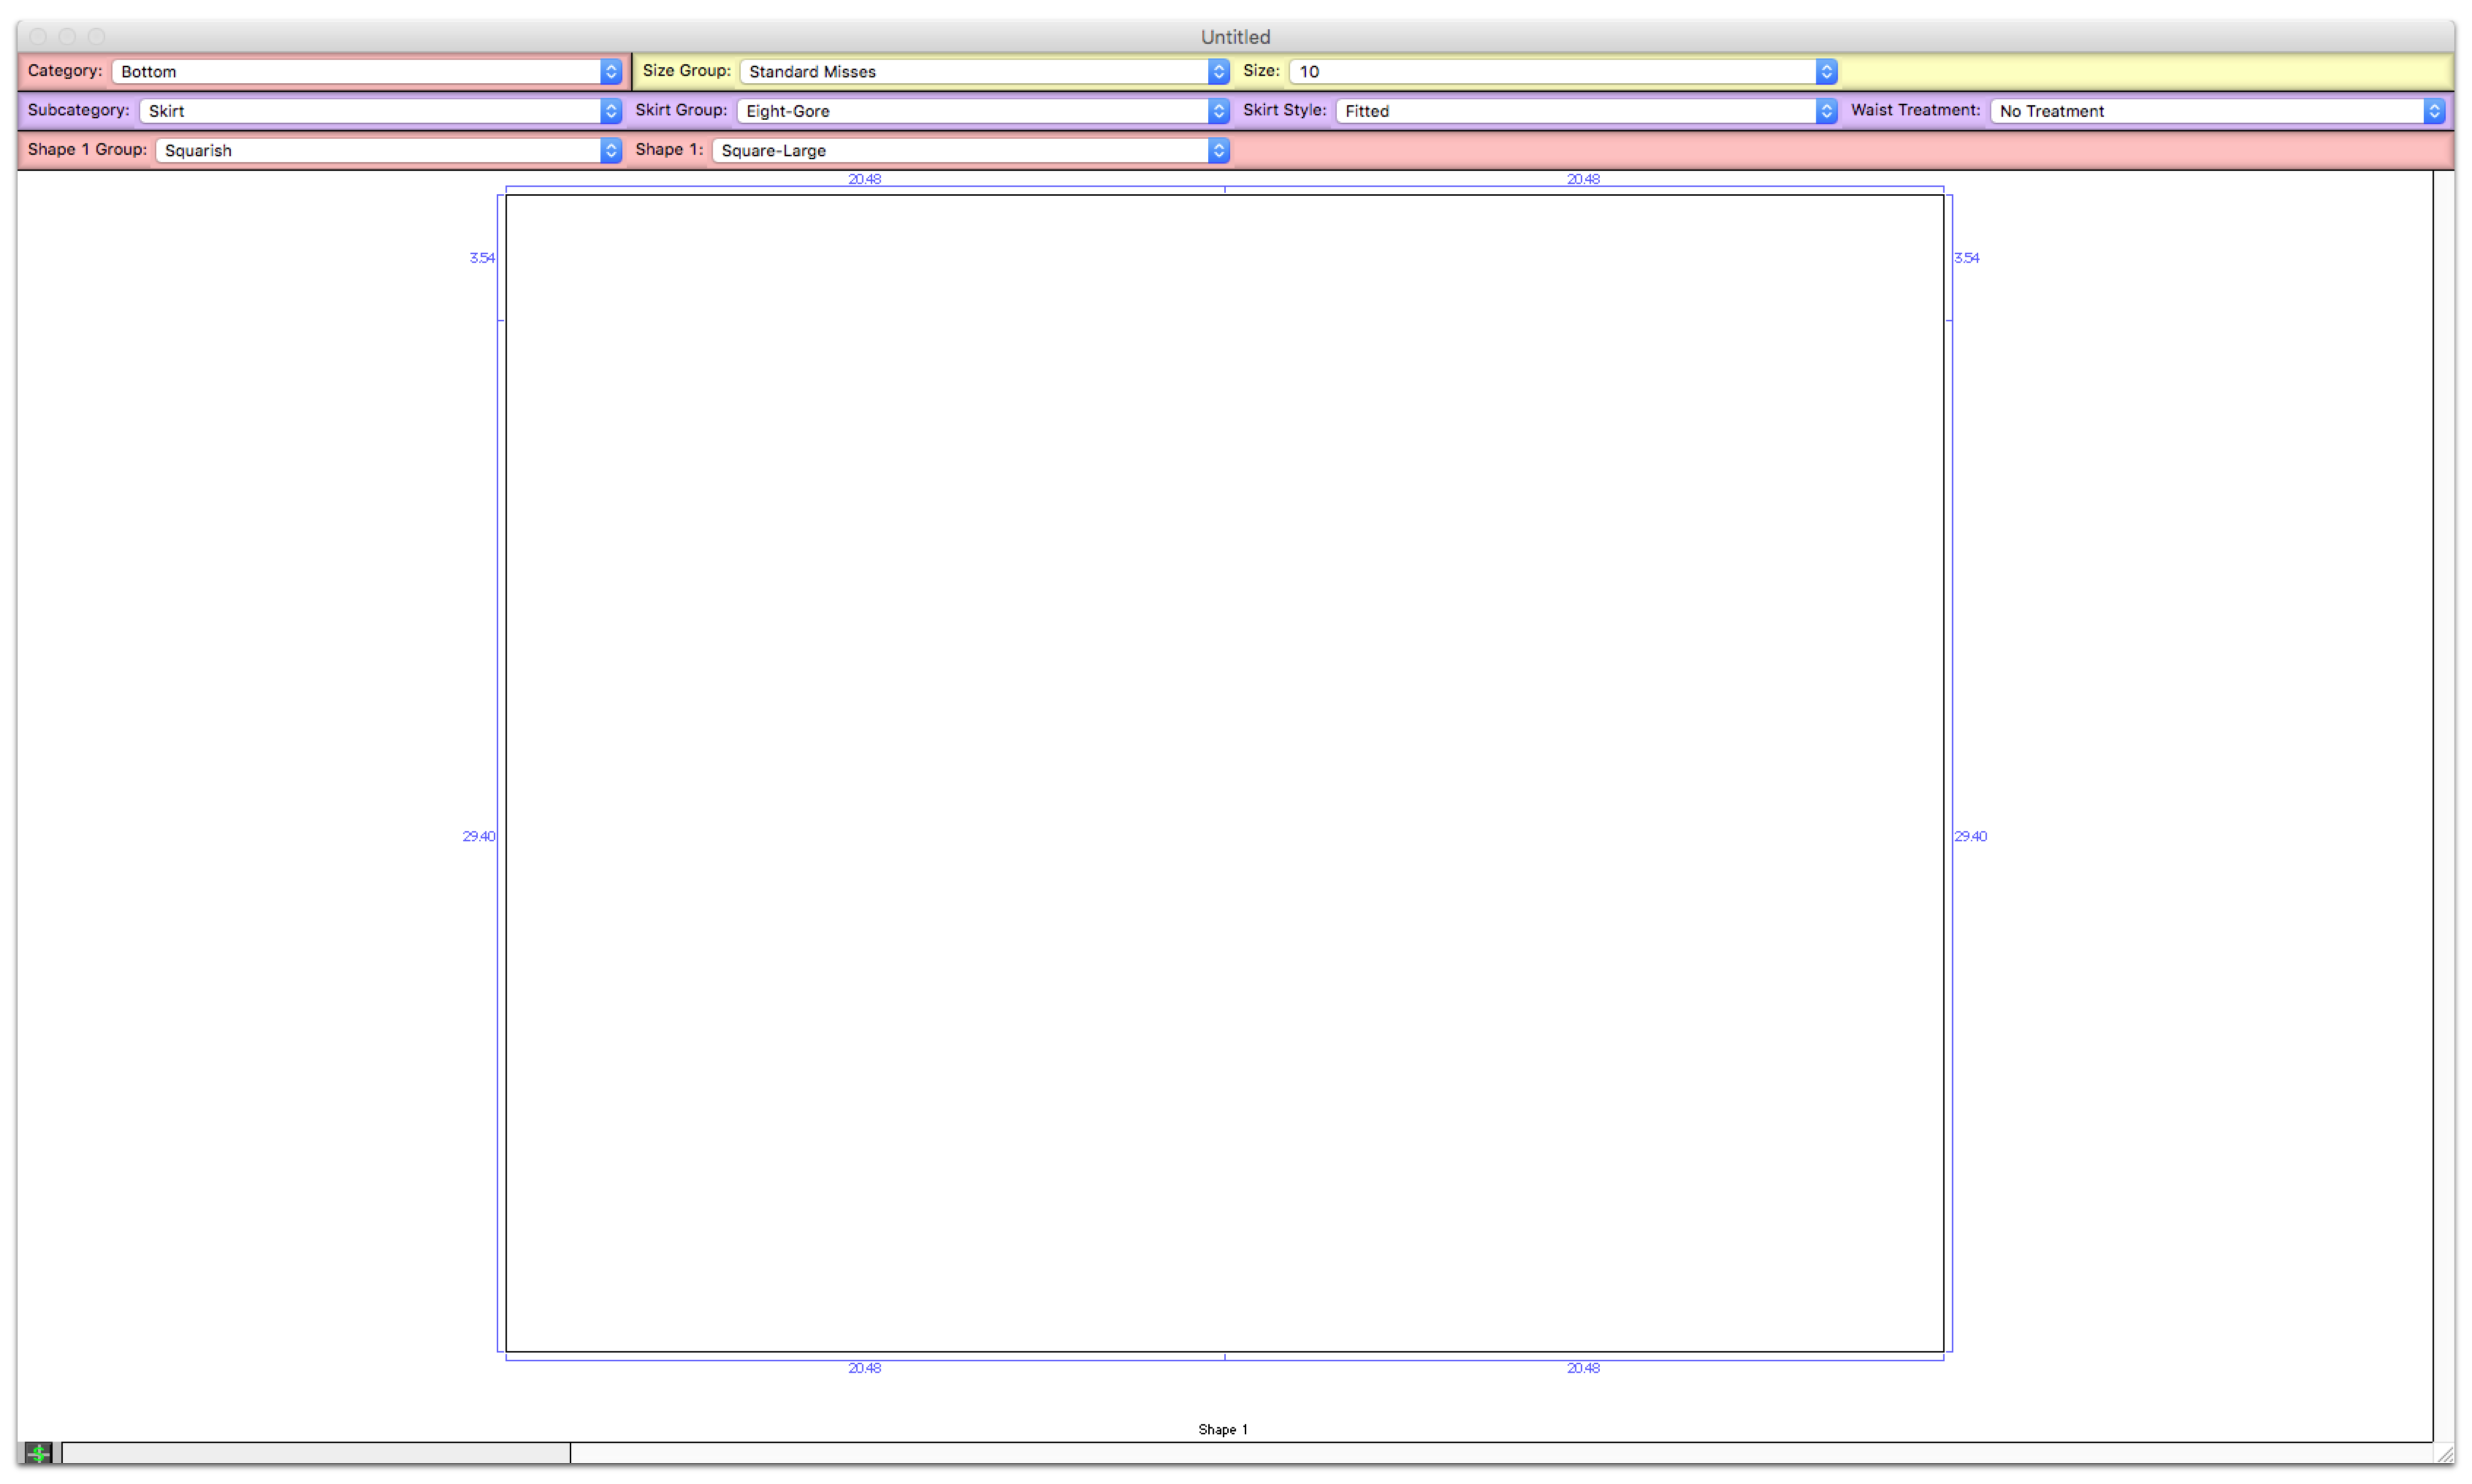
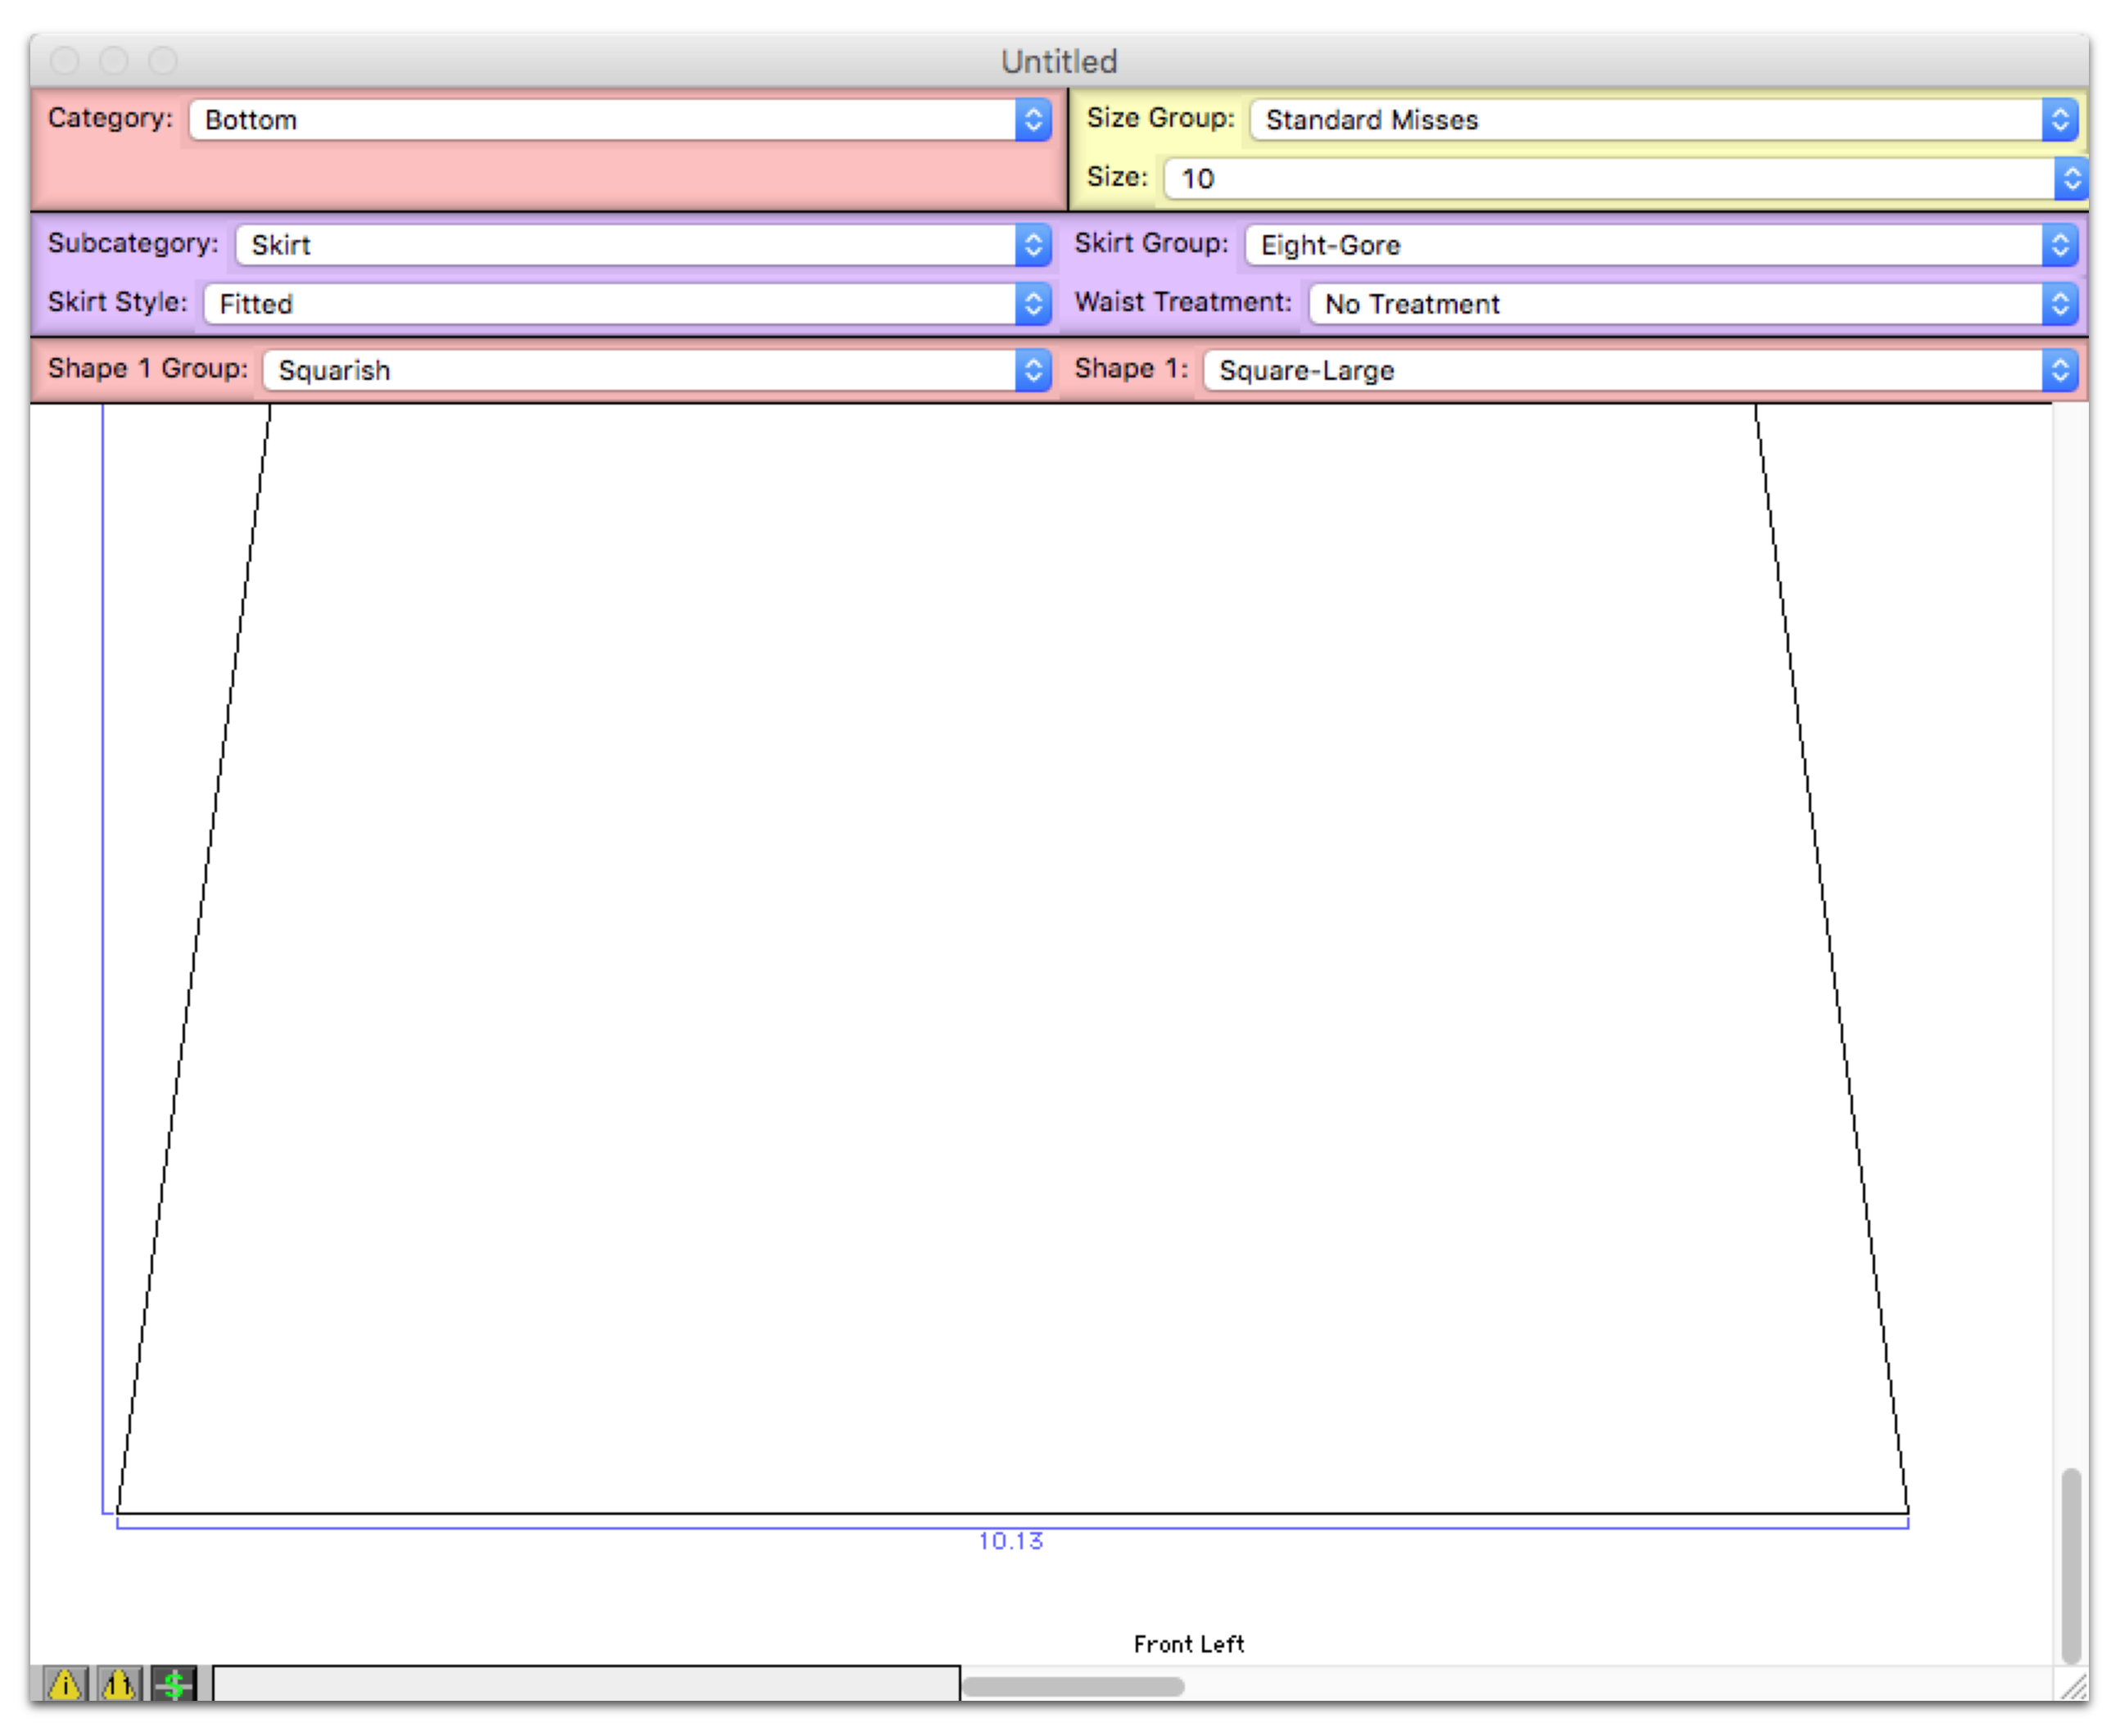
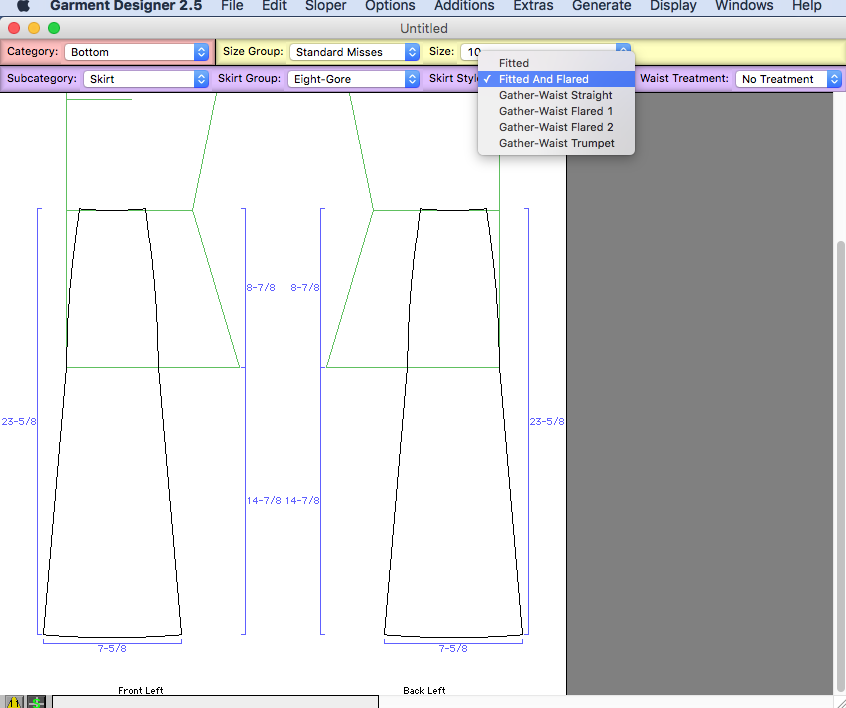
Now that i know my hem length is going to be 81″ finished I’m going to start a gored skirt pattern…
I set my bottom length to 27 (Options > Bottom Length)
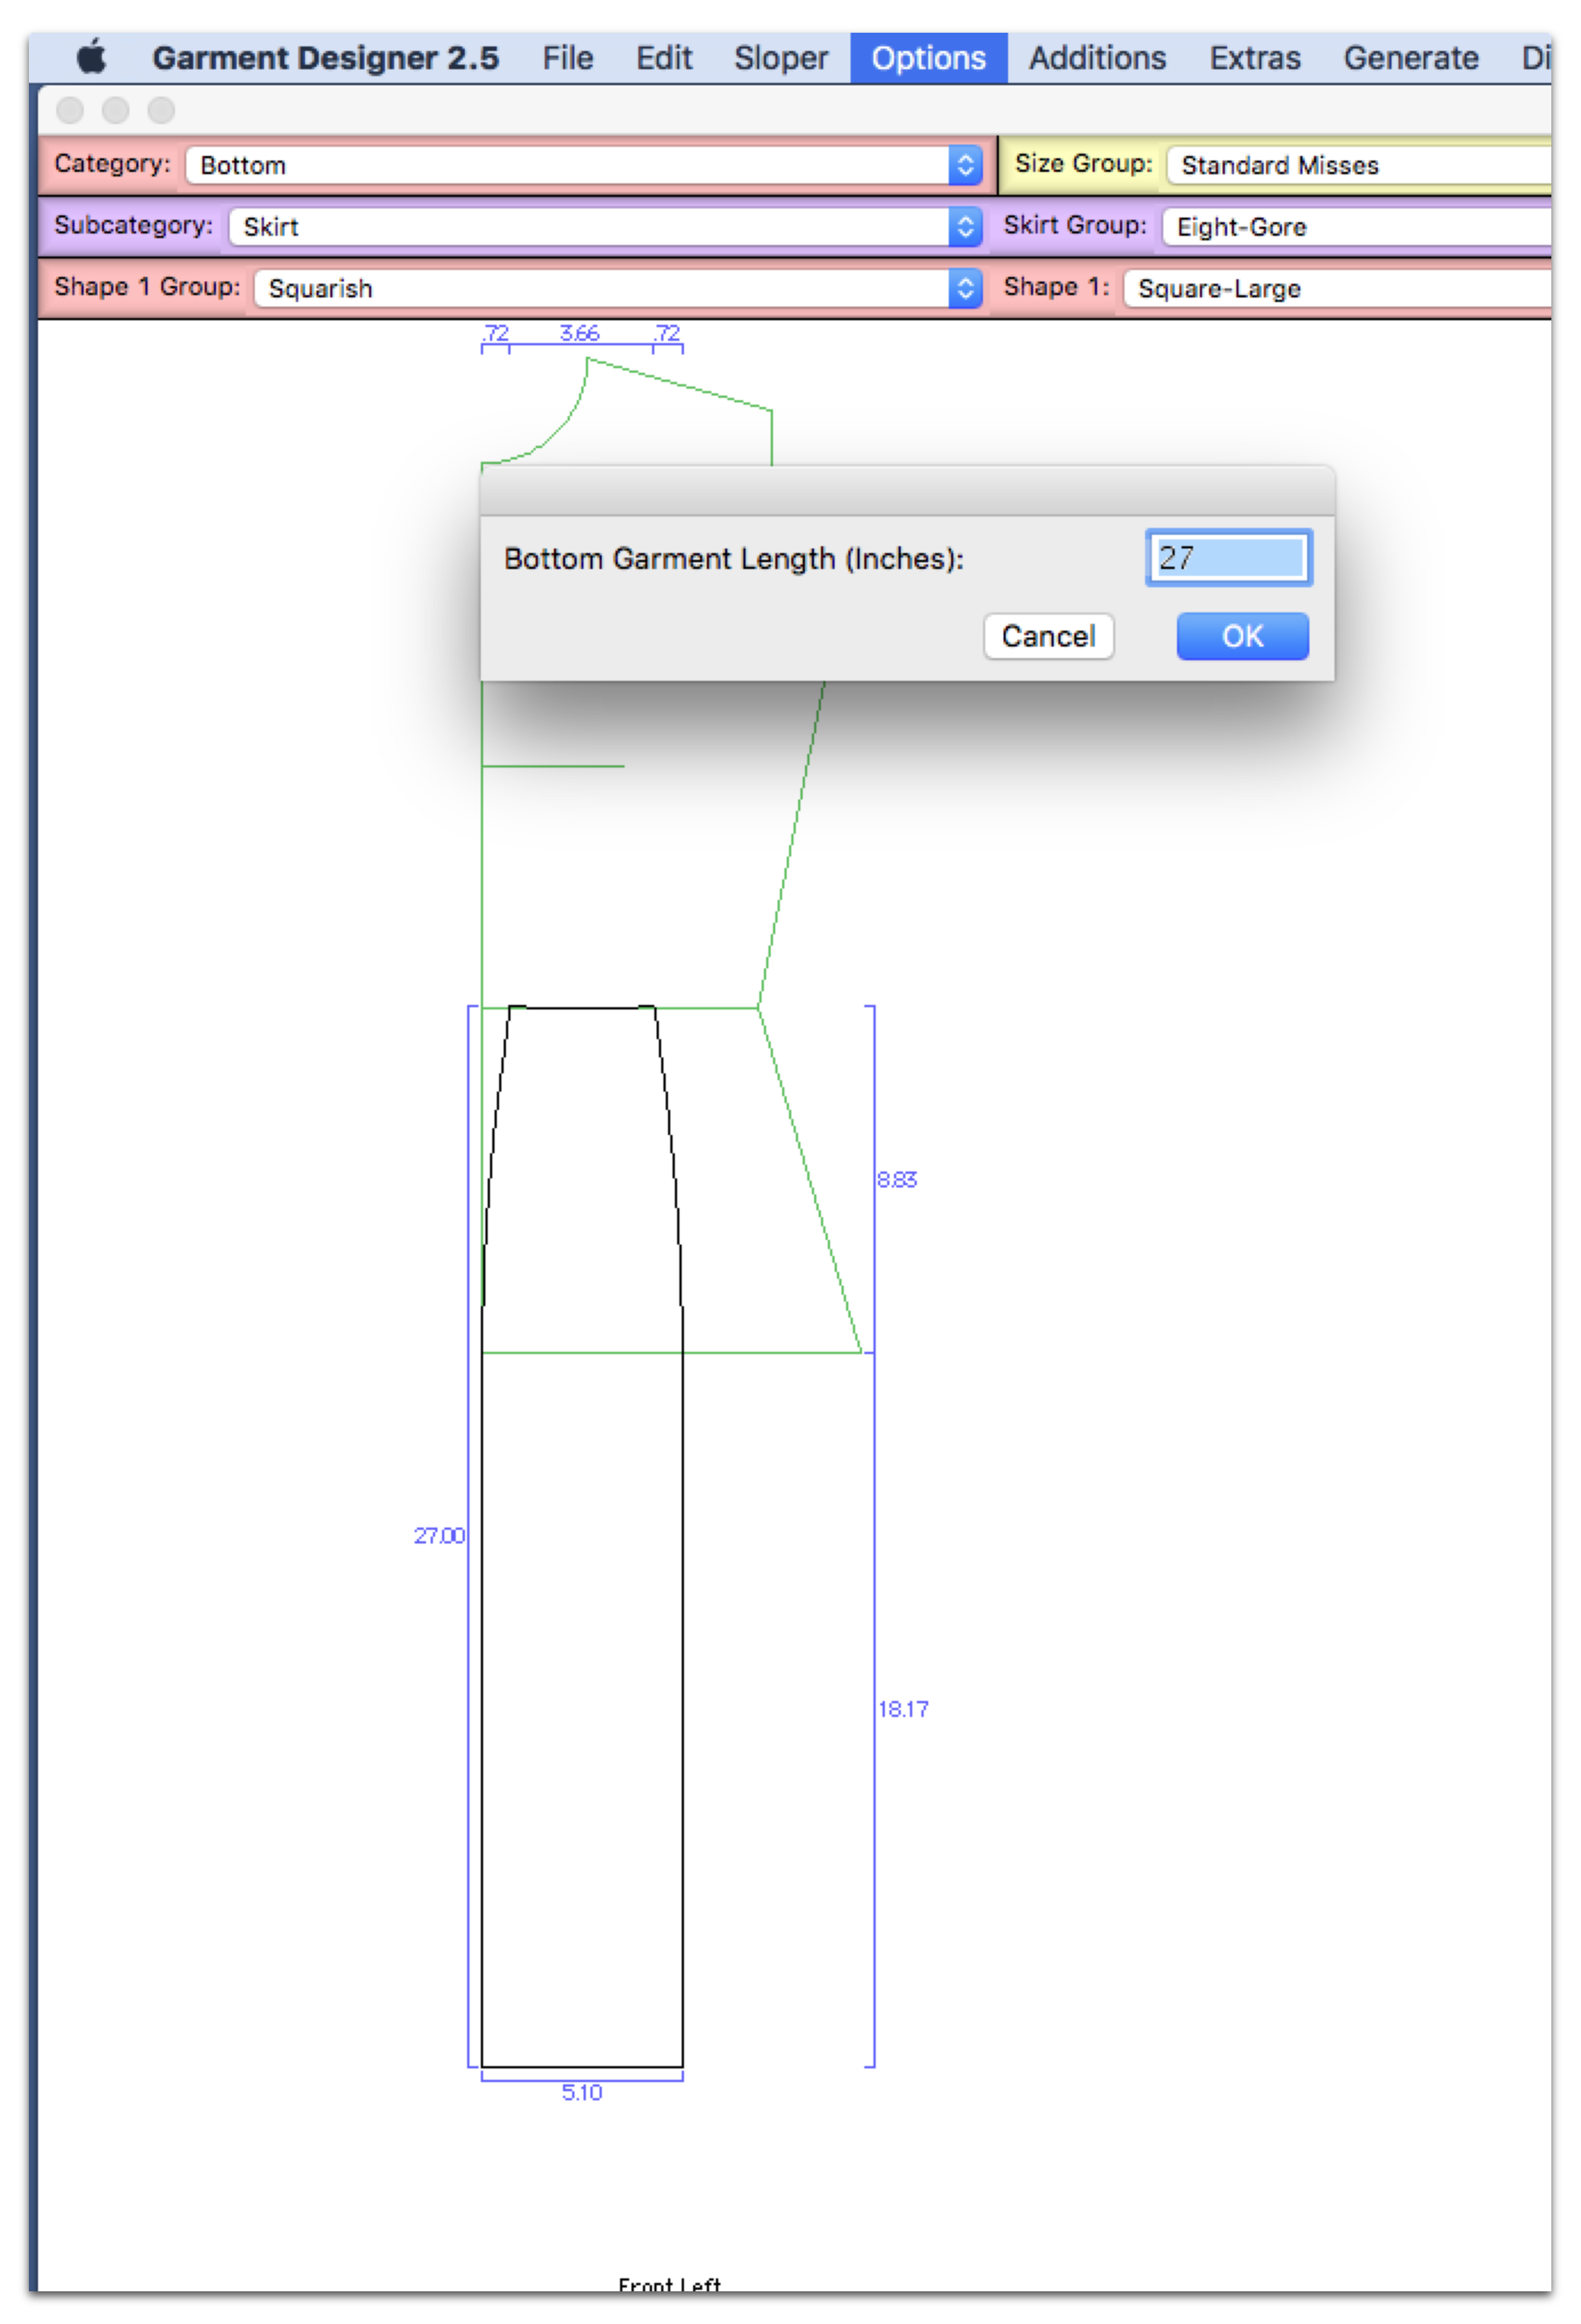
I start fitting my waist by measuring what it is currently by selecting the waist points and multiplying by 8
3.66 x 8 = 29.28
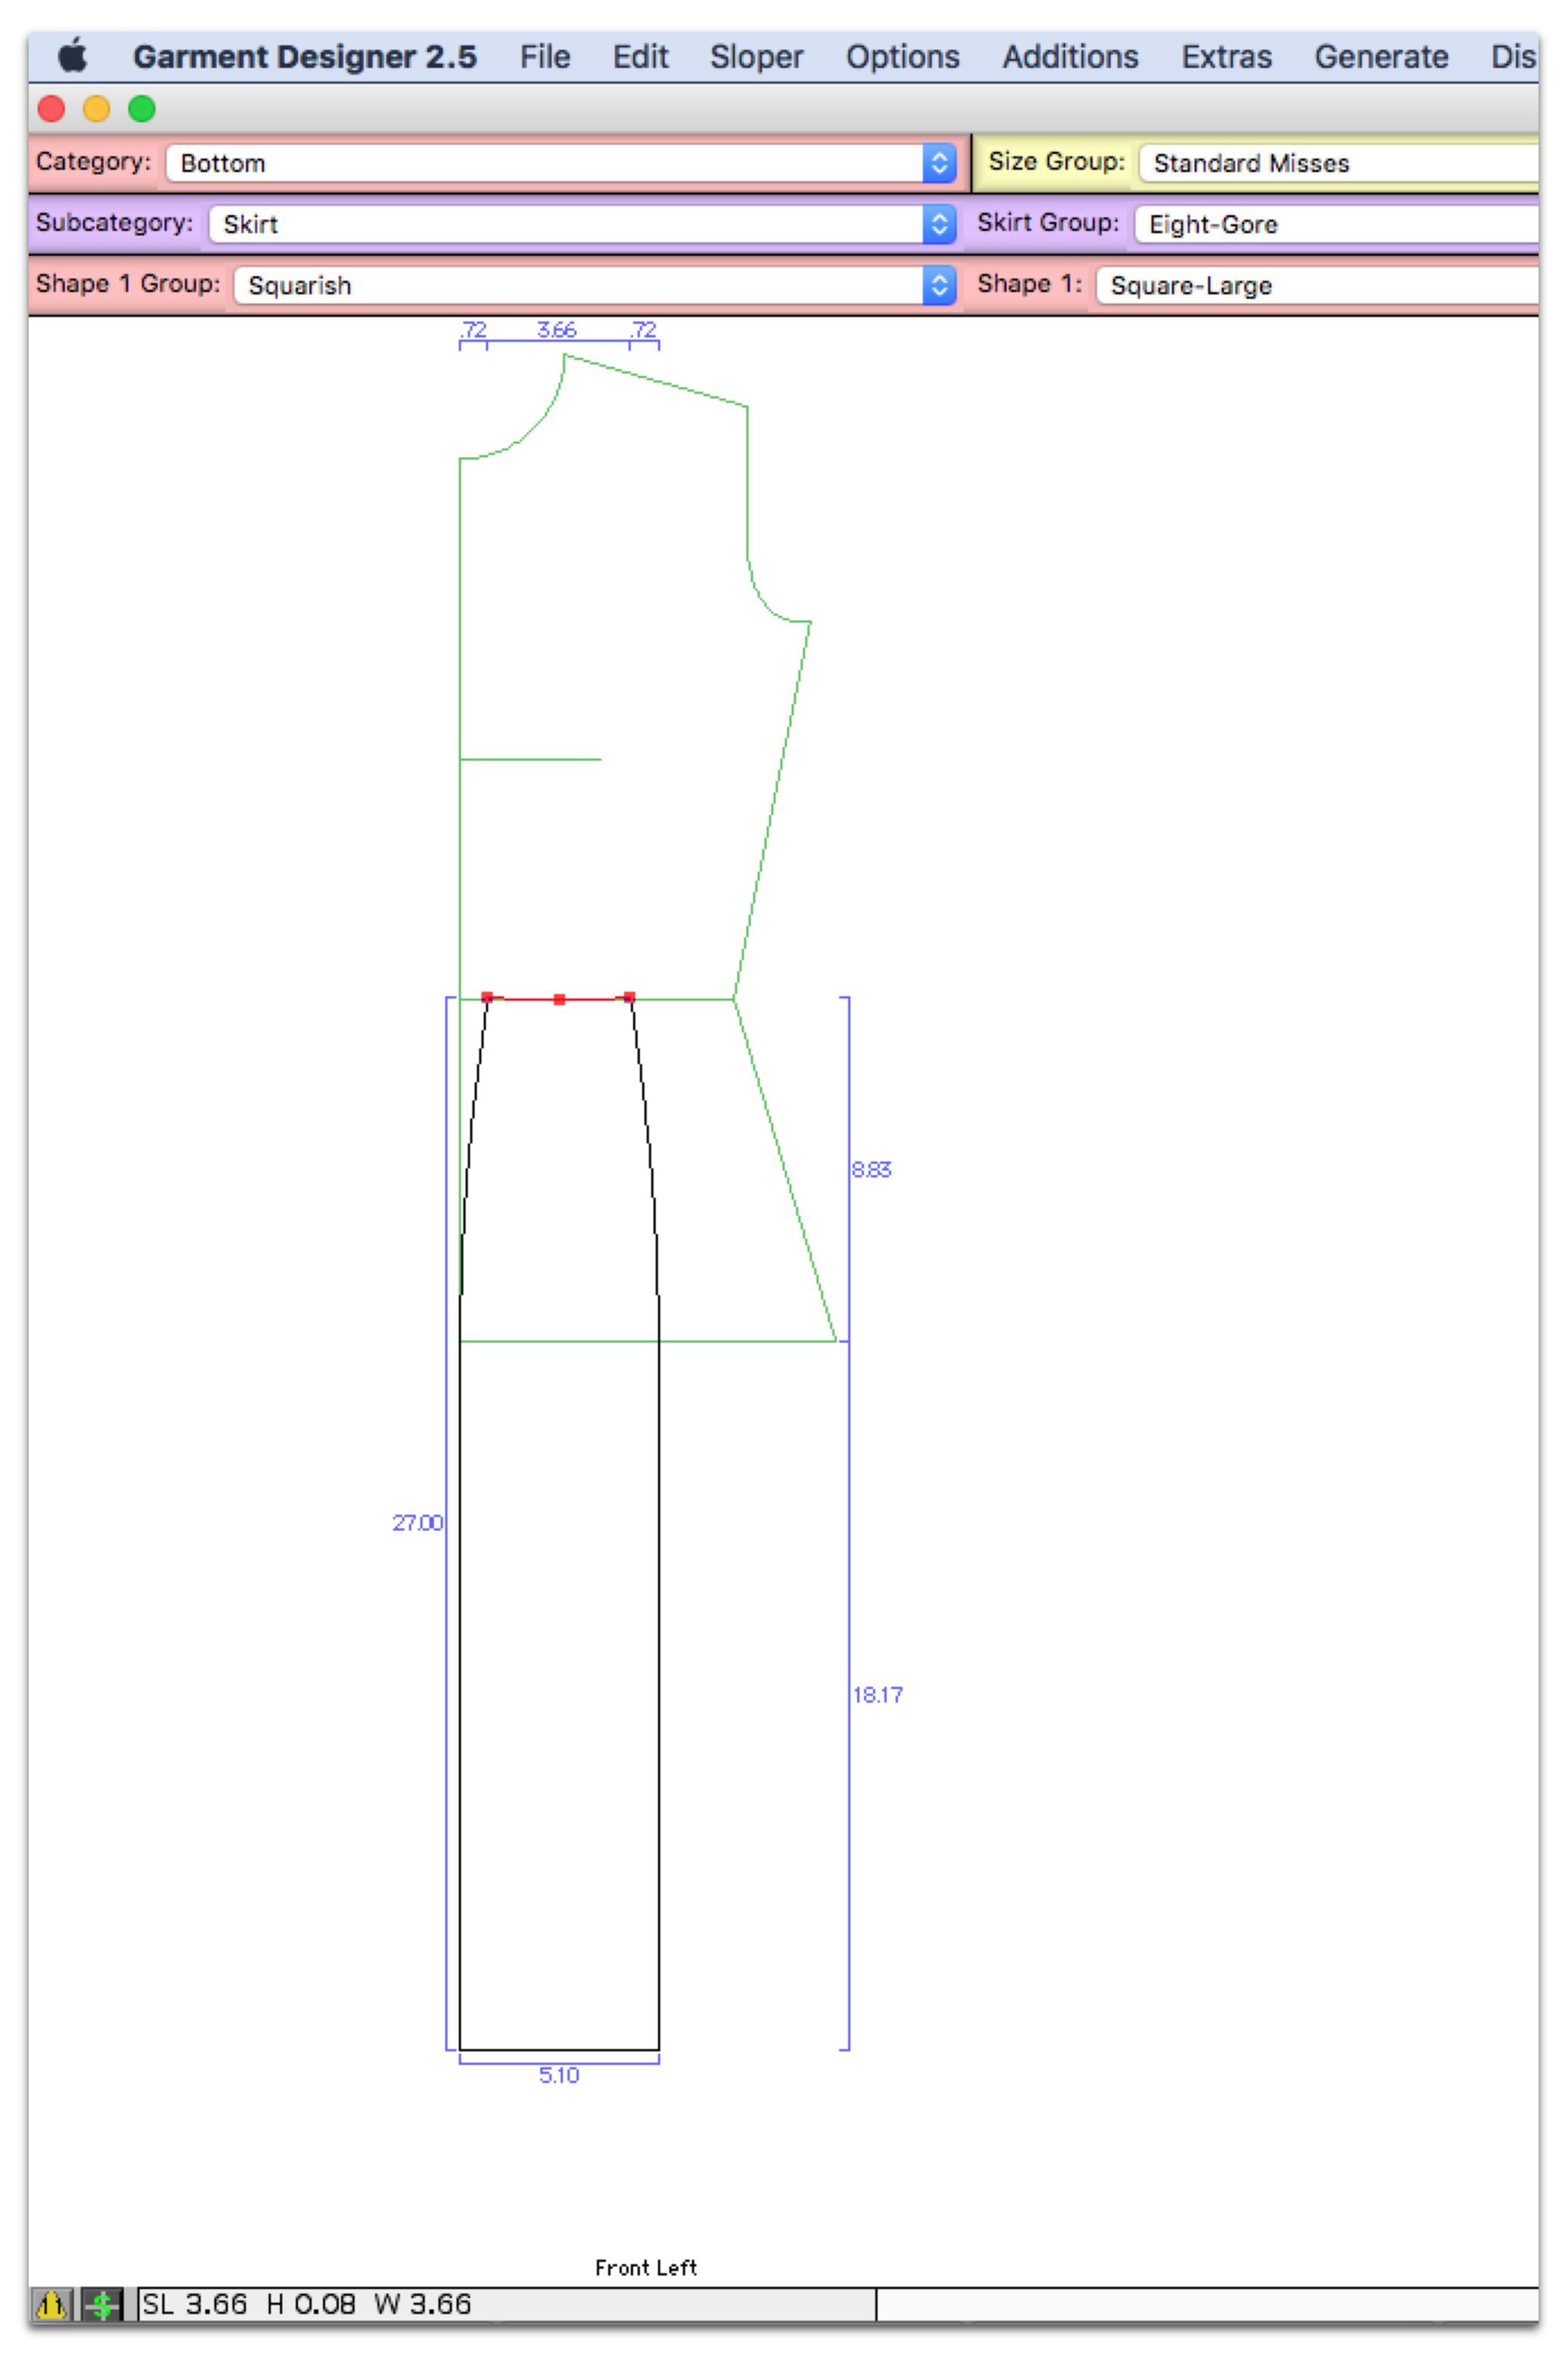
So I have some adjusting to do… I want the gored waistline piece to be 3.375 (27/8) total.
I’m going to do this by selecting the outer waistline points and nudging them in with my keyboard arrows equally from both sides until I get close enough to 3.375.
I like to zoom in when I’m making small nudges so that Garment Designer will make the nudges in smaller increments
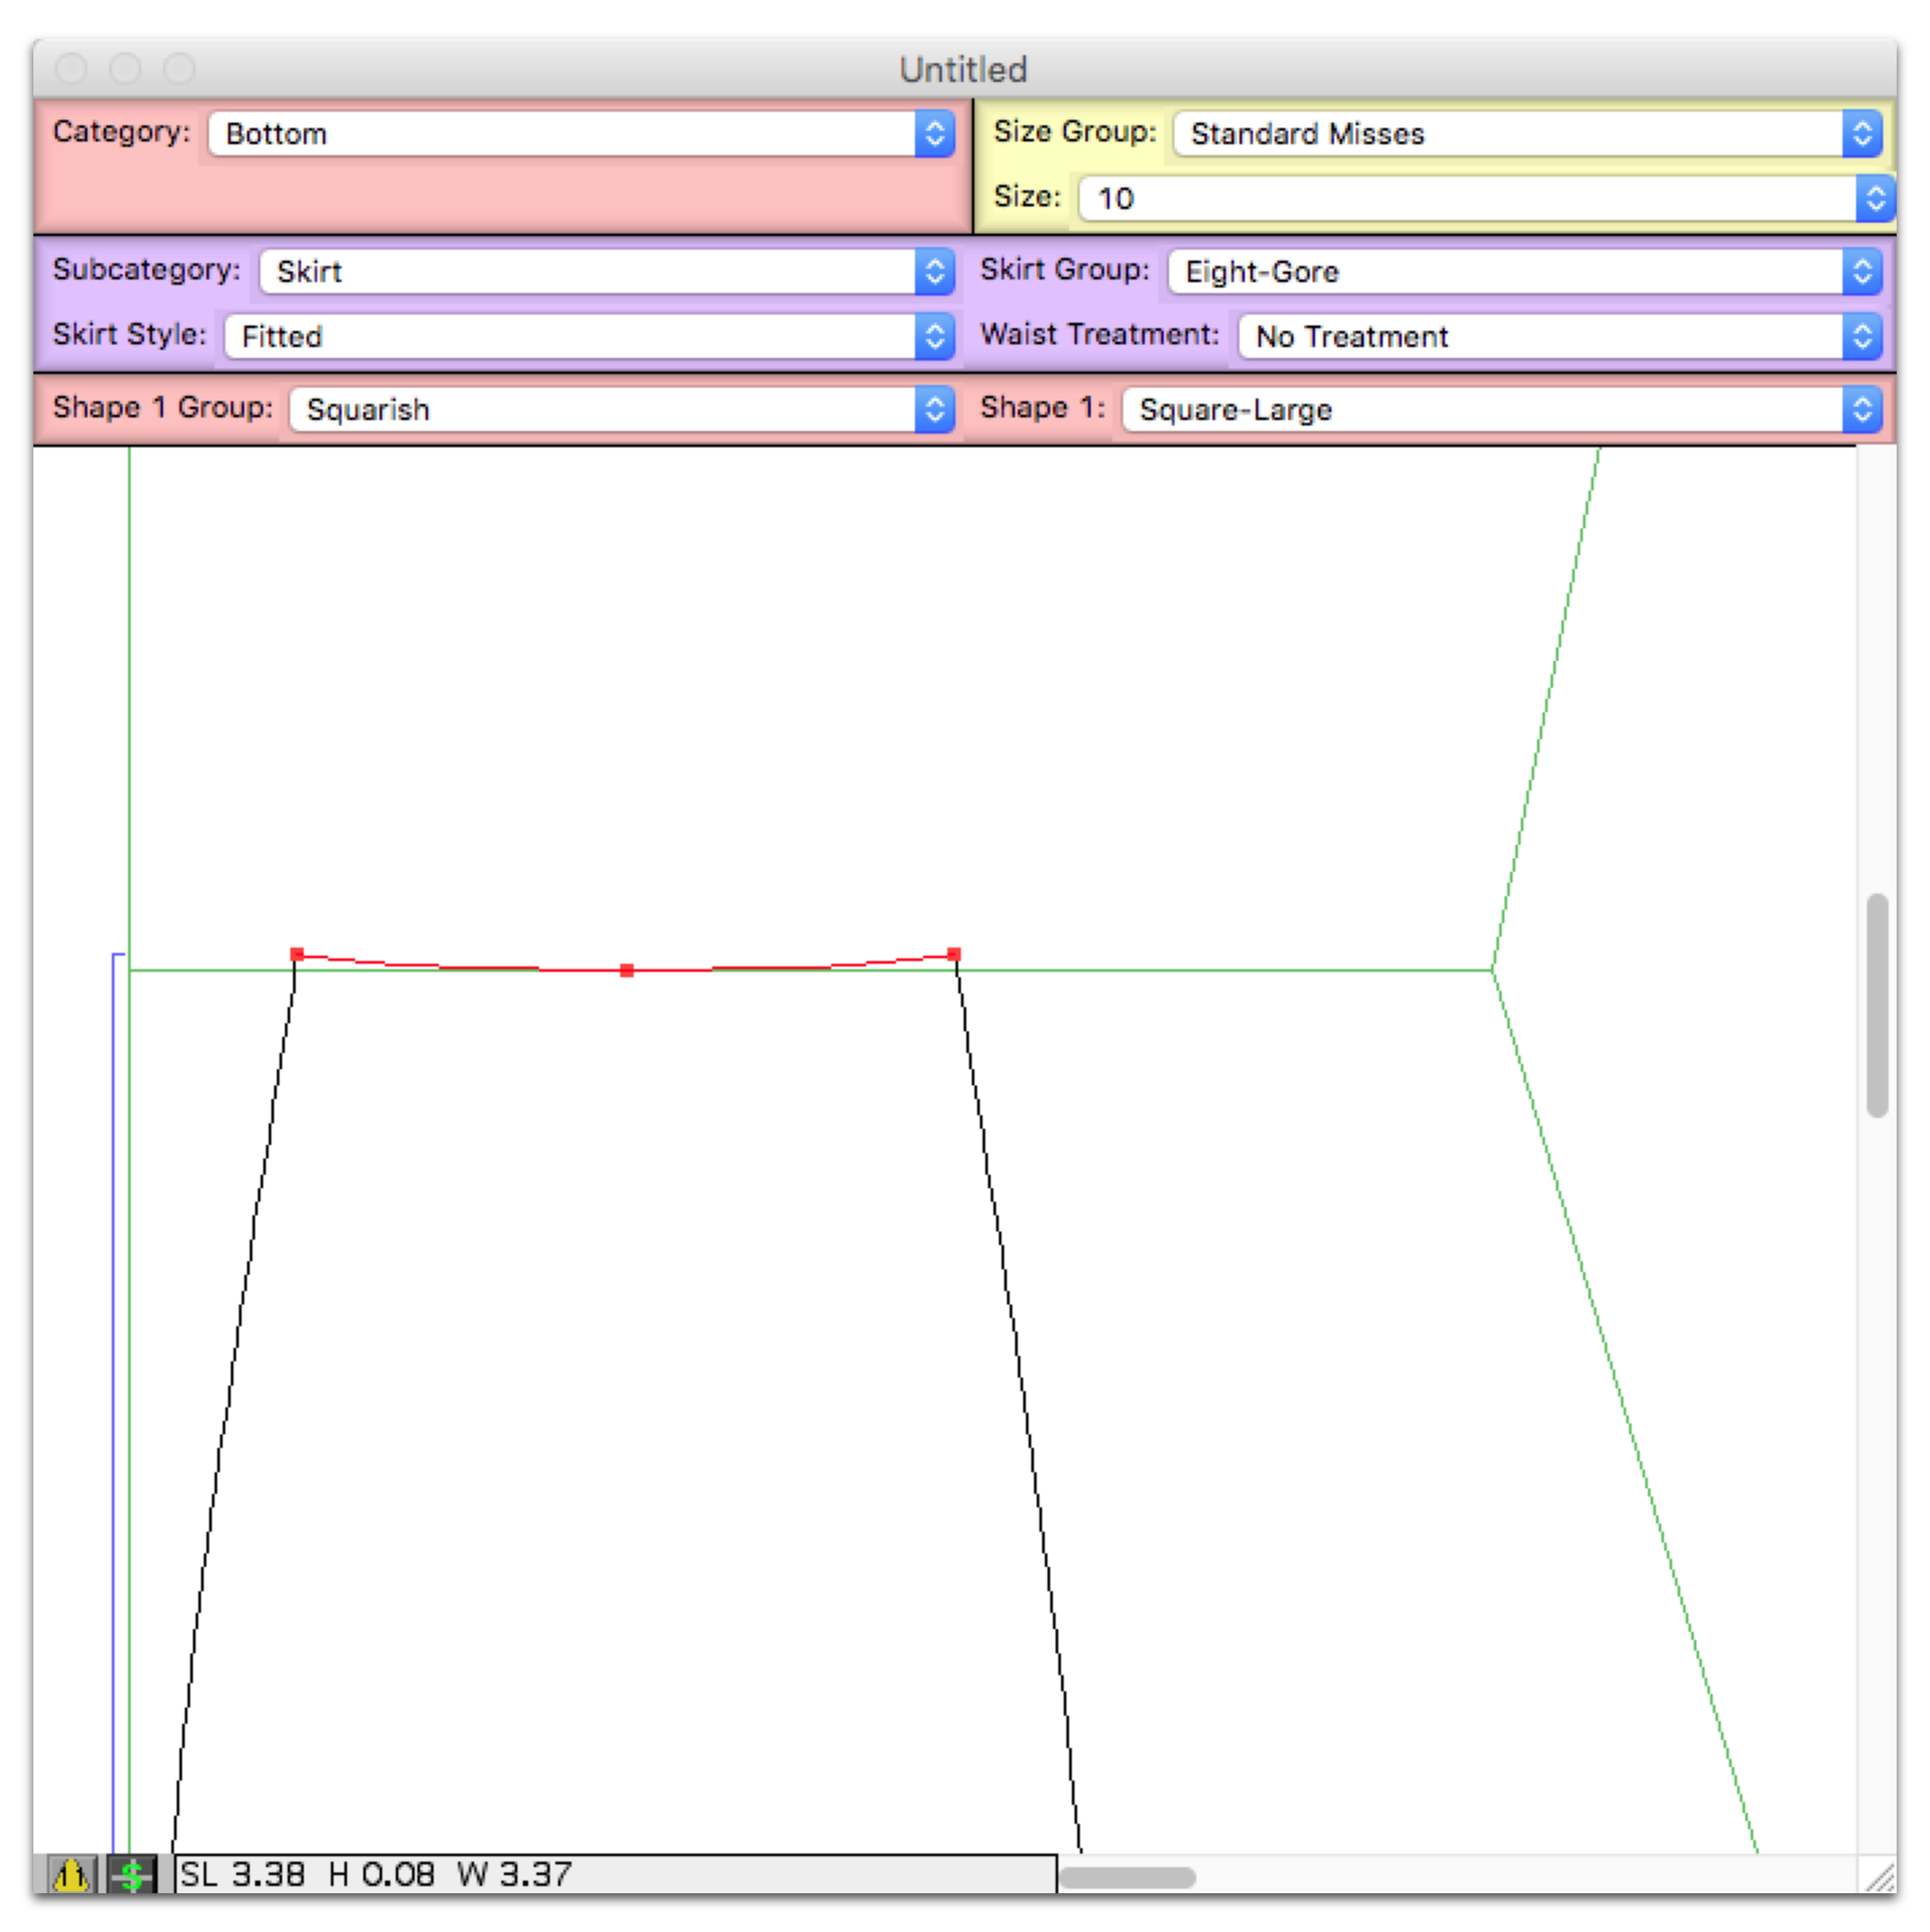
Now I’m going to make the hemline add up to 81″ total
81″/8= 10.125
Now my Information and Recommendations is giving me a warning (lower right part of screen, see Appendix E in the manual) but I’m going to ignore it since I still have some things to adjust which should fix the angles that are off.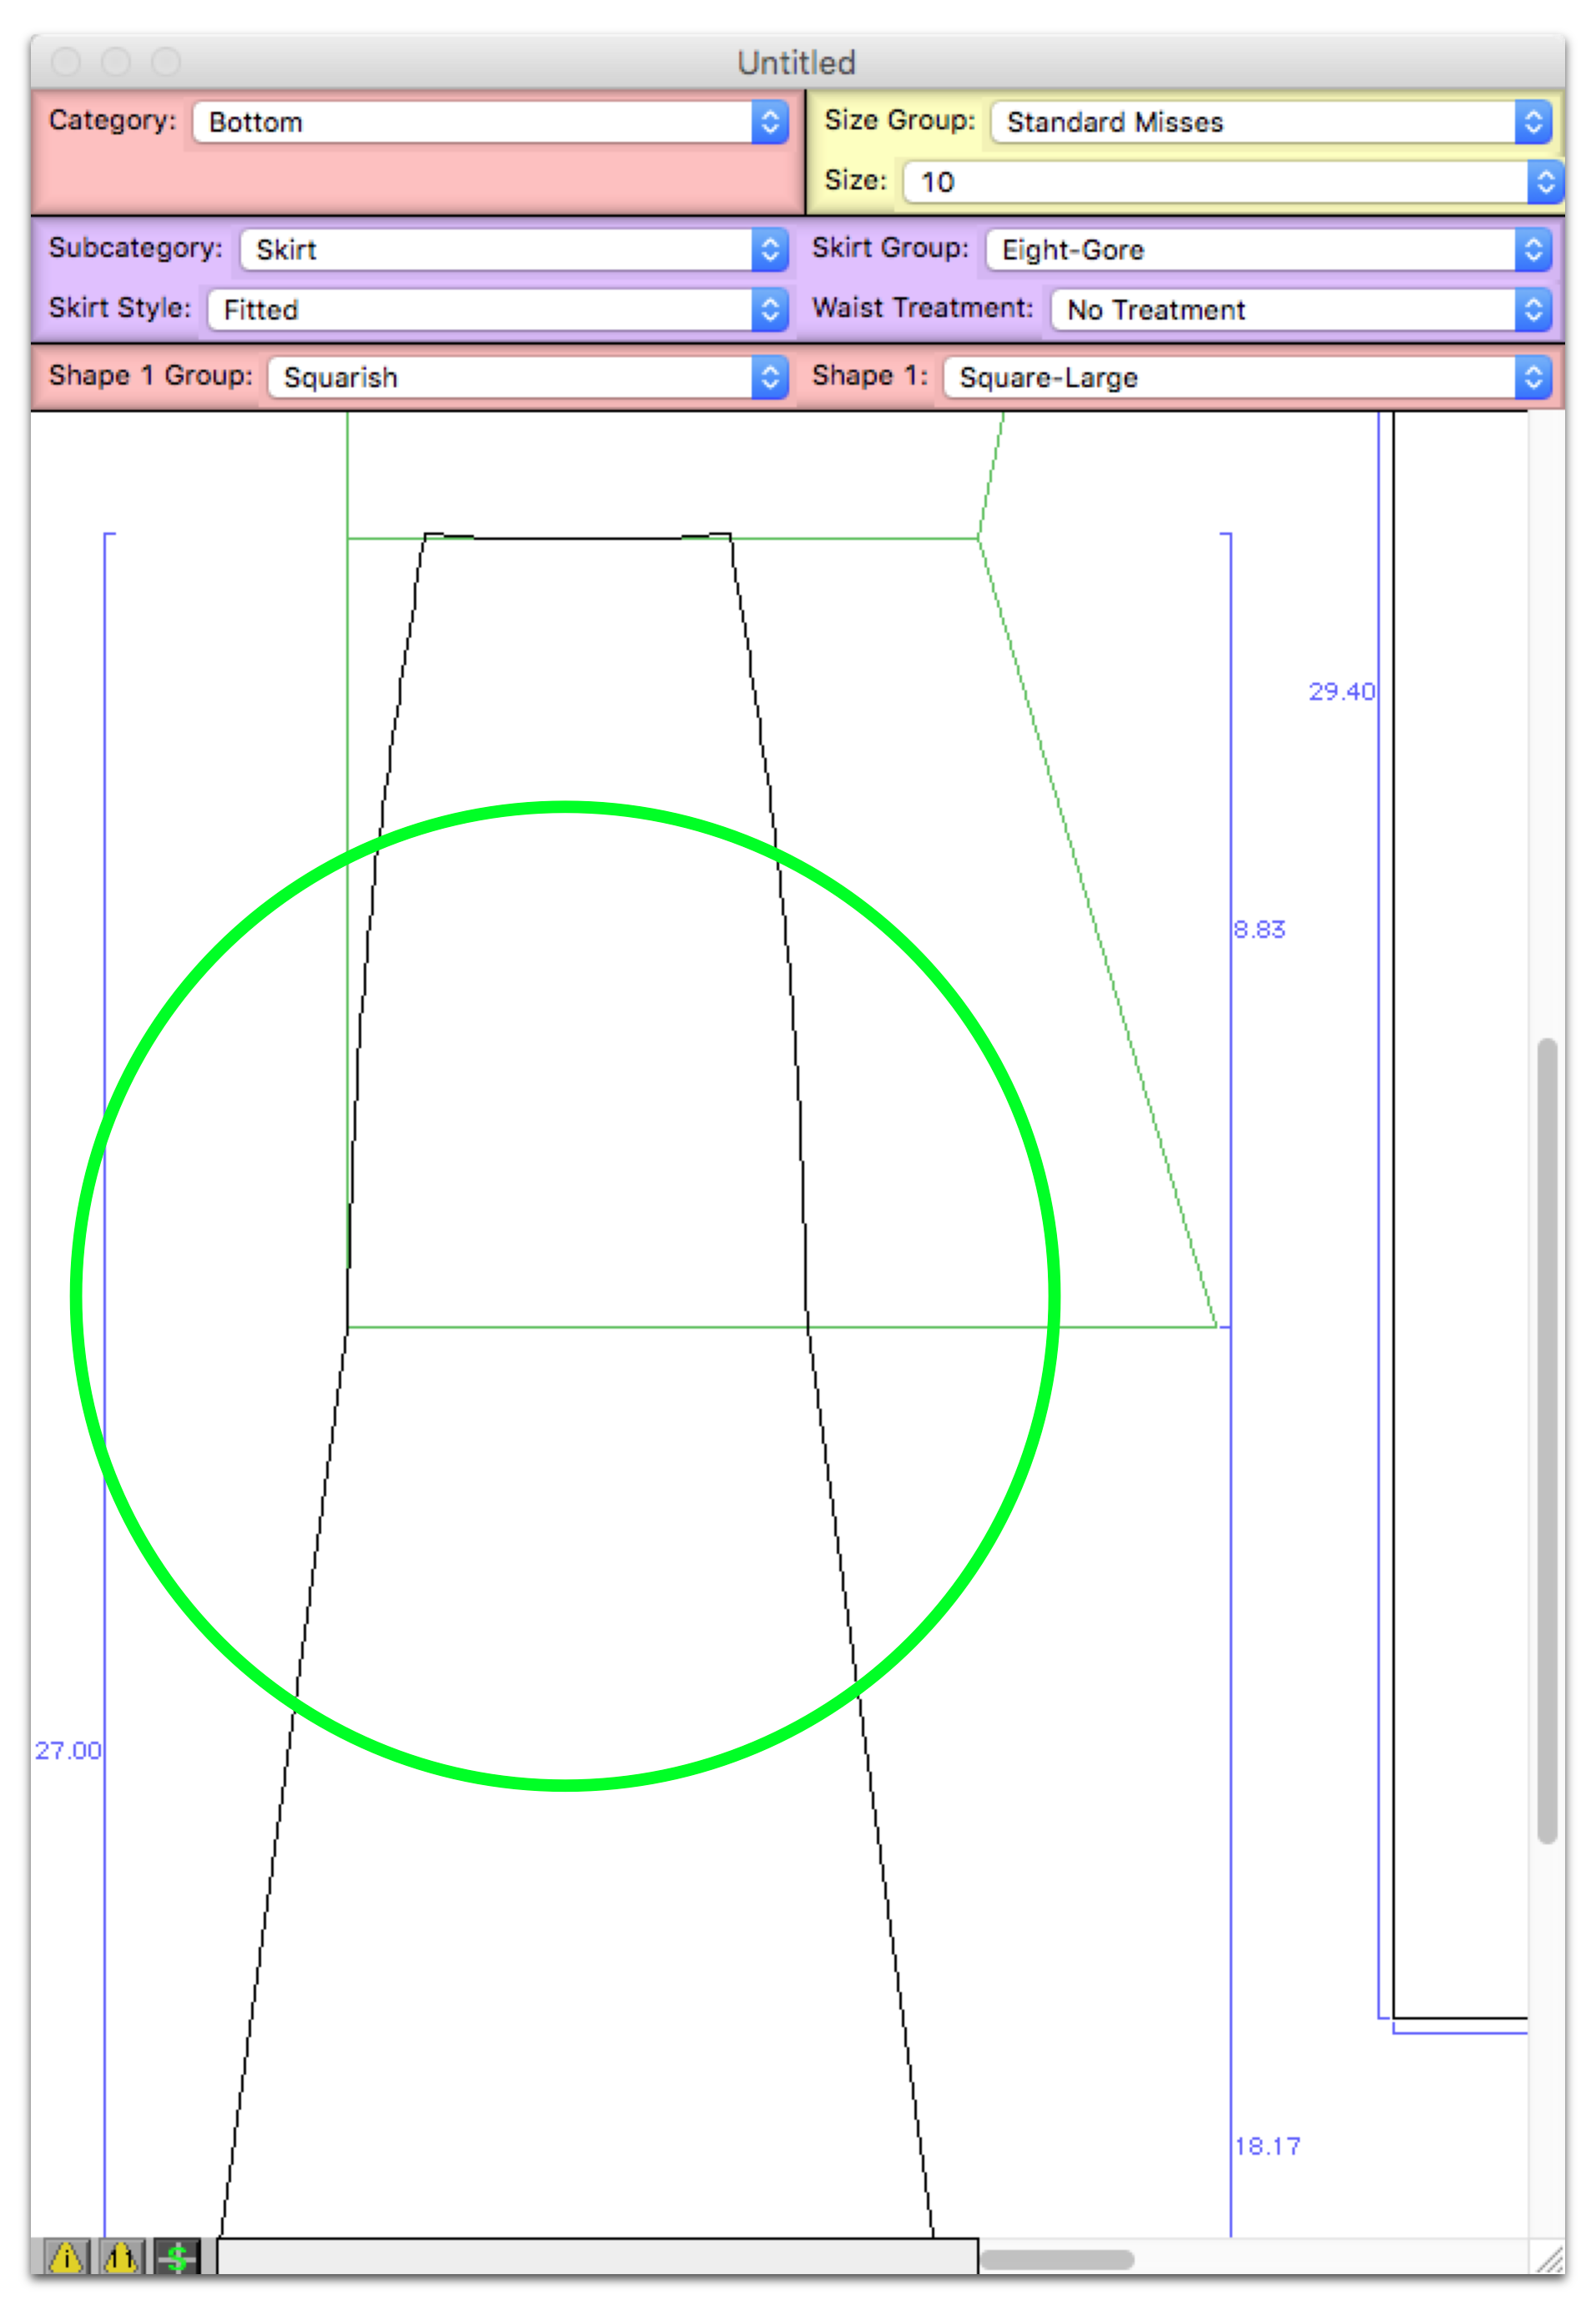
I kept the angles from the top two waist line points and just adjusted the bezier curves coming from the hip points to smooth out the seam lines and it fixed my error message.
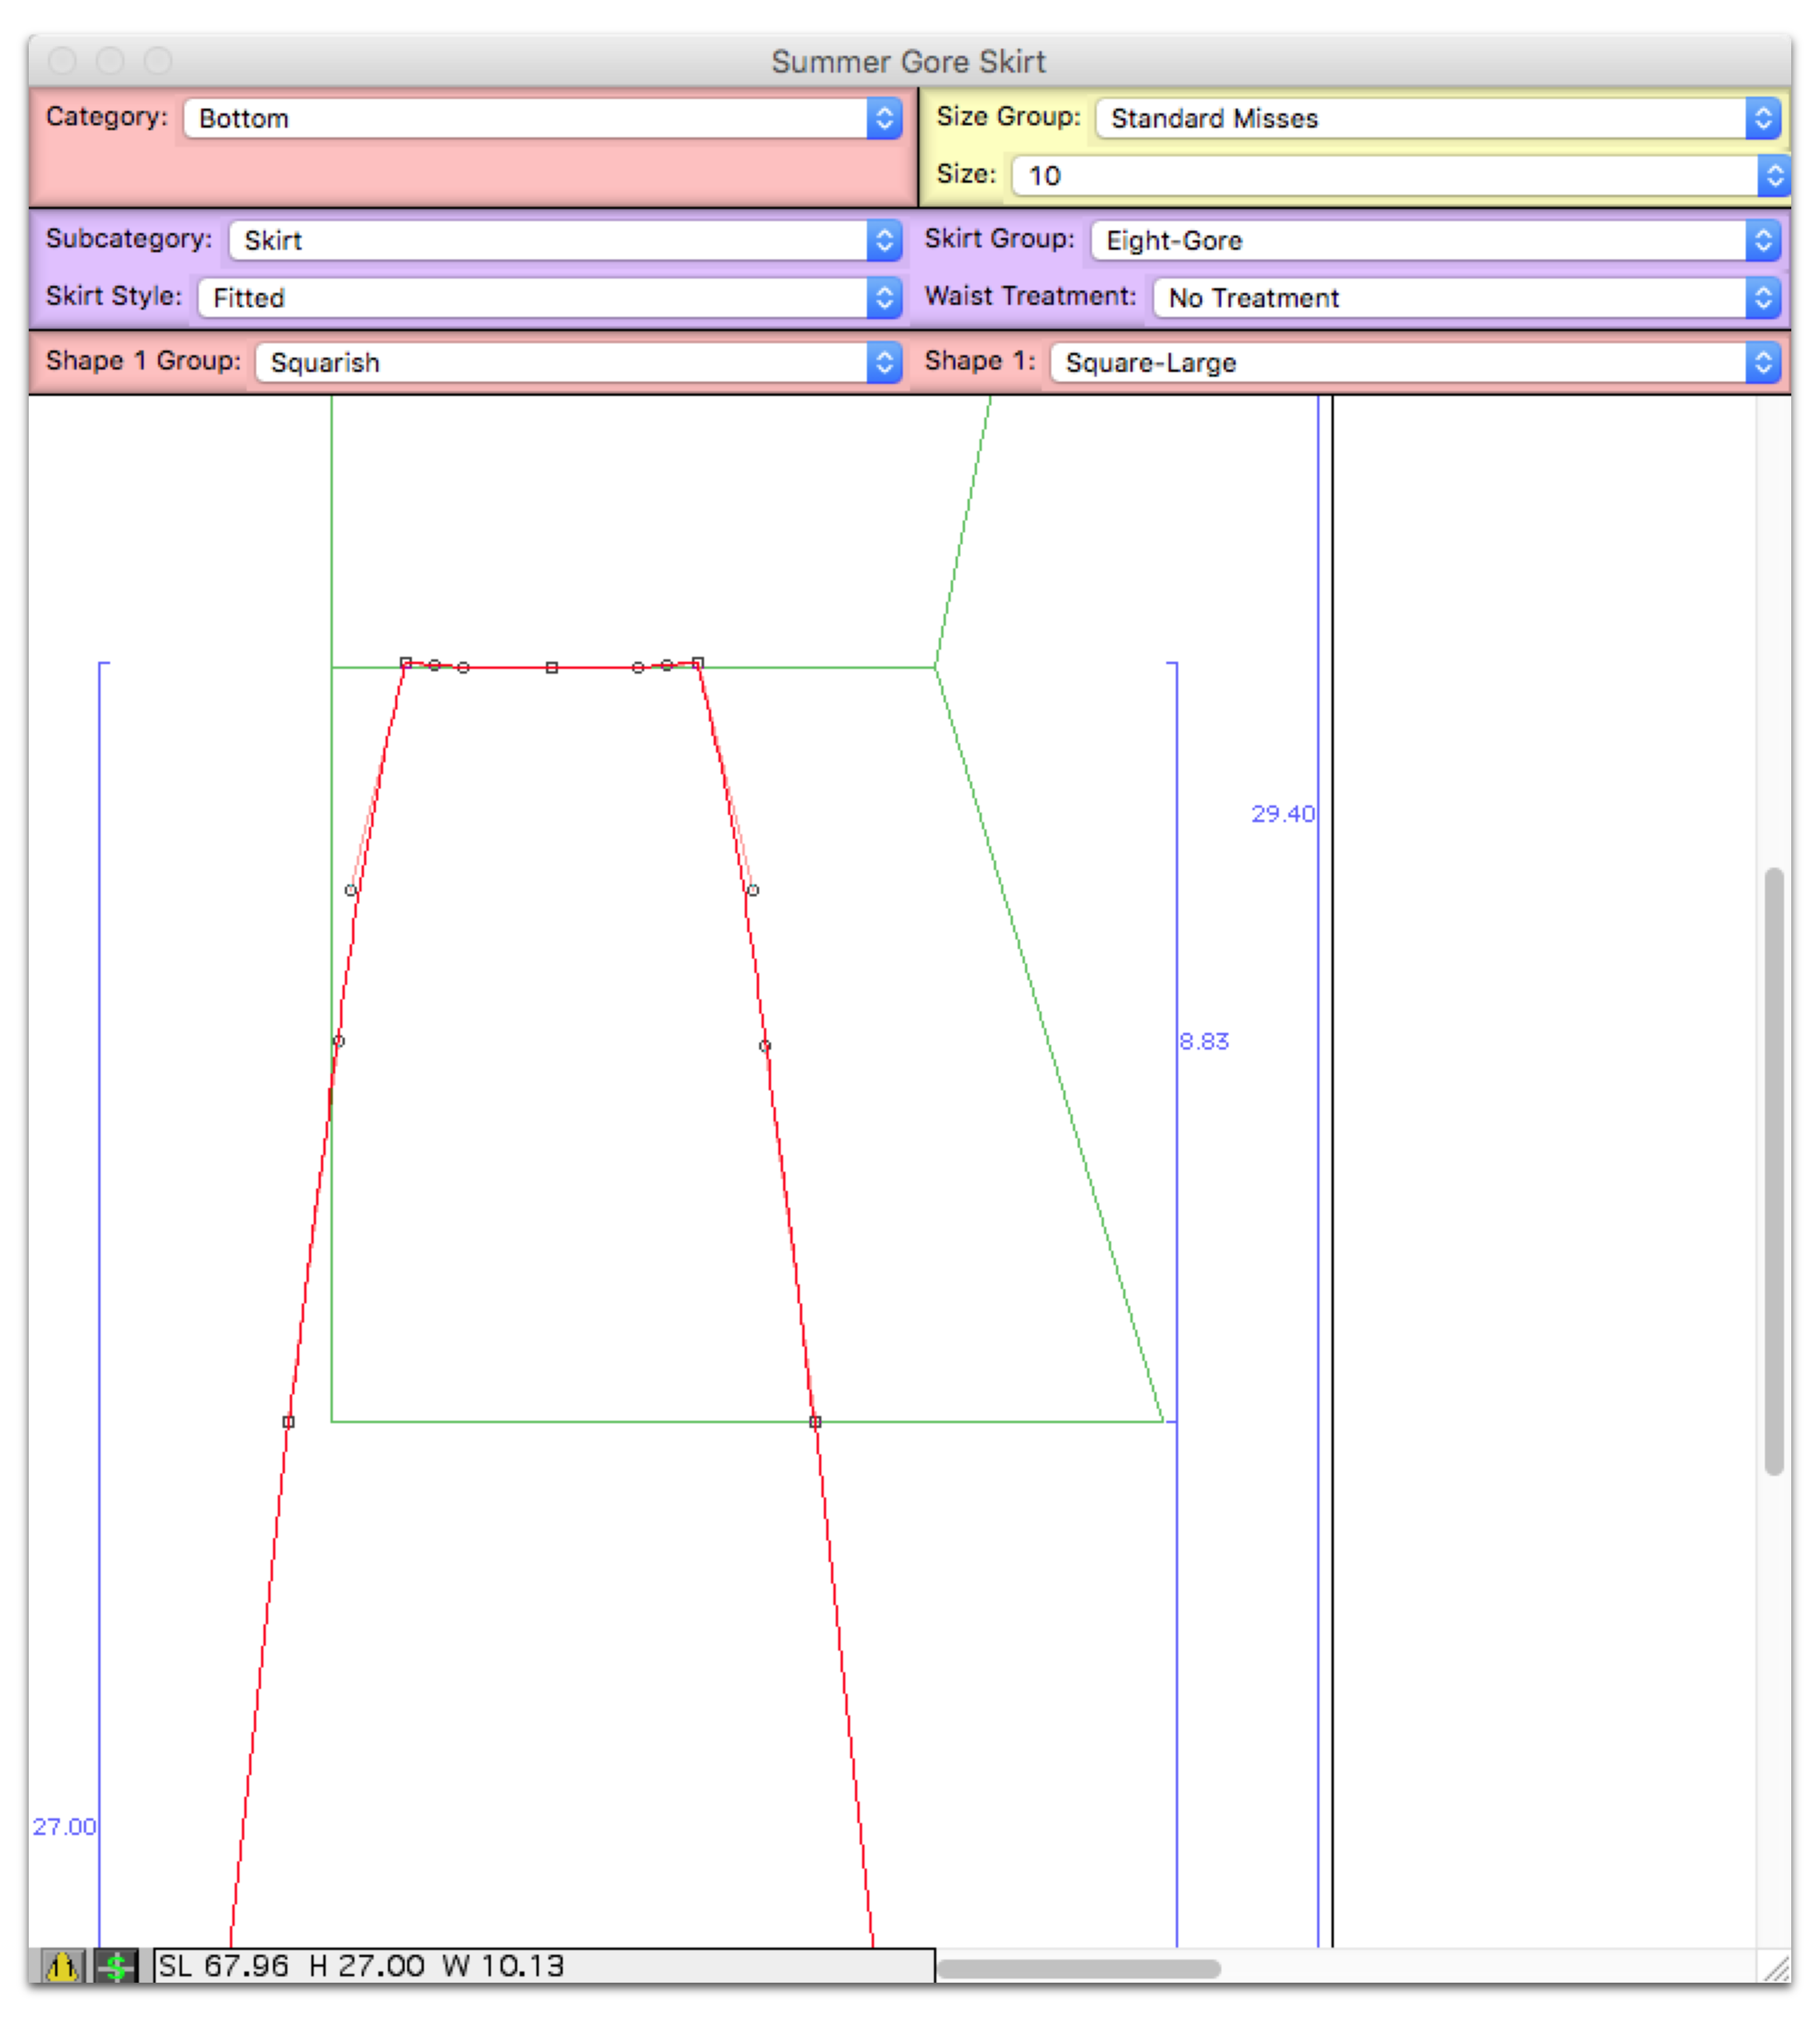
Now to adjust the hem I just took the center point and nudged it down until I could see that my side seam angles were closer to 90 degrees. I do this so that when I sew the seams together they don’t make a point.
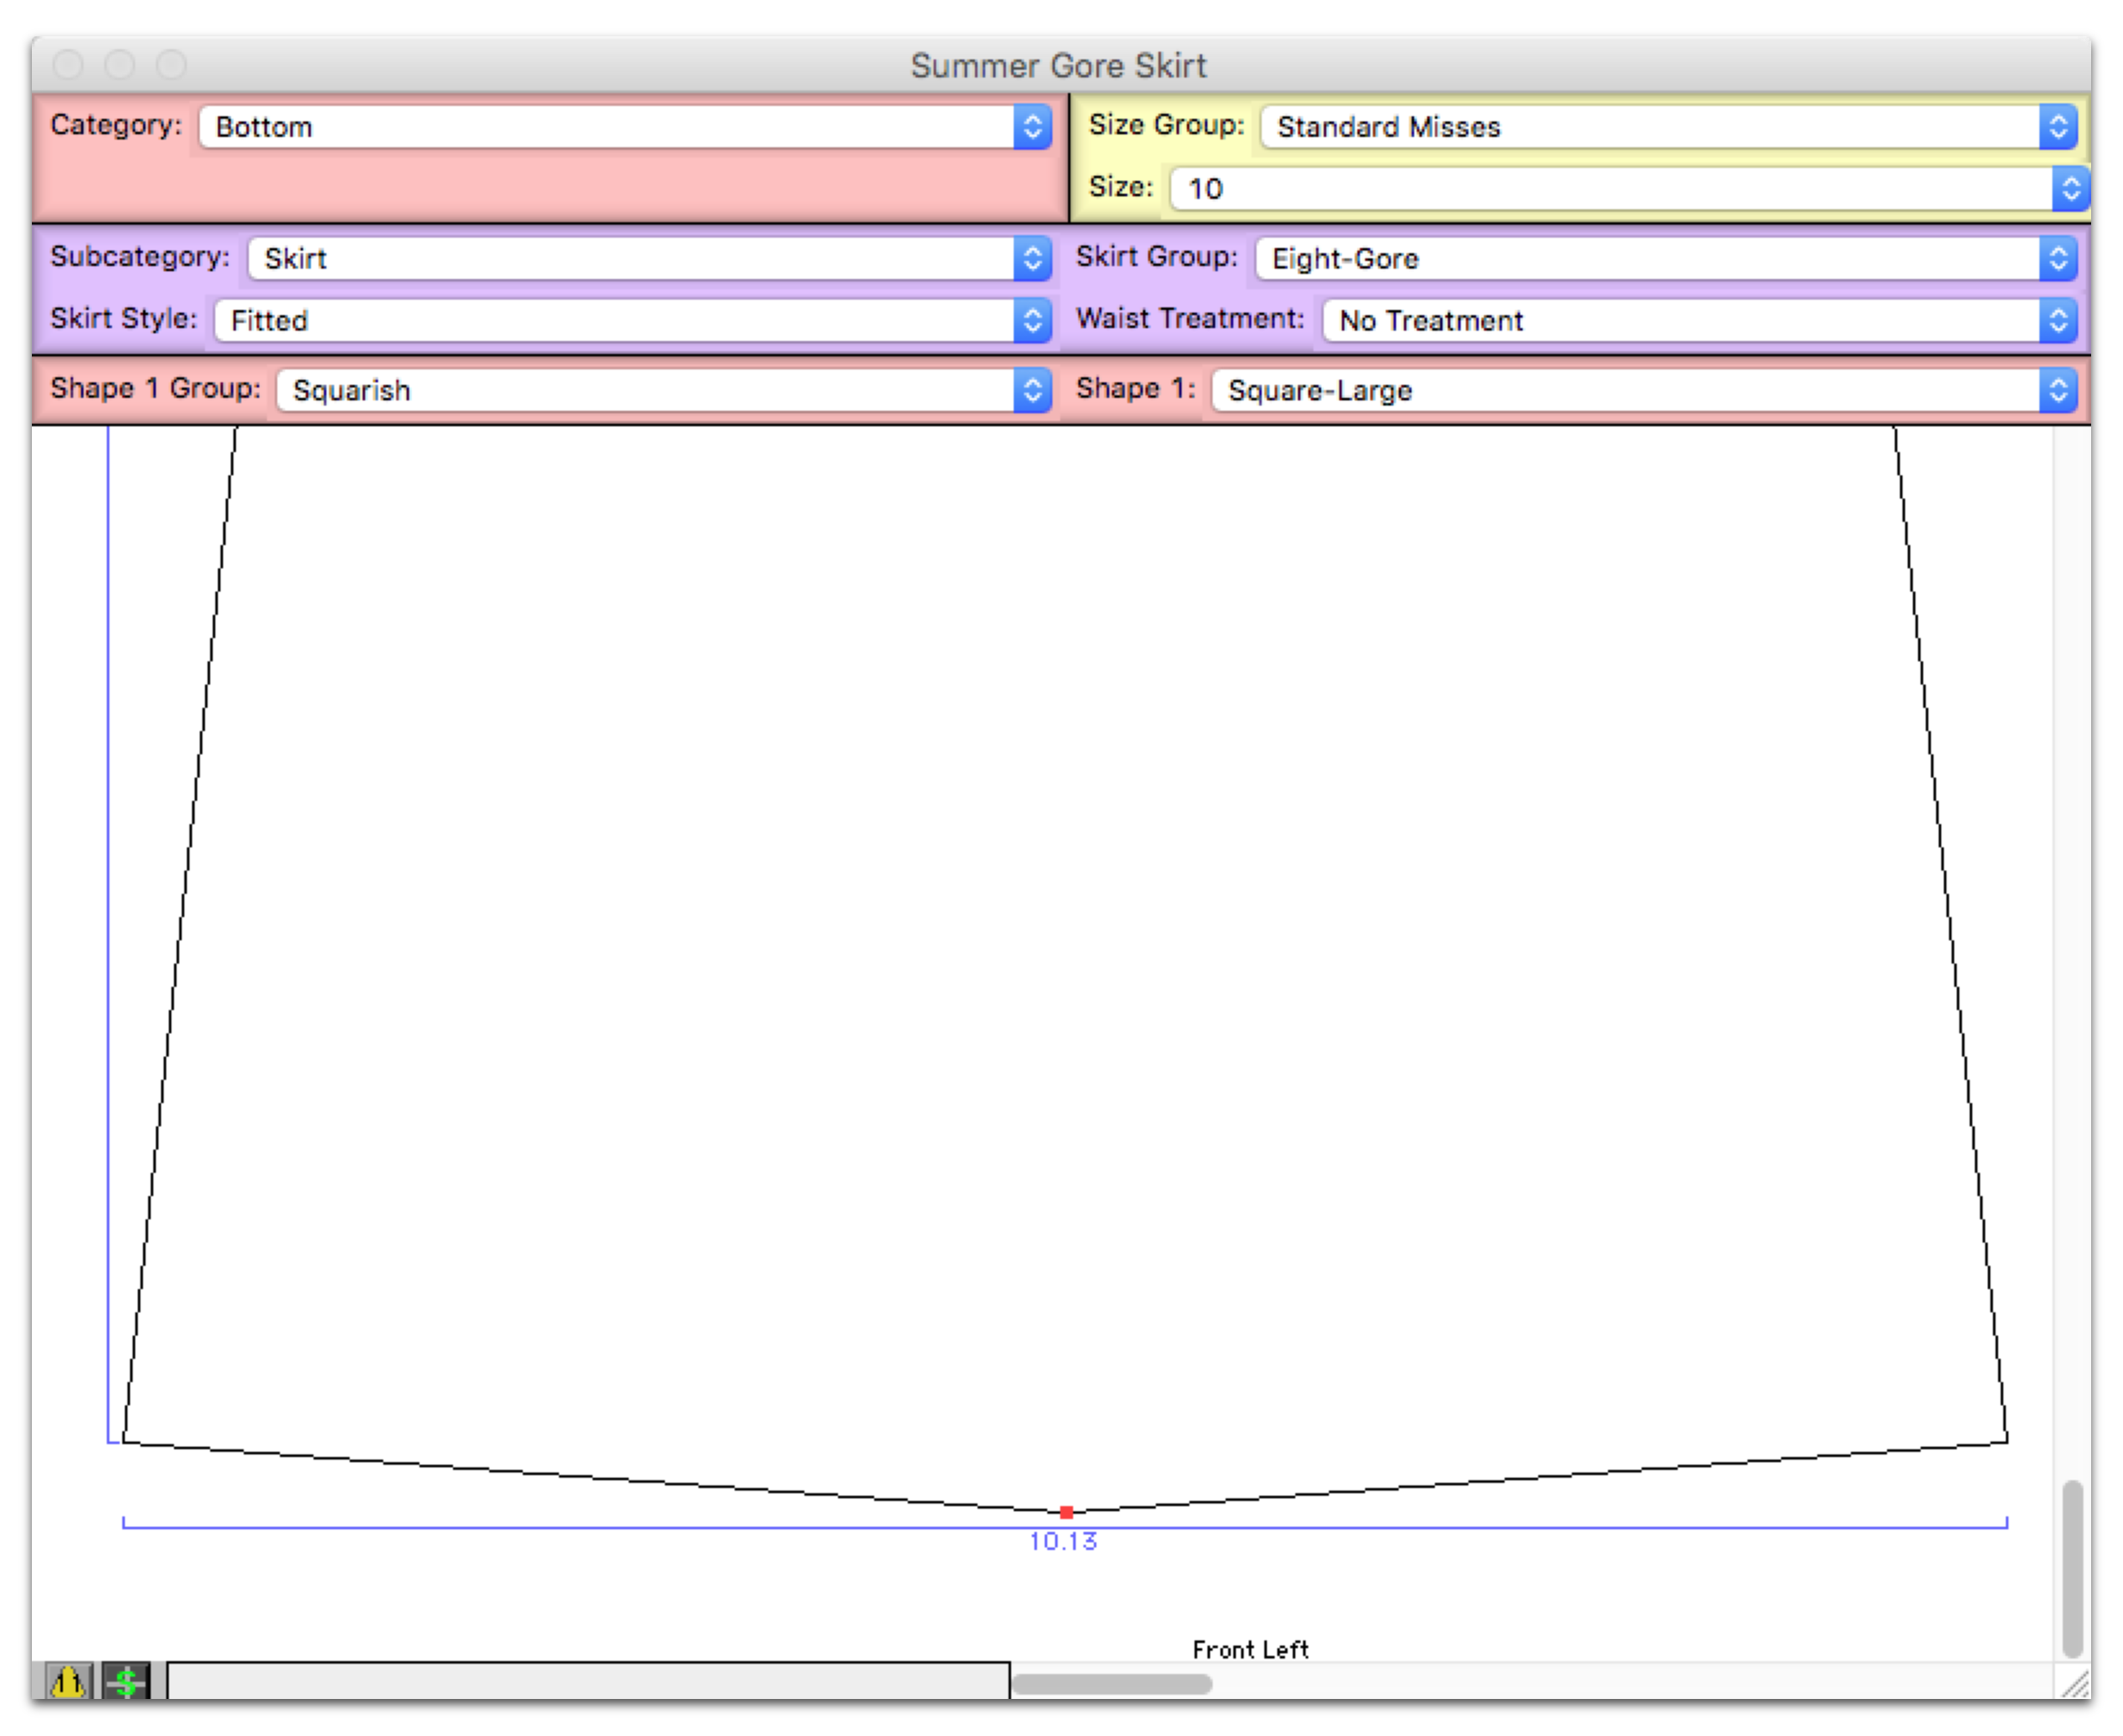
By doing this I made a ‘point’ down the center, but I just know that when I cut this out I’m going to make sure I make it a rounded hem (see below).
*update*
I made the mistake of not exploring all of my option on Garment Designer *sigh*
I had left my ‘Skirt Style’ option at the default setting ‘fitted’ when there was a ‘fit and flare’ option that could have saved me time! Lesson learned…look through all the dropdown menus and exlpore all your options before starting a pattern!
*end of update*
Then I add my 1″ Hem (Additions> Add hem or Cmd+H on mac)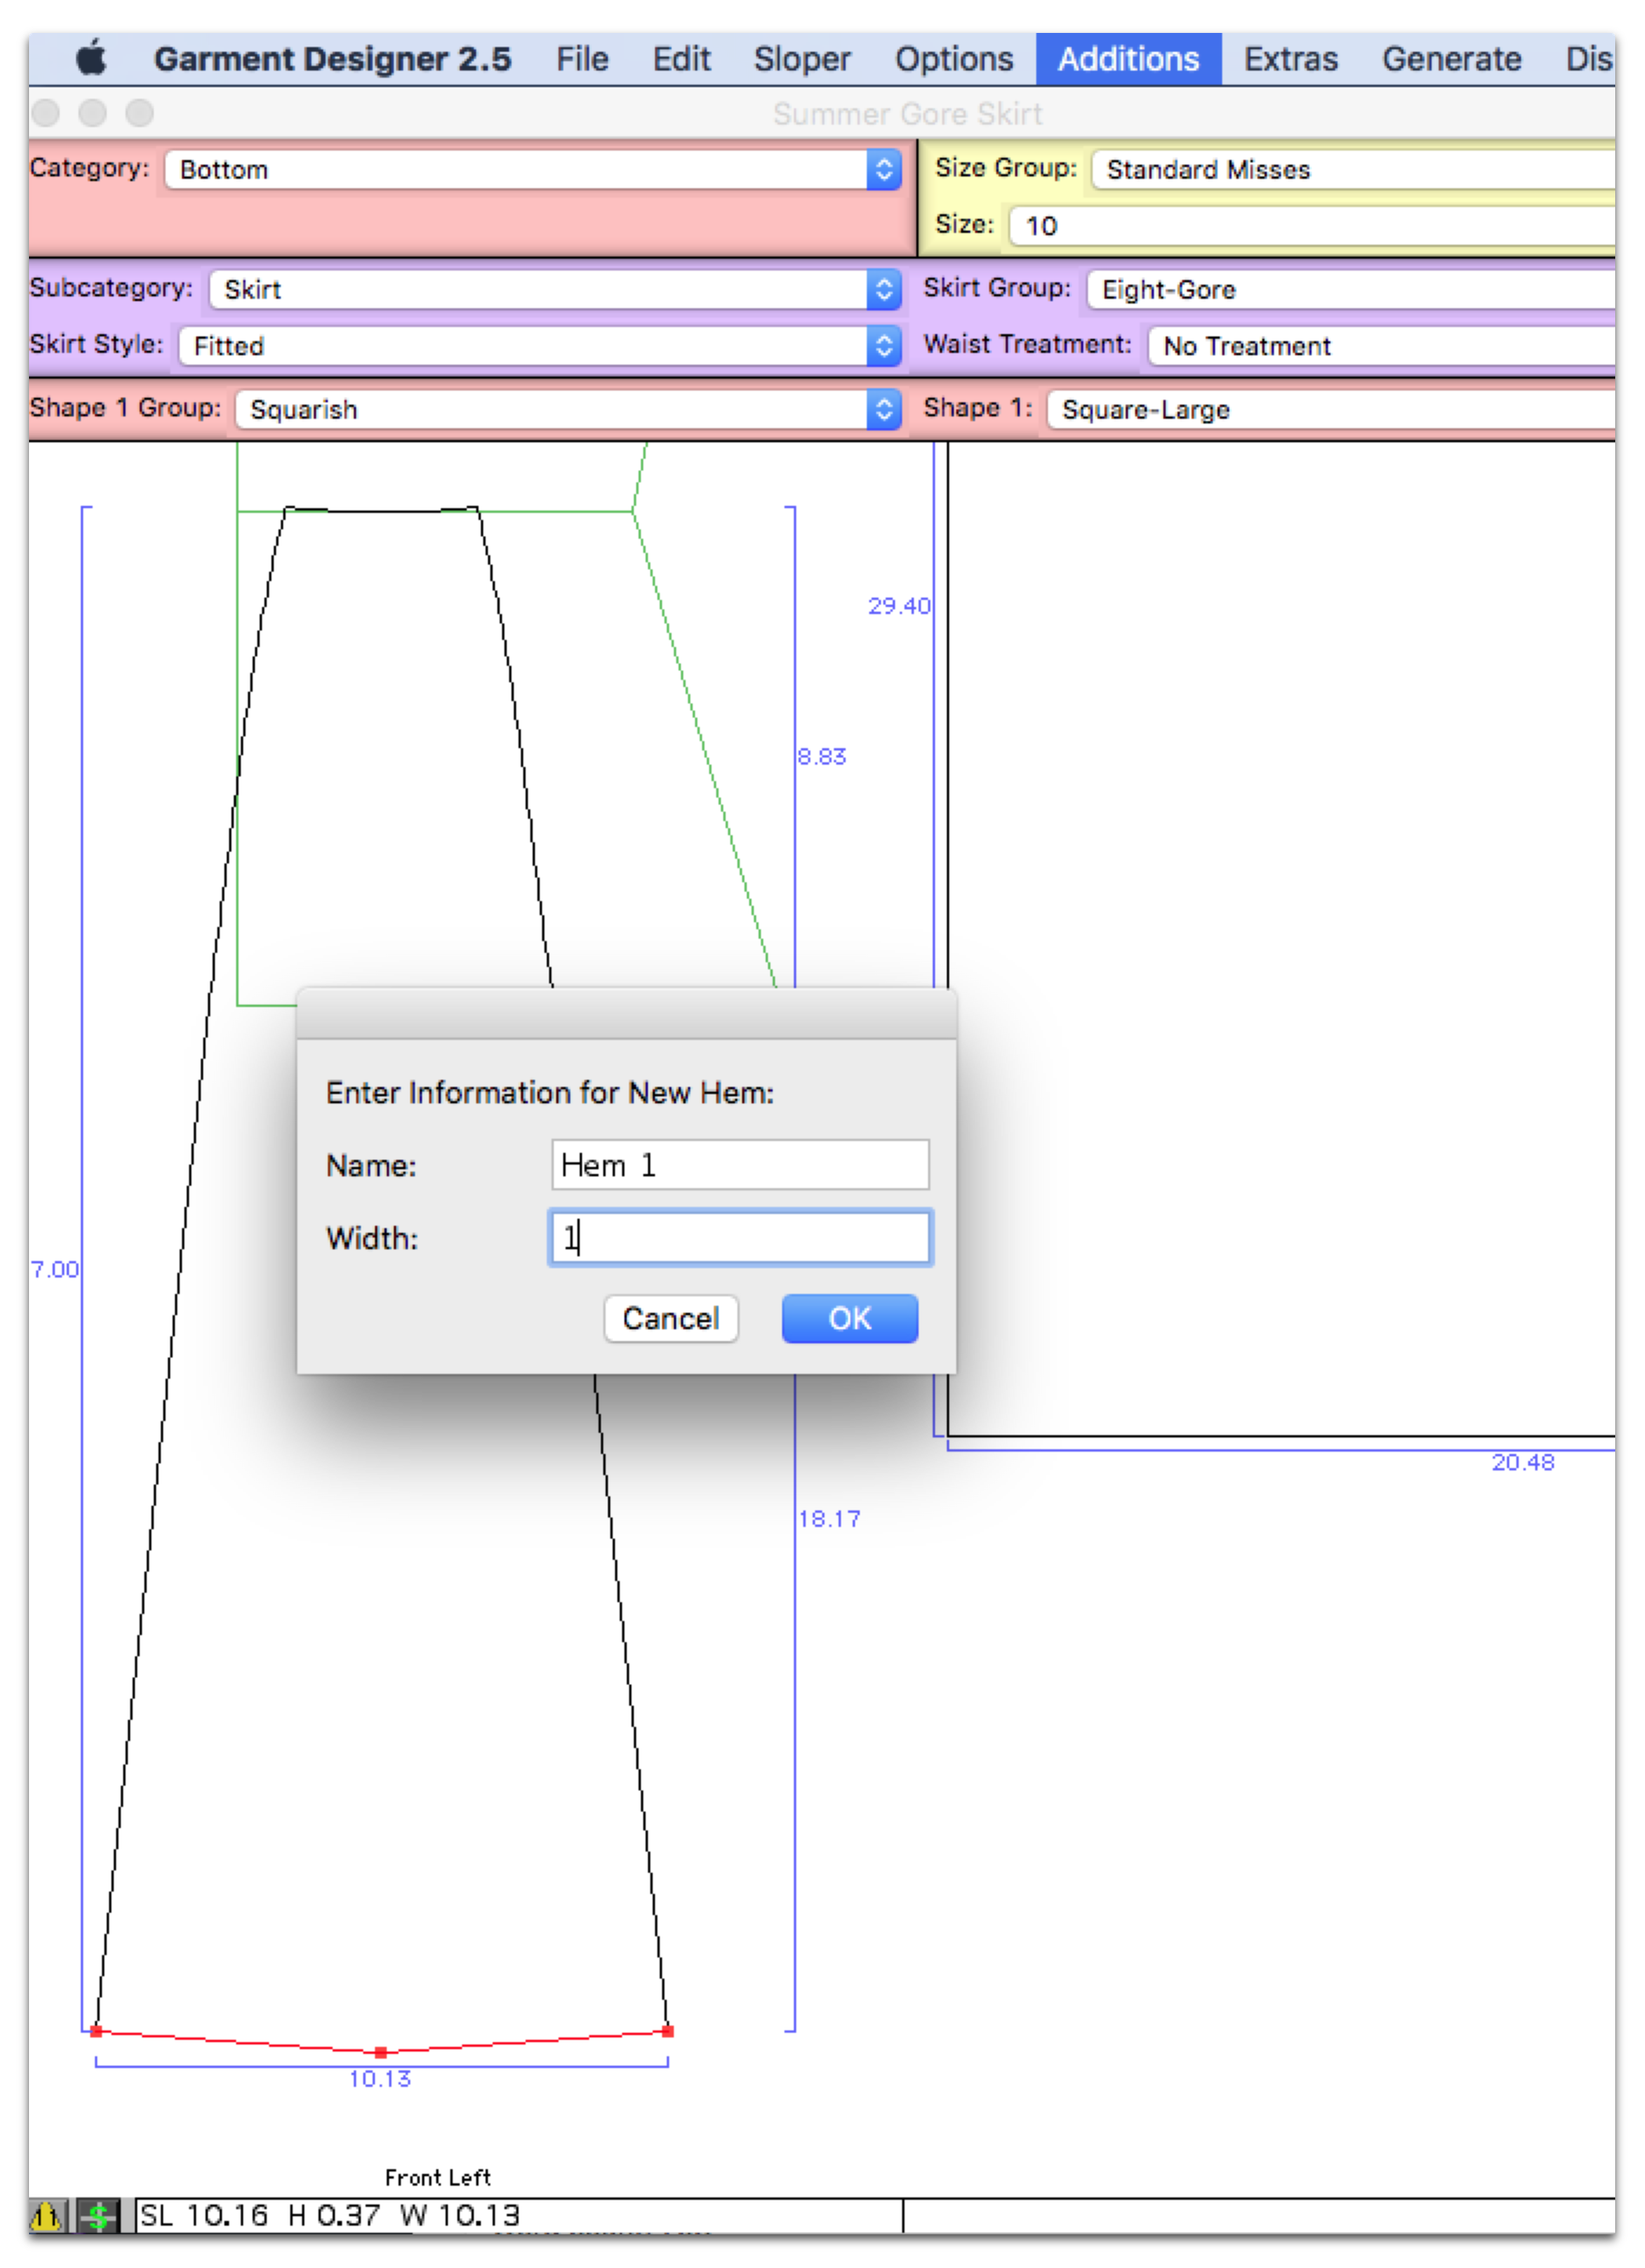
…the I add my seam allowances to everything but my hem (Additions> Custom Seam Allowance 3/8″) and get ready to print.
These are just my preferences for printing…
I turn my grid on (Display > Show Grid)
Turn off my dimensions ((Display > Show Dimensions or Cmd+U on mac)
Show only the pattern (Display > Show Pattern)
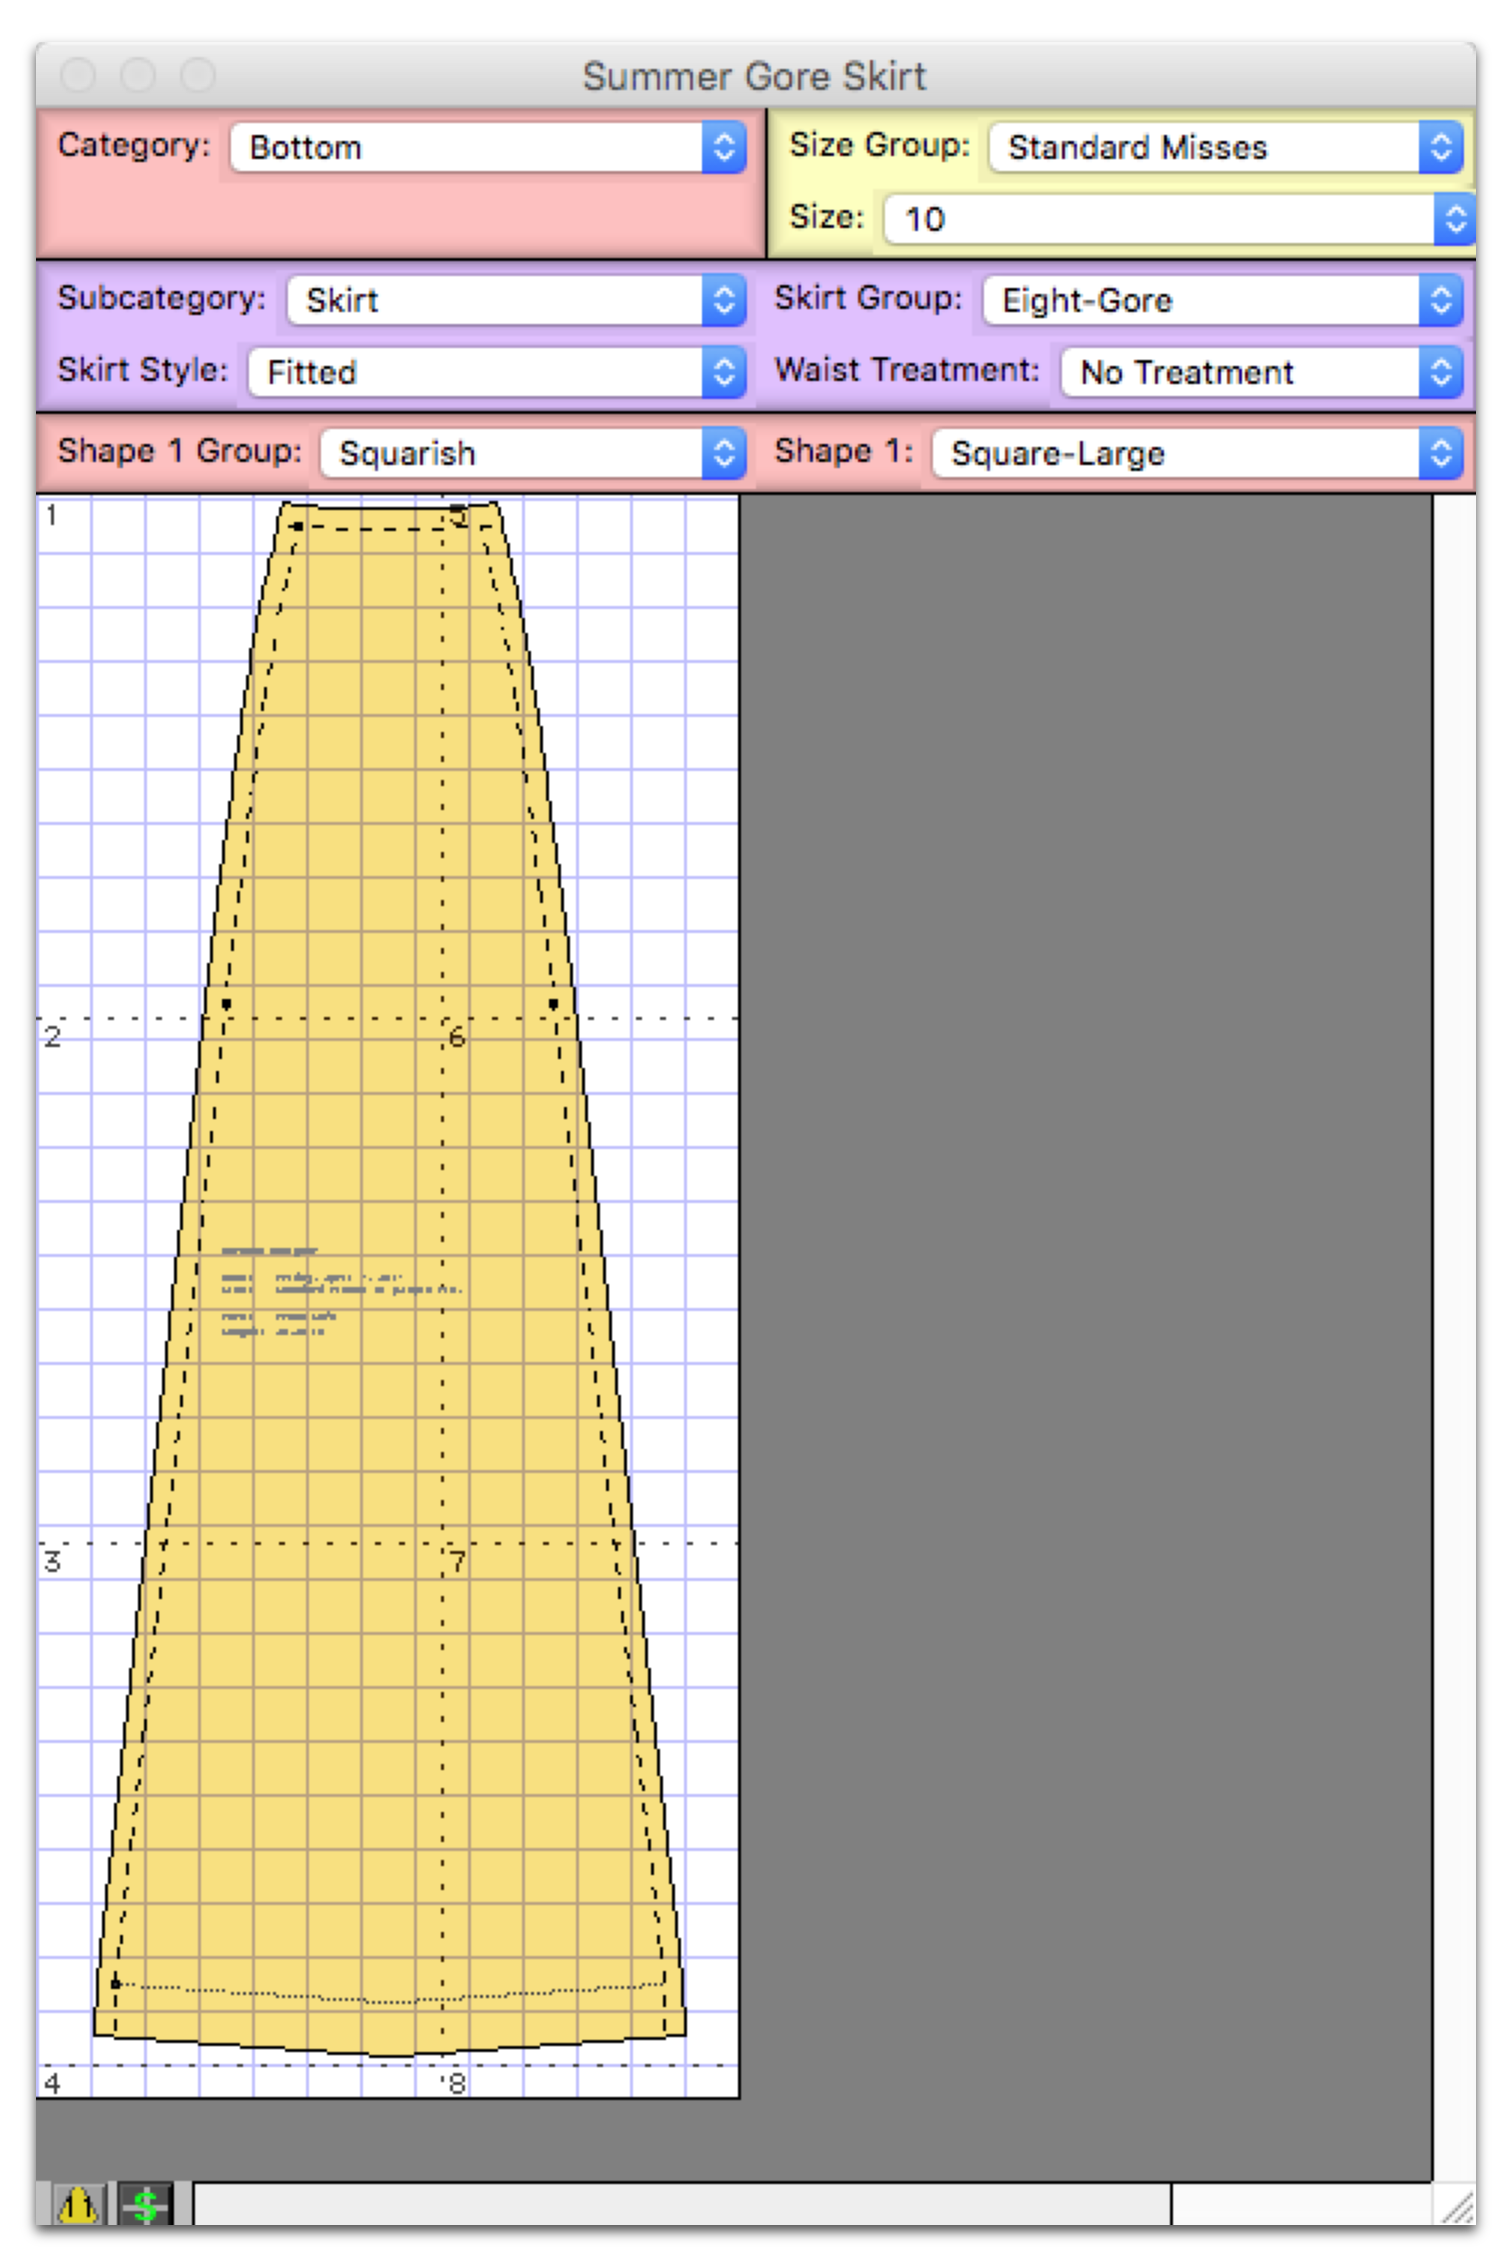
Display my final pattern (Display > Final Pattern or Cmd+7 on mac)
Scale it to actual size (Display > Scale to> Actual size or Cmd+1 on mac)
Then I can hide my overlay shape by selecting the rectangle and hitting ‘H’ for hide
and view my print preview to see if I am wasting any paper (Display > Print Preview)
I like to change my Page Setup between landscape and portrait at this point to see which one will be more efficient and in this case it is portrait. I will only print out pages 1-4 and 5-7.
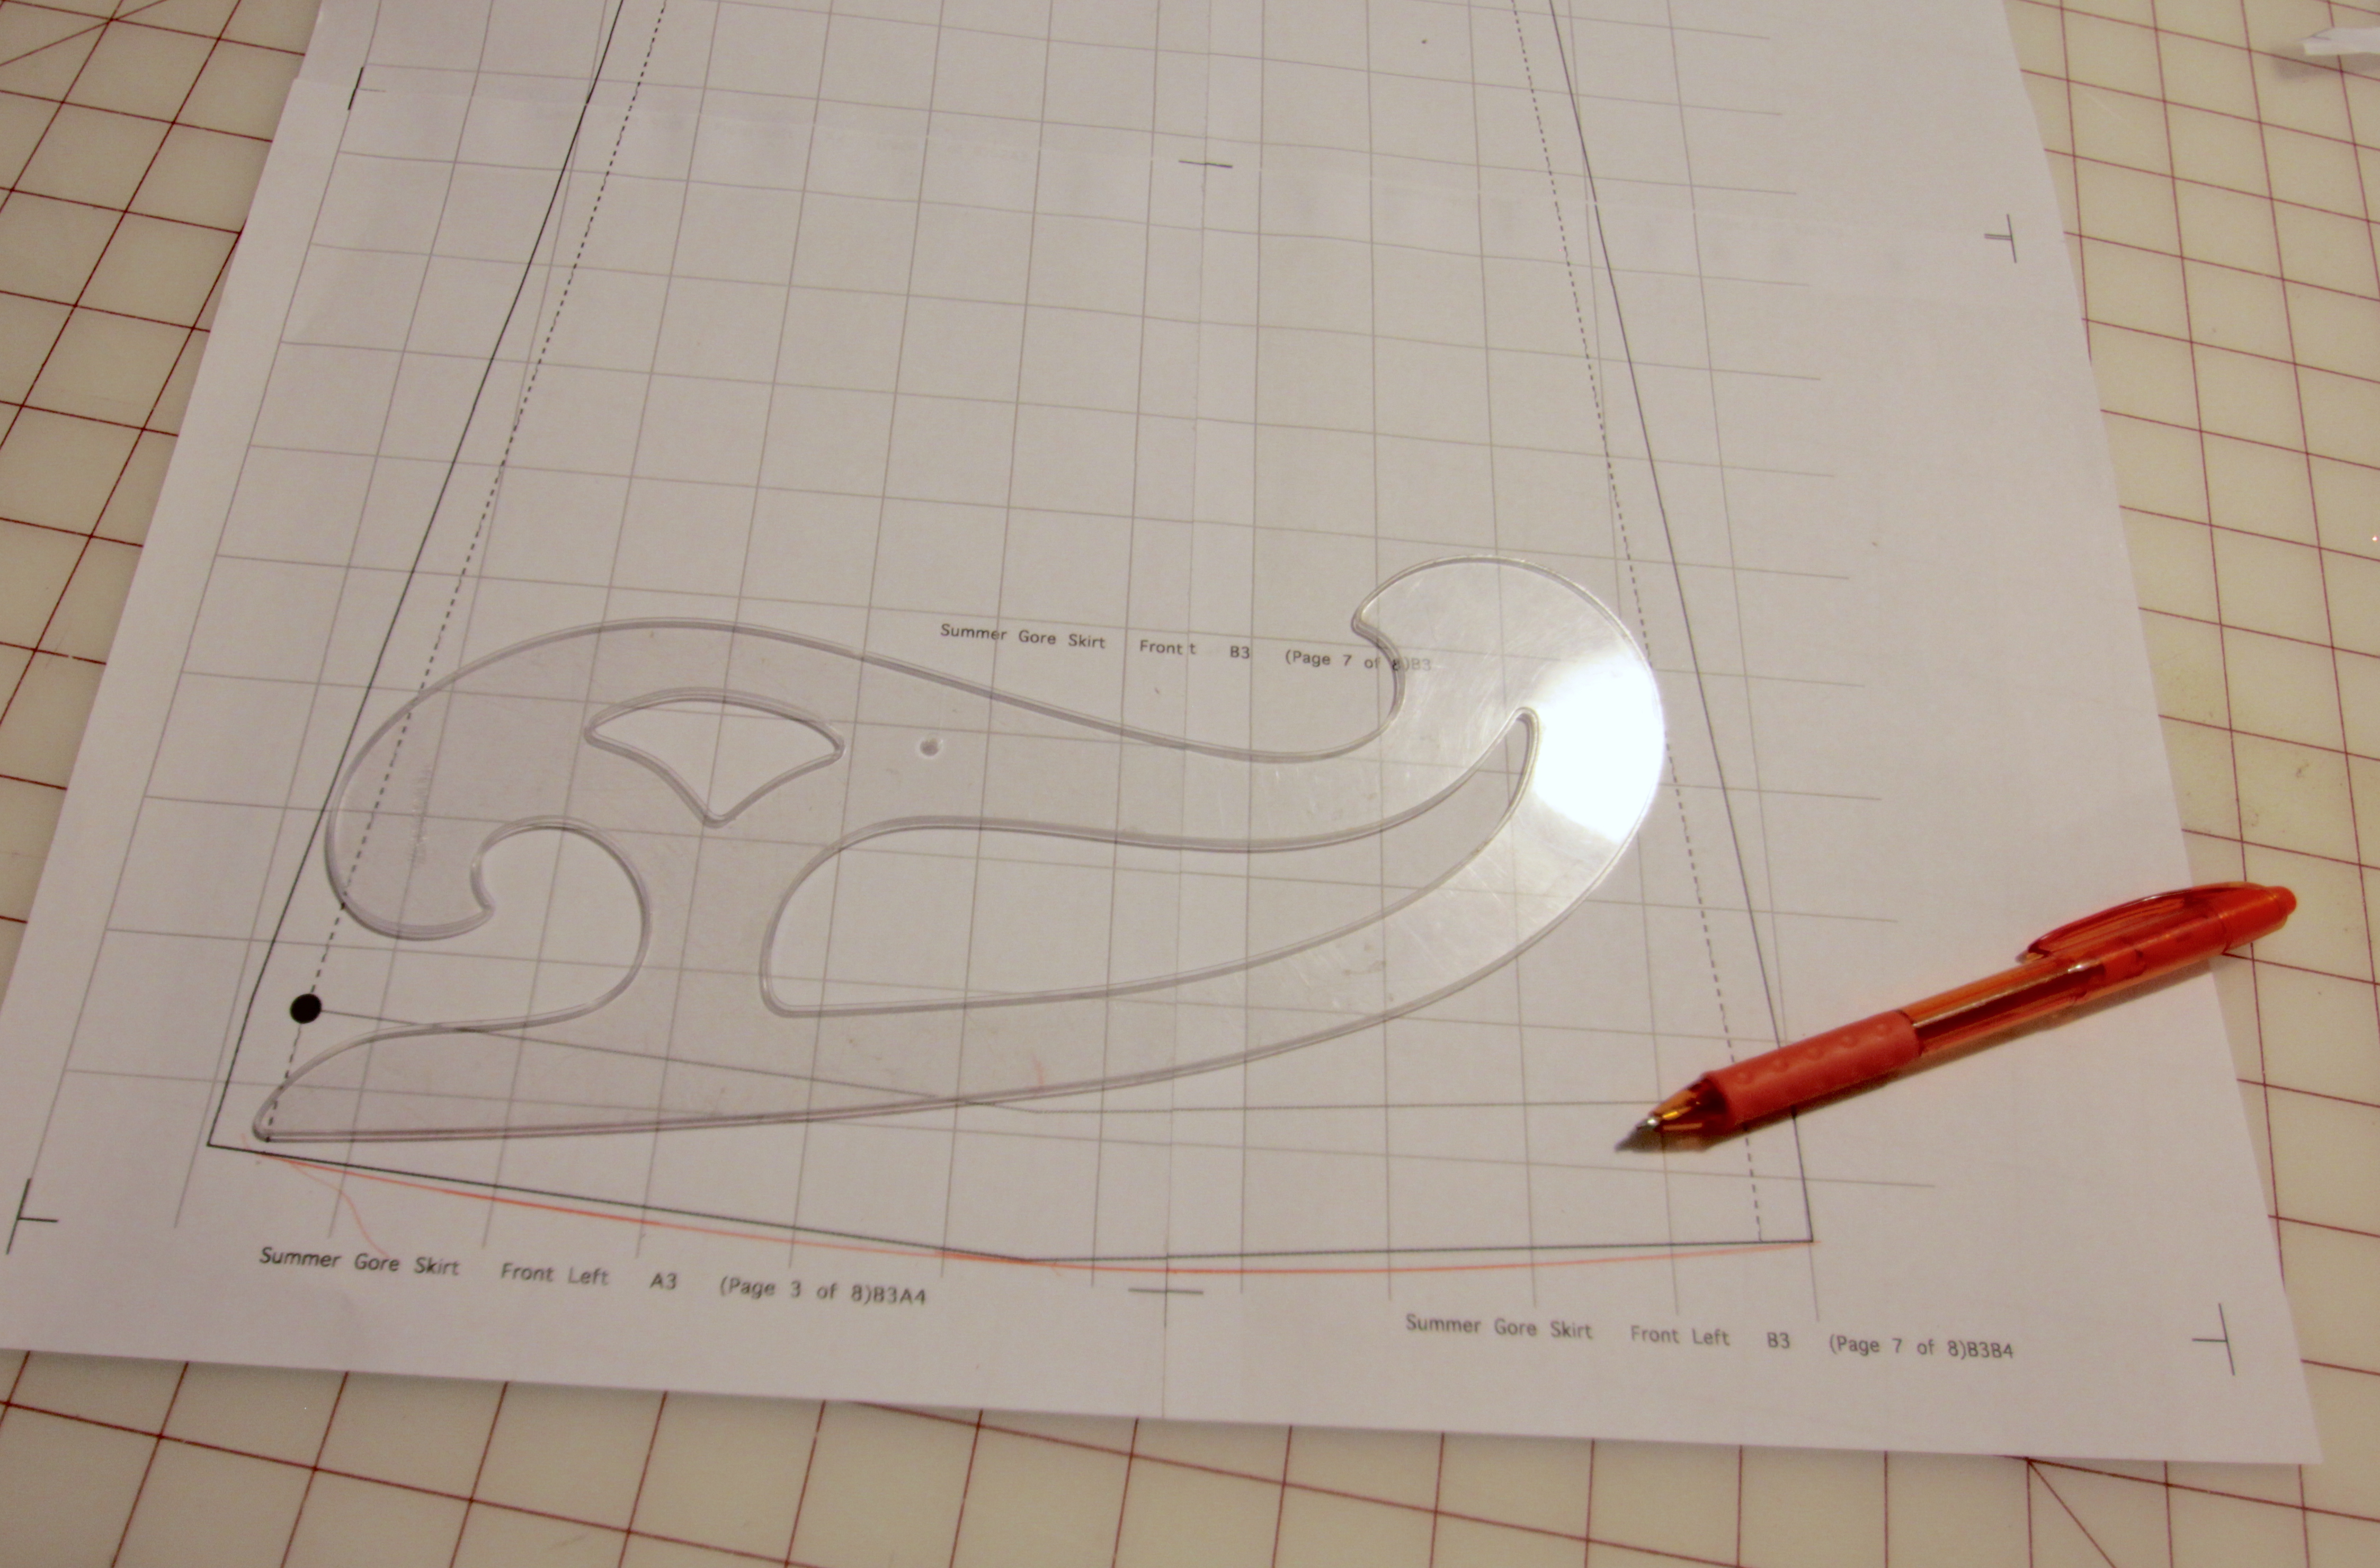
After printing my pattern out I like to use a glue stick to put the pieces together. Once again this is just my personal preference…
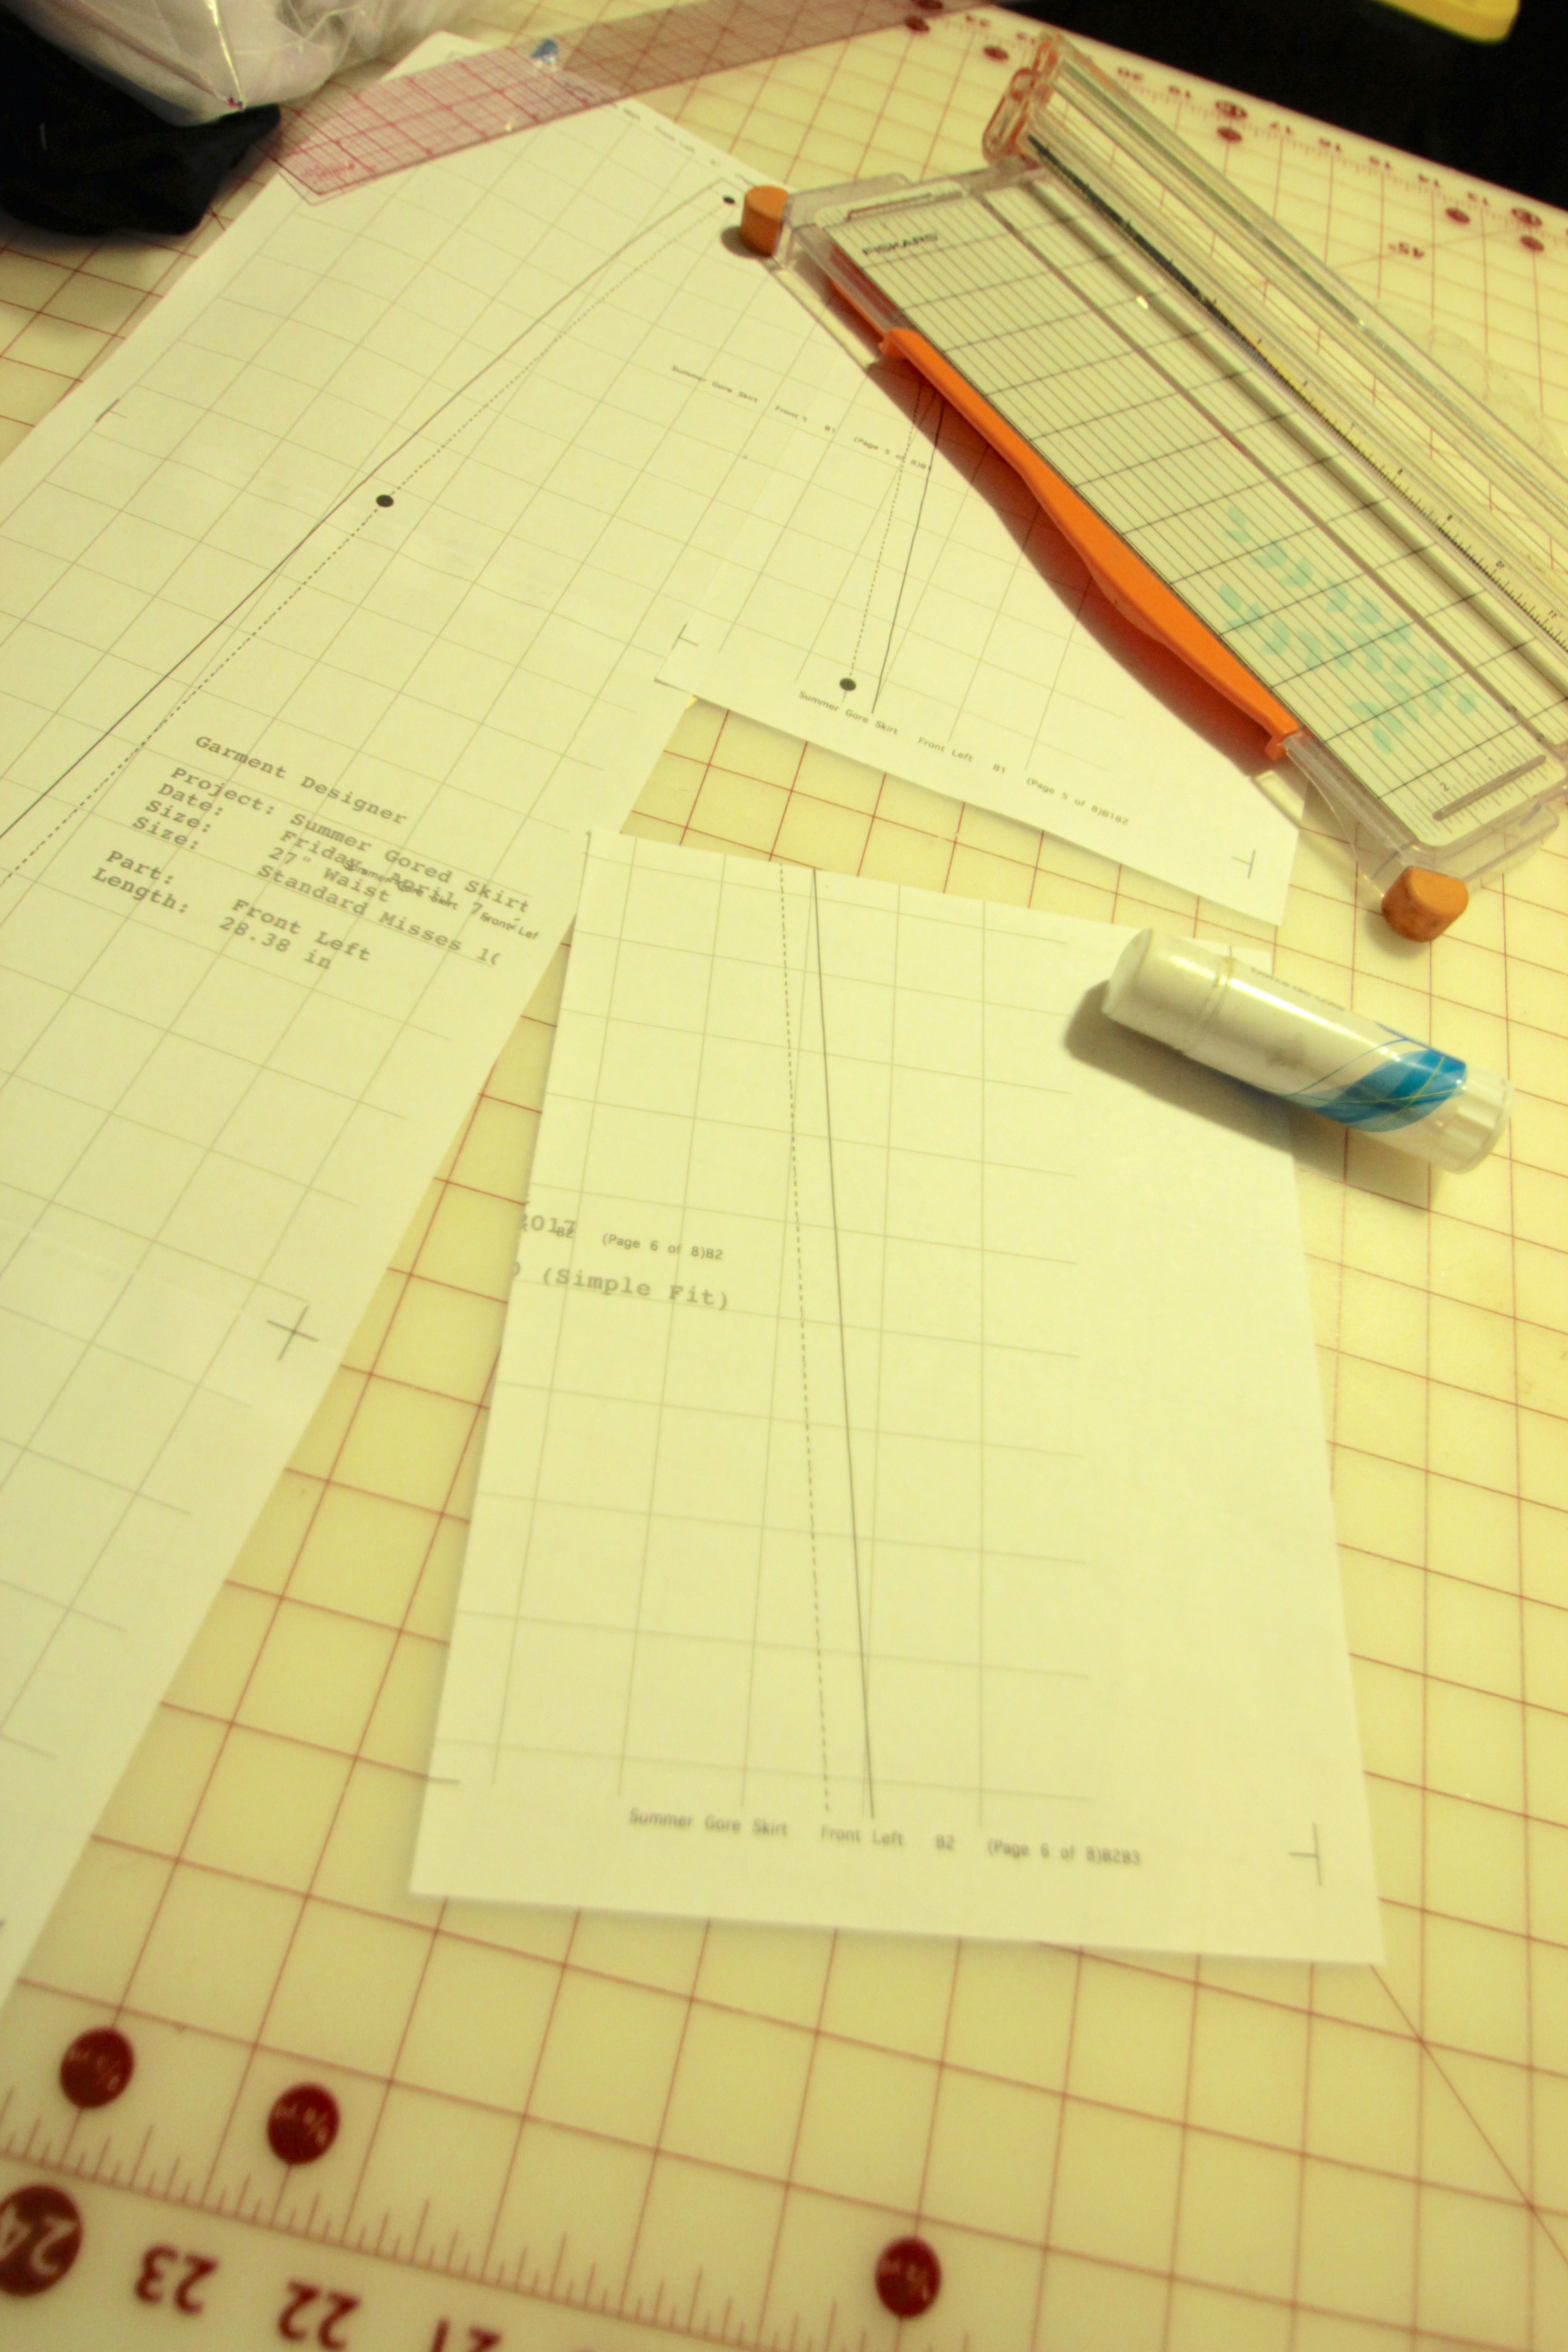
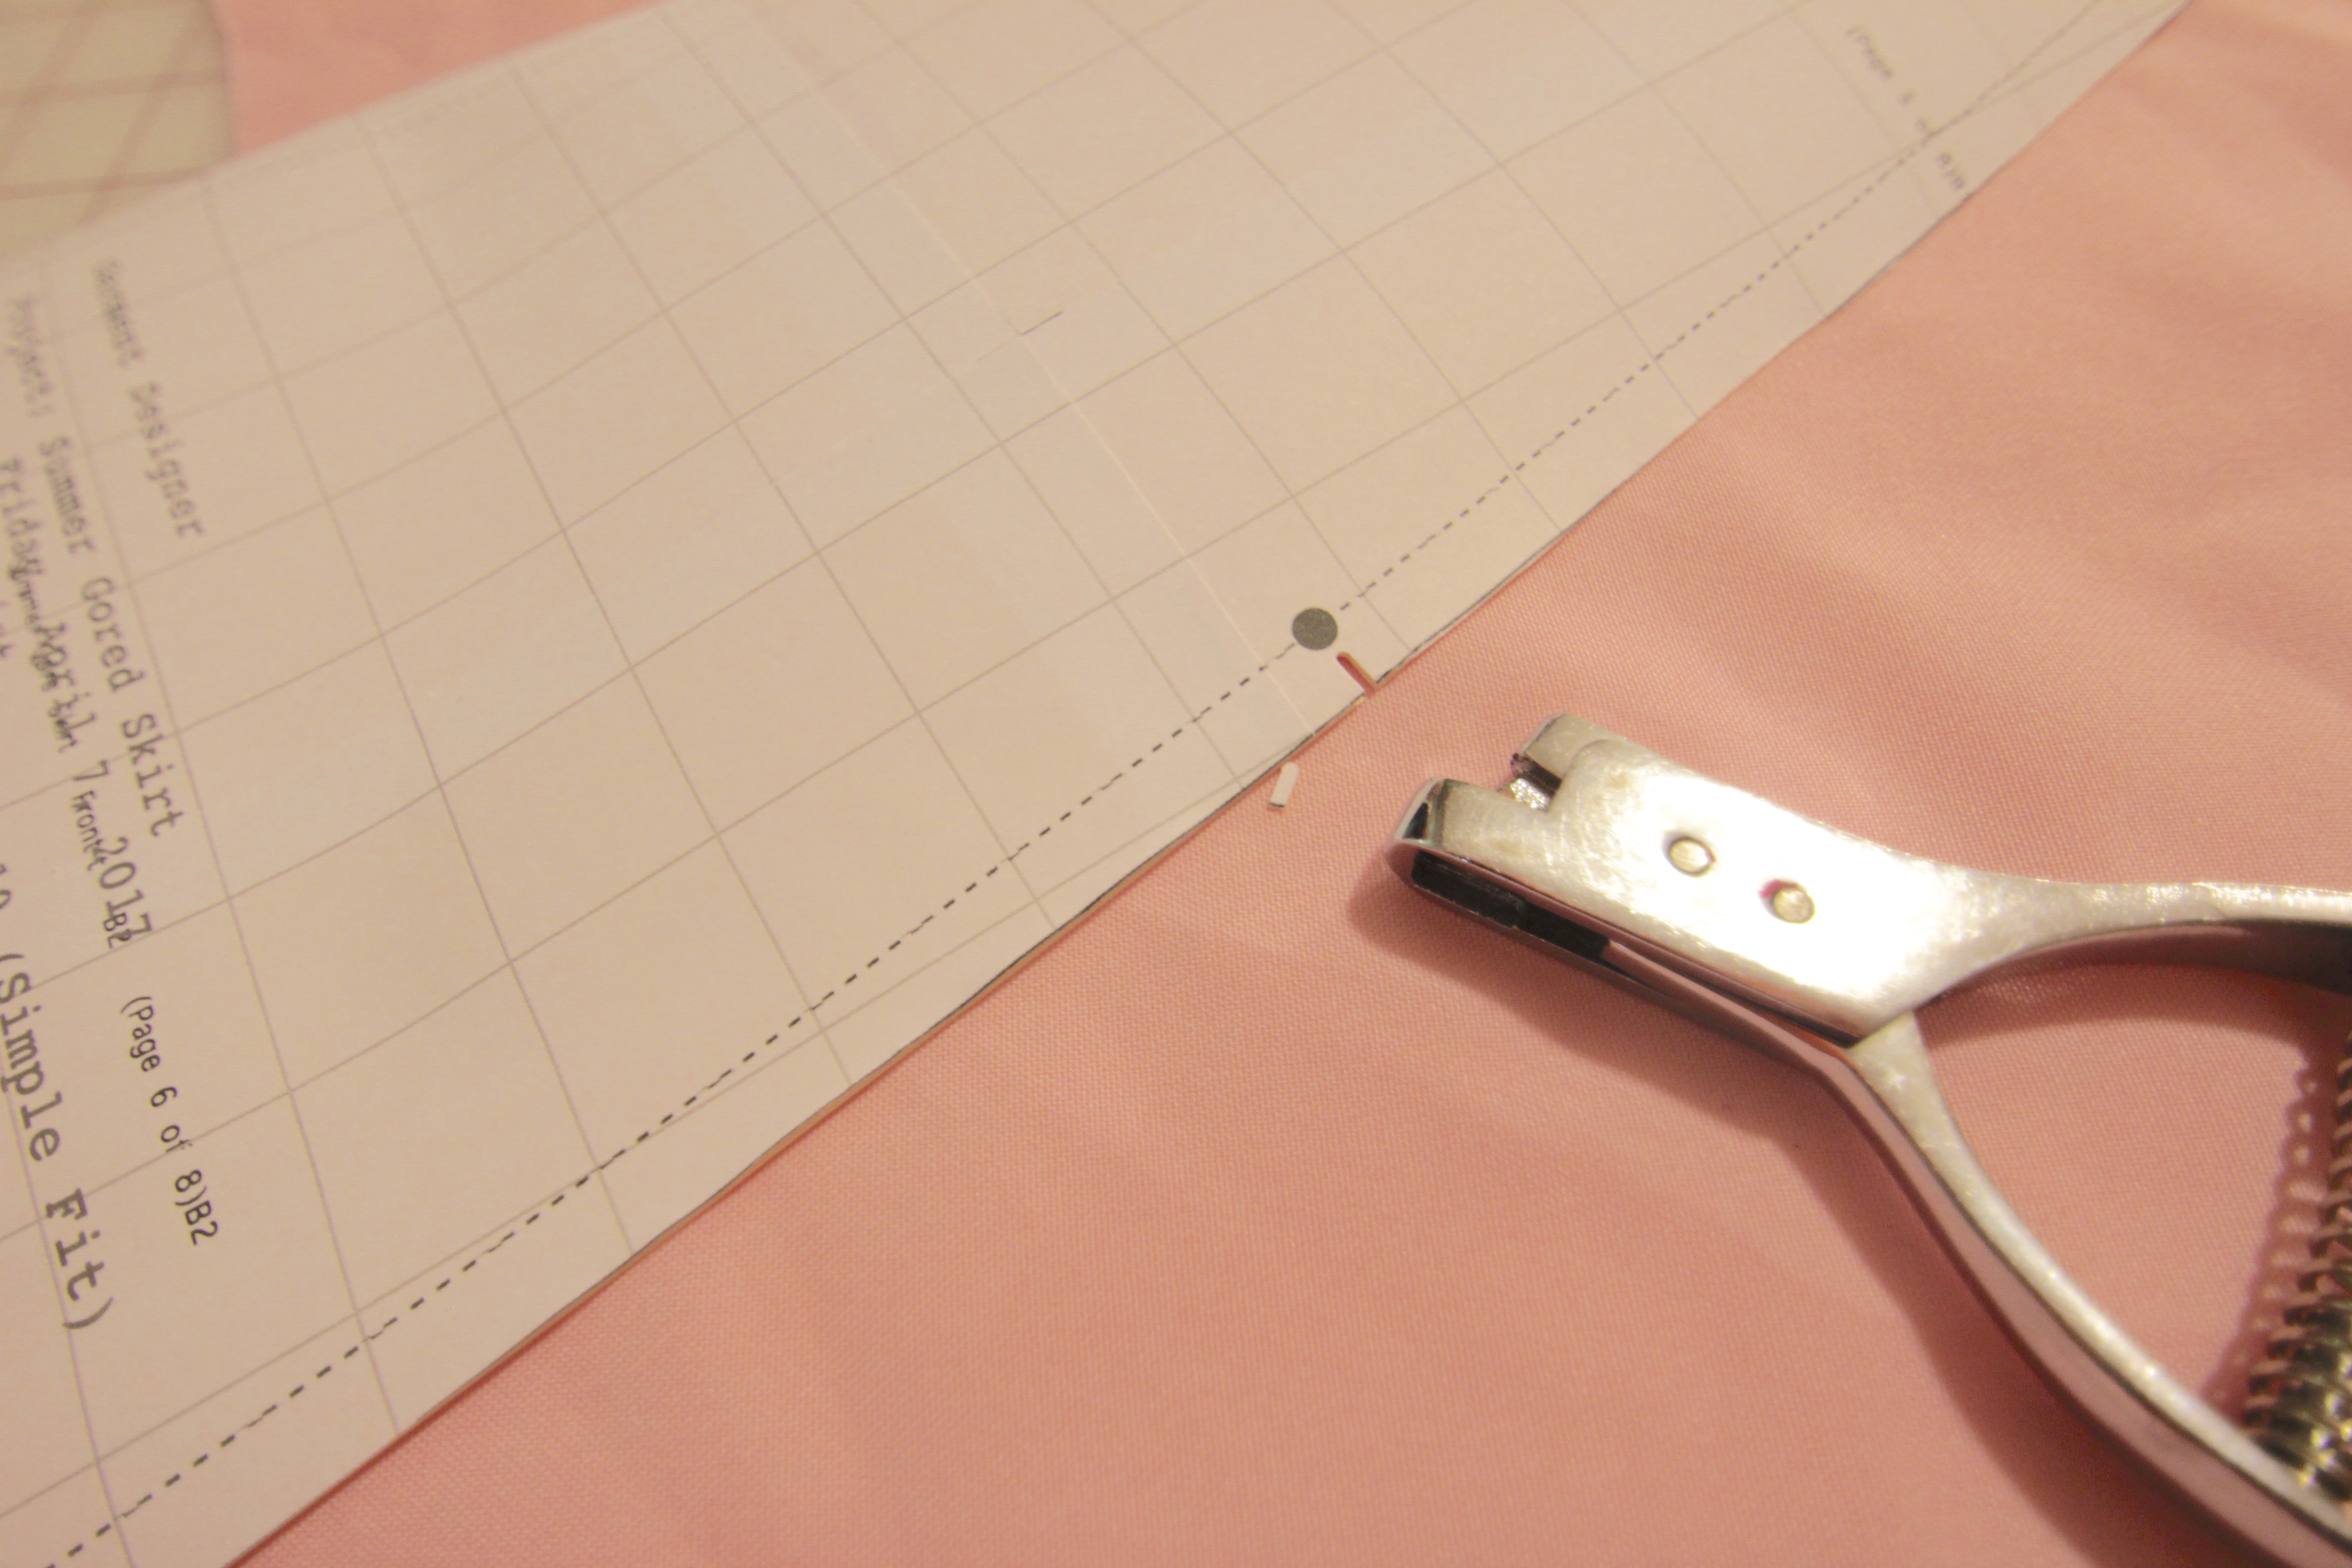
Then I like to mount it to manilla pattern paper so that I can cut out my notches and trace it onto my fabric. 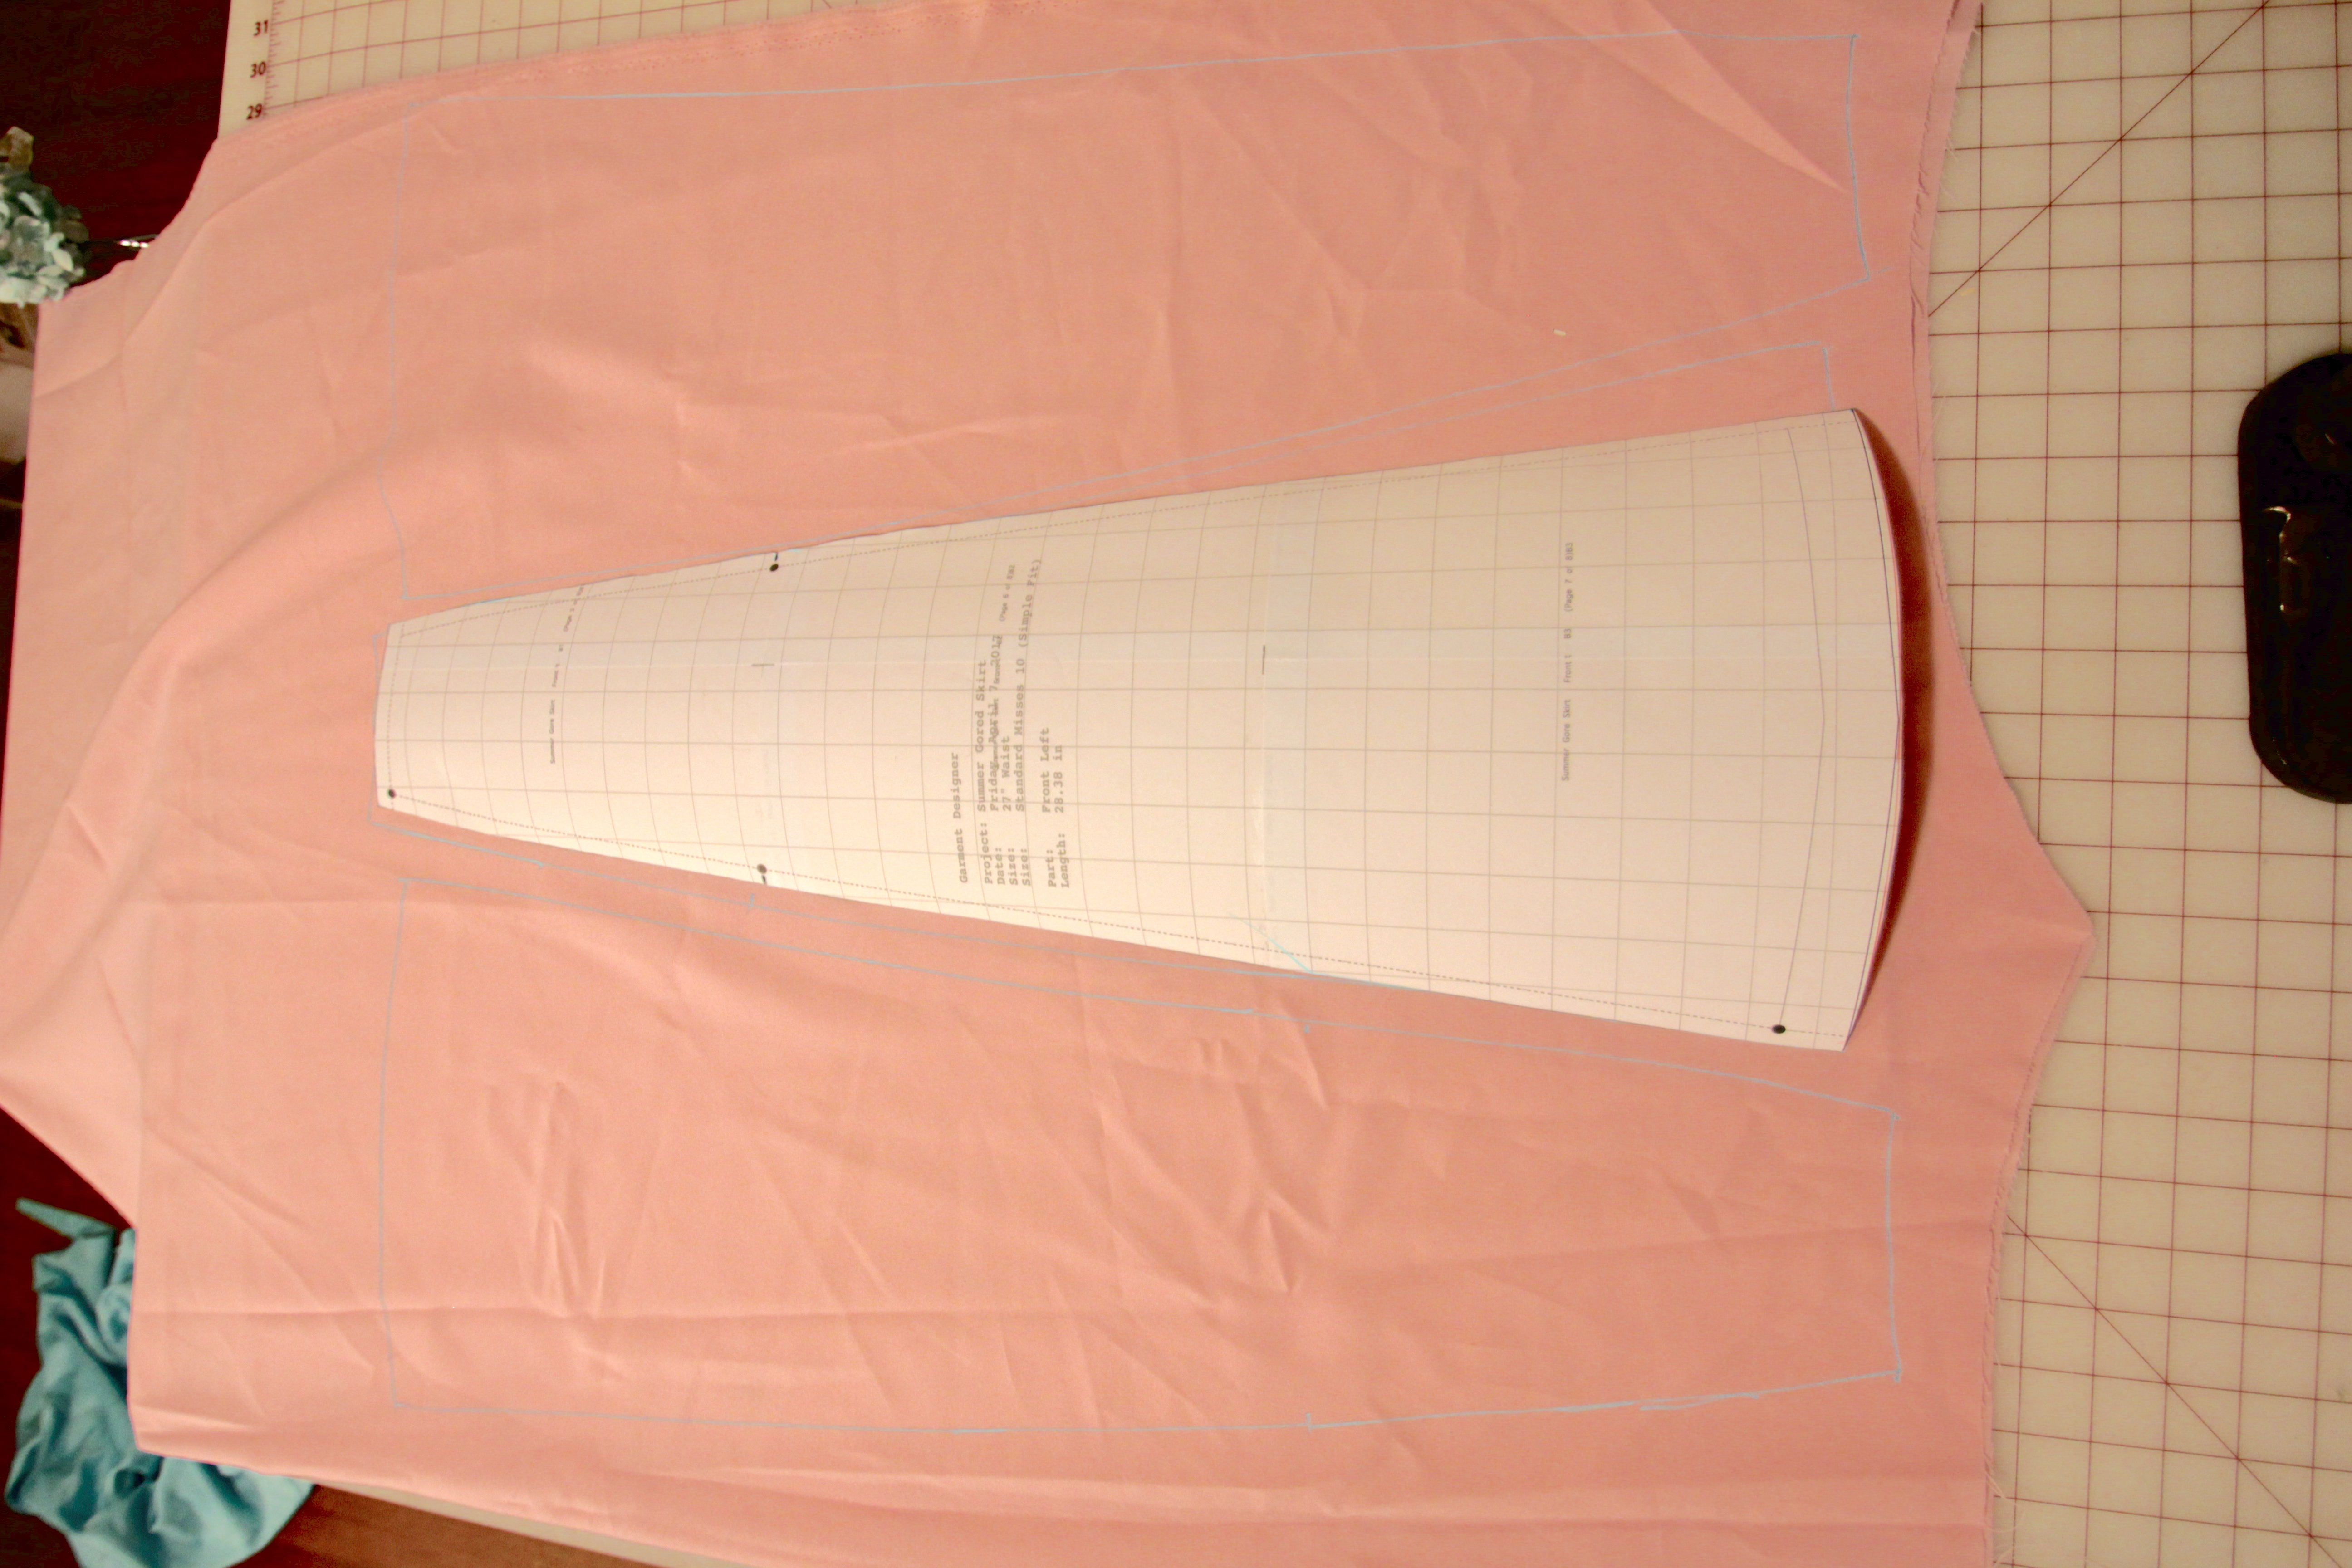
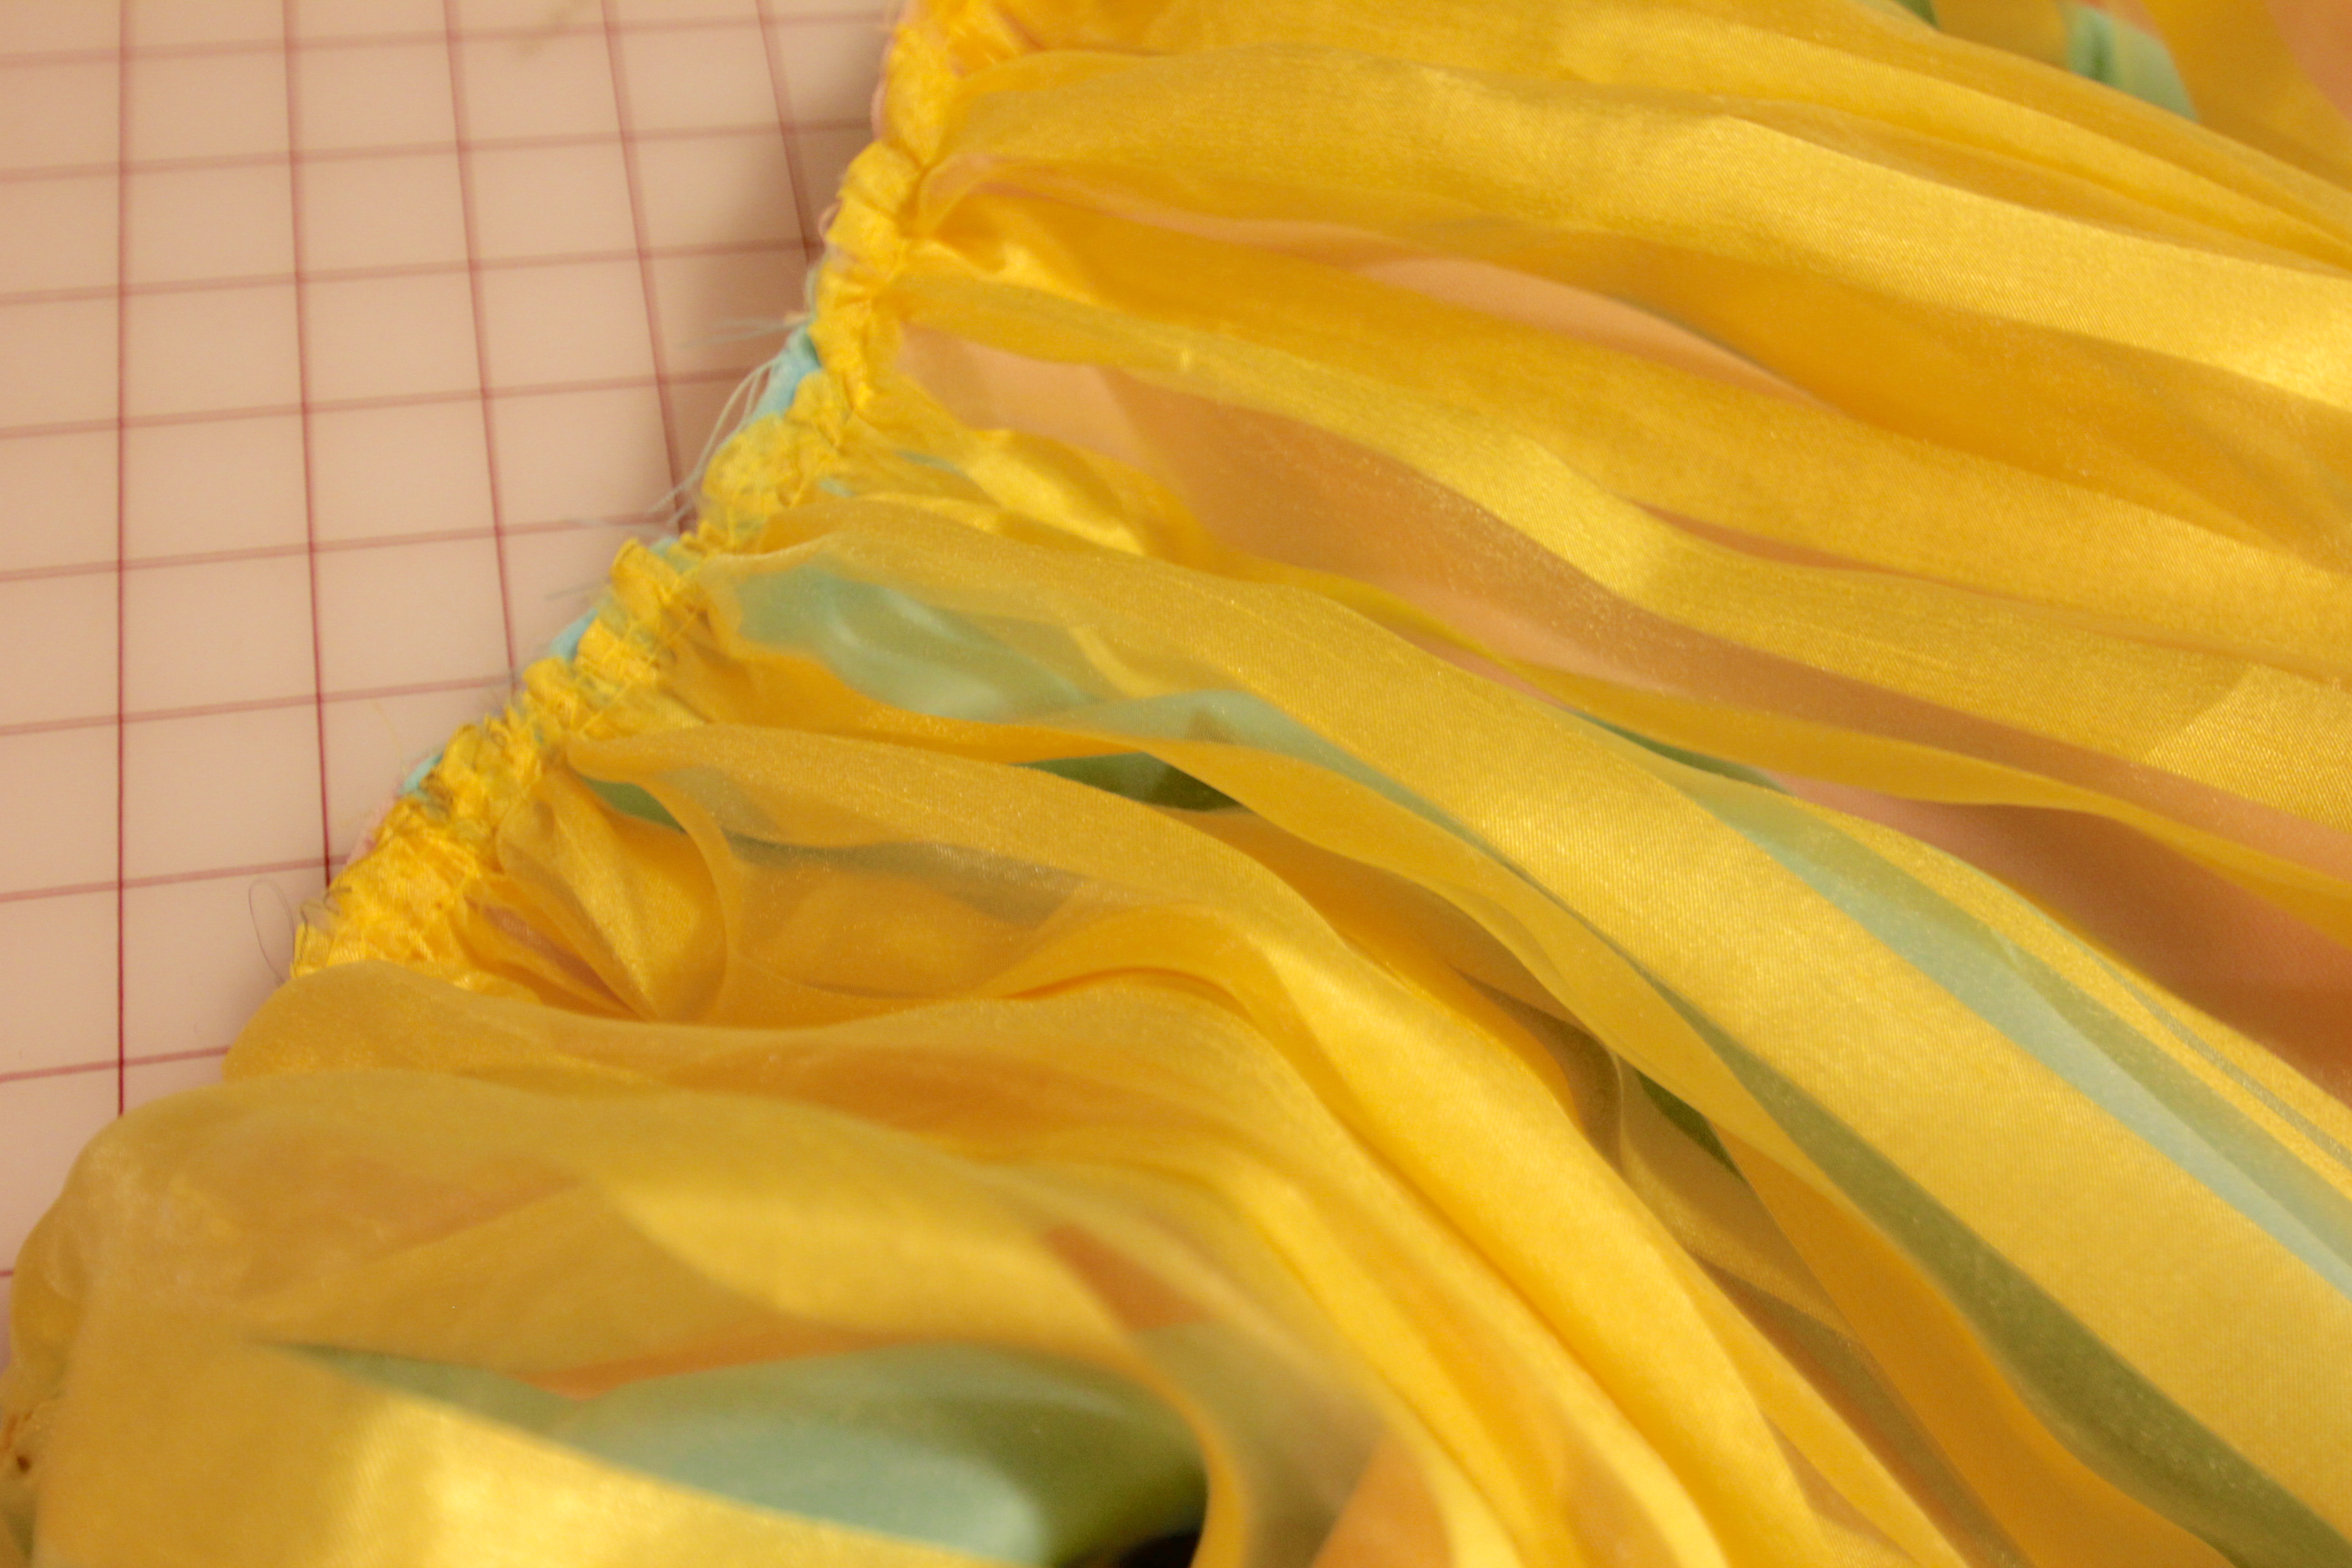
Side note: I also tried using my new elastic serger foot to serge on some horsehair braid onto the hem of the skirt, which kept it at a consistent tension with less fuss. Needless to say I will be using this foot on future projects now that I know how simple it is!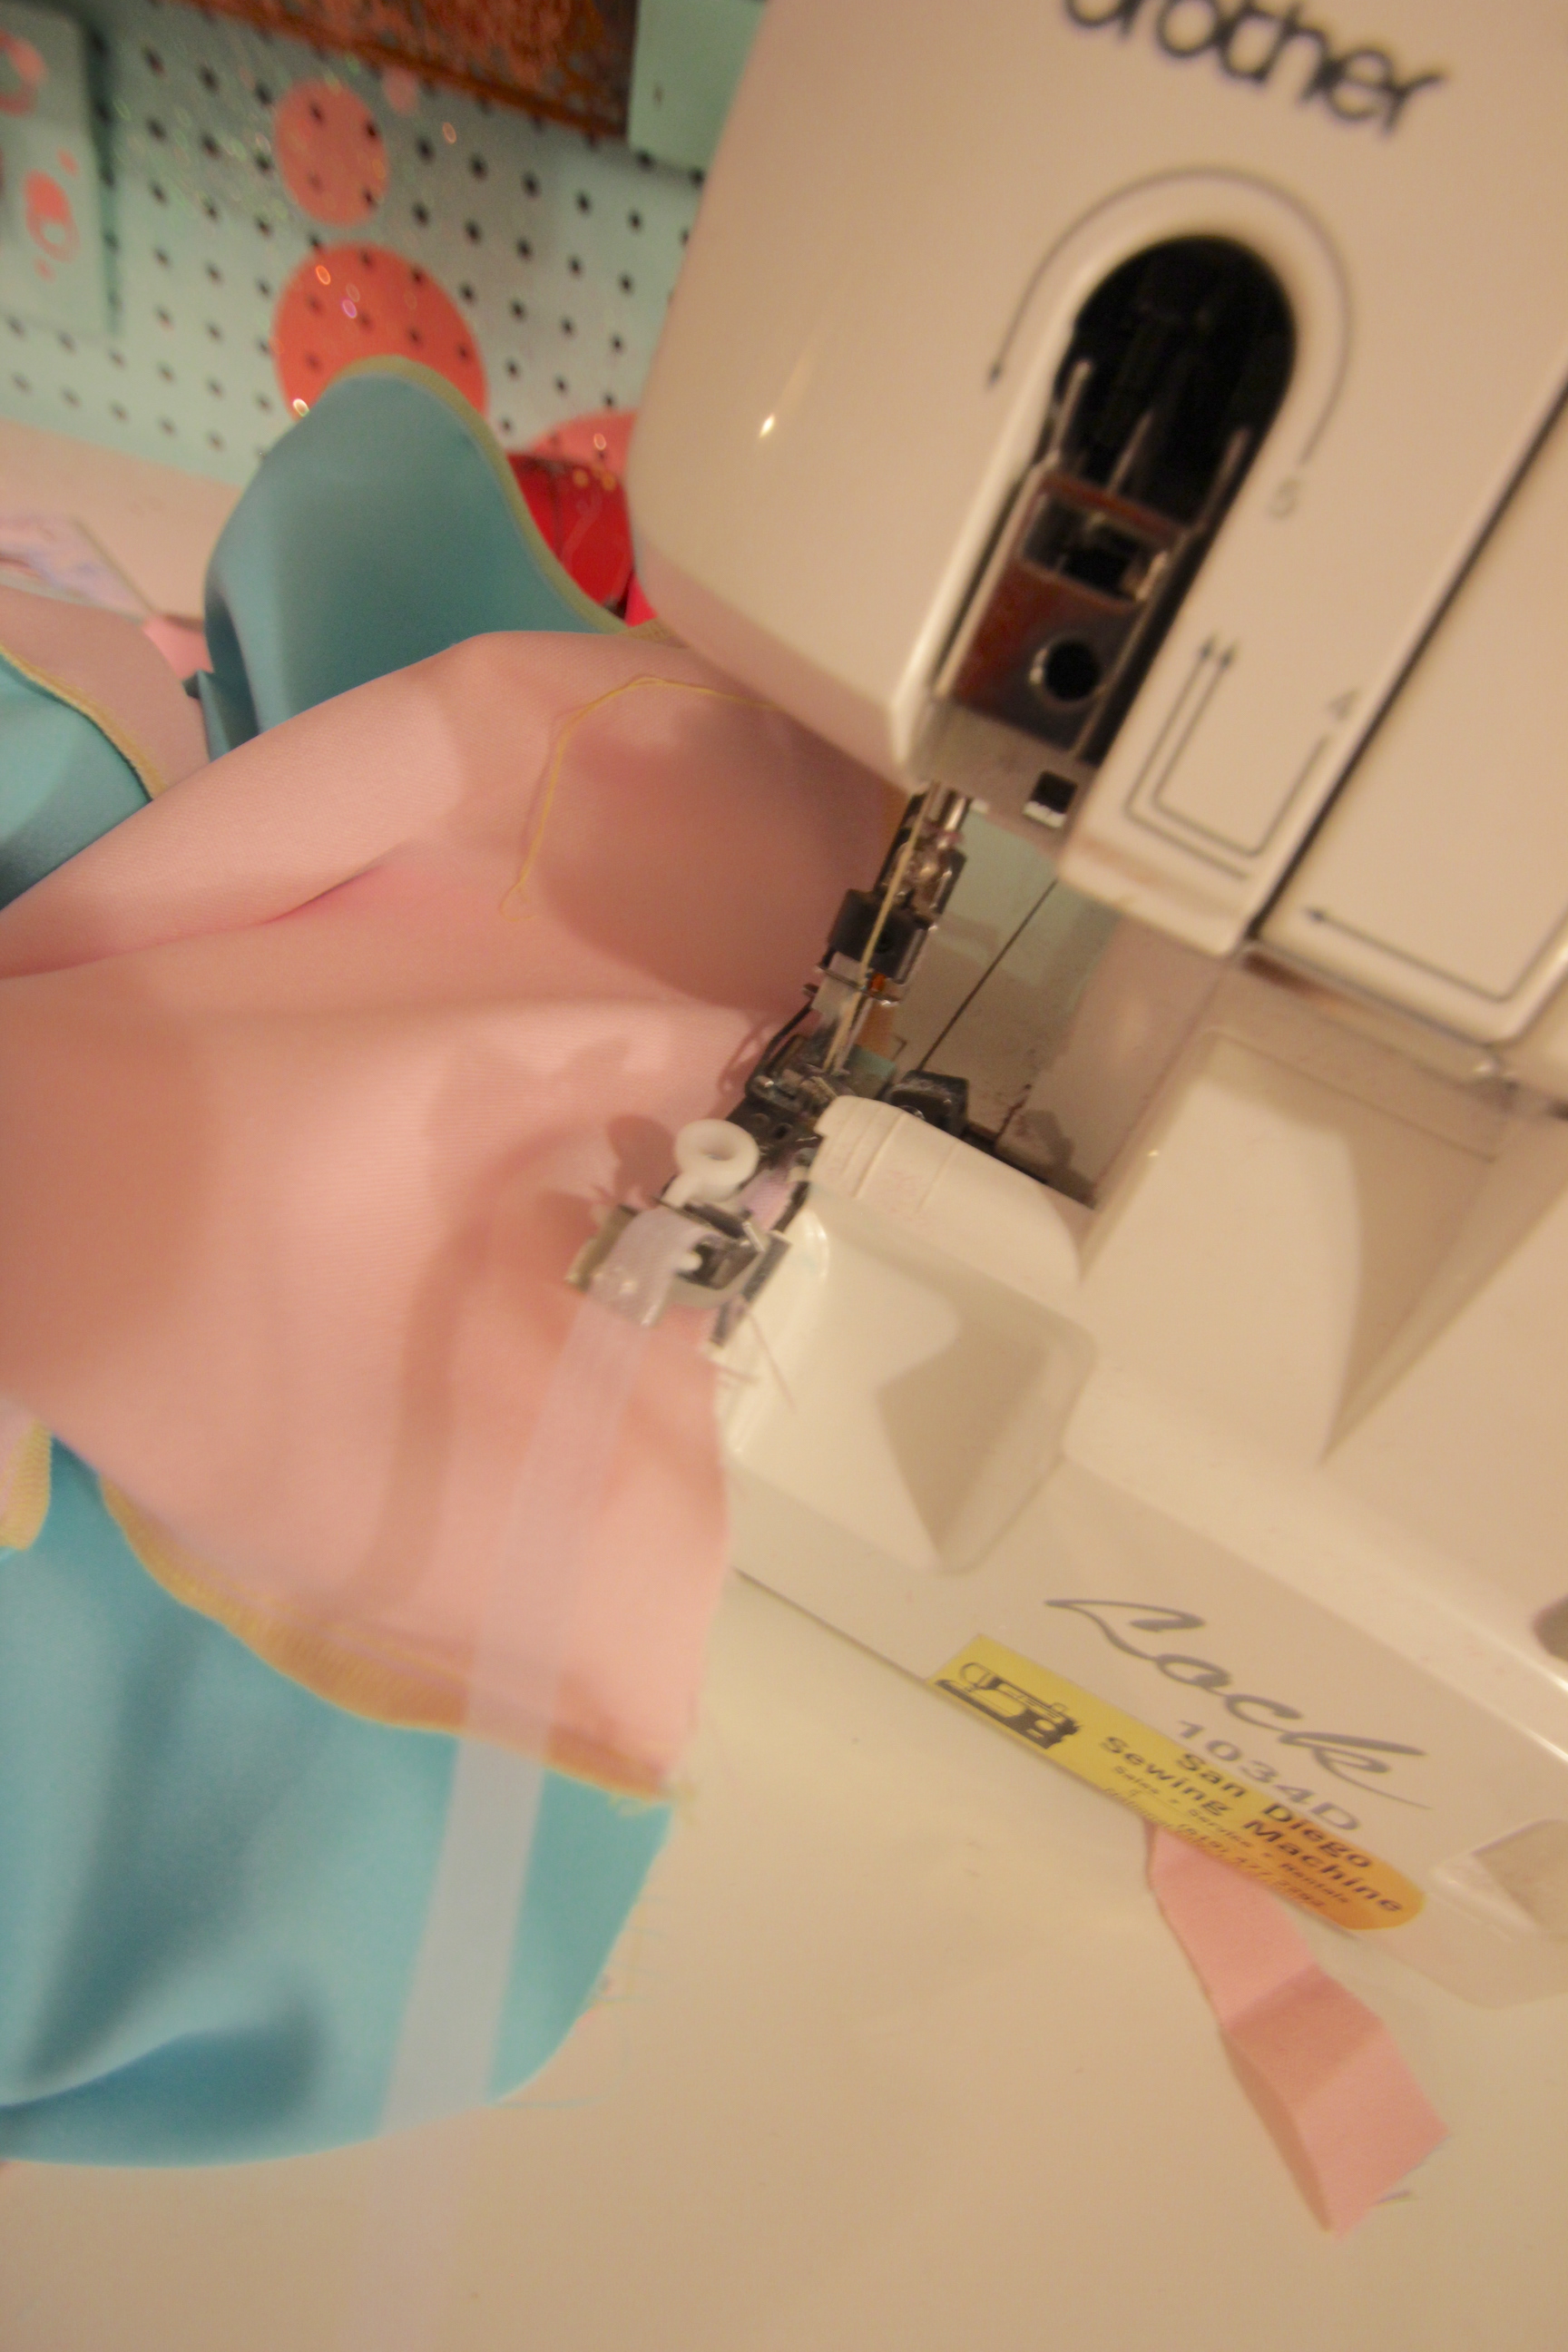
I also think I could have gathered the skirt a bit more….maybe at a 4:1 ratio if I wanted it to be fuller as the fabric was pretty thin and gathered easily.
Now I know I won’t have a top in my wardrobe to match this skirt so back onto Garment Designer I go….
I want my top to be off the shoulder and full of ruffles so the “straps” of the pattern I’m just going to ignore when I go to sew.

After I printed out the 1st pattern I made a quick sample out of spare fabric then fit it to my body. I then edited my pattern on Garment Designer to save the adjustments and printed out the second pattern which I used for the top.
and after a bit of sewing…the tutti frutti fruits of my labor!
Thank you for reading about my project. We love to see what our users create using our software so please feel free to email us any of your Garment Designer projects at info@cochenille.com!