Transferring a Flat Pattern to Garment Designer
Hello Everyone and Happy Valentines Day!
We haven’t posted in a while since we have been busy making downloadable webinar videos and gearing up for Stitches West 2018. It’s about time that I share another Garment Designer transformation, but this time I will show you how I copied one of my flat patterns onto Garment Designer and transformed a style set in the process.
So here we go!
I have a pattern for a pair of shorts I hand-drafted long ago, I just keep tracing them/modifying them when needed (which is often since they were made for a specific stretch fabric). I decided it was high time to transfer it over to Garment Designer so that I can just make the modifications I need easily and print it out whenever I please.
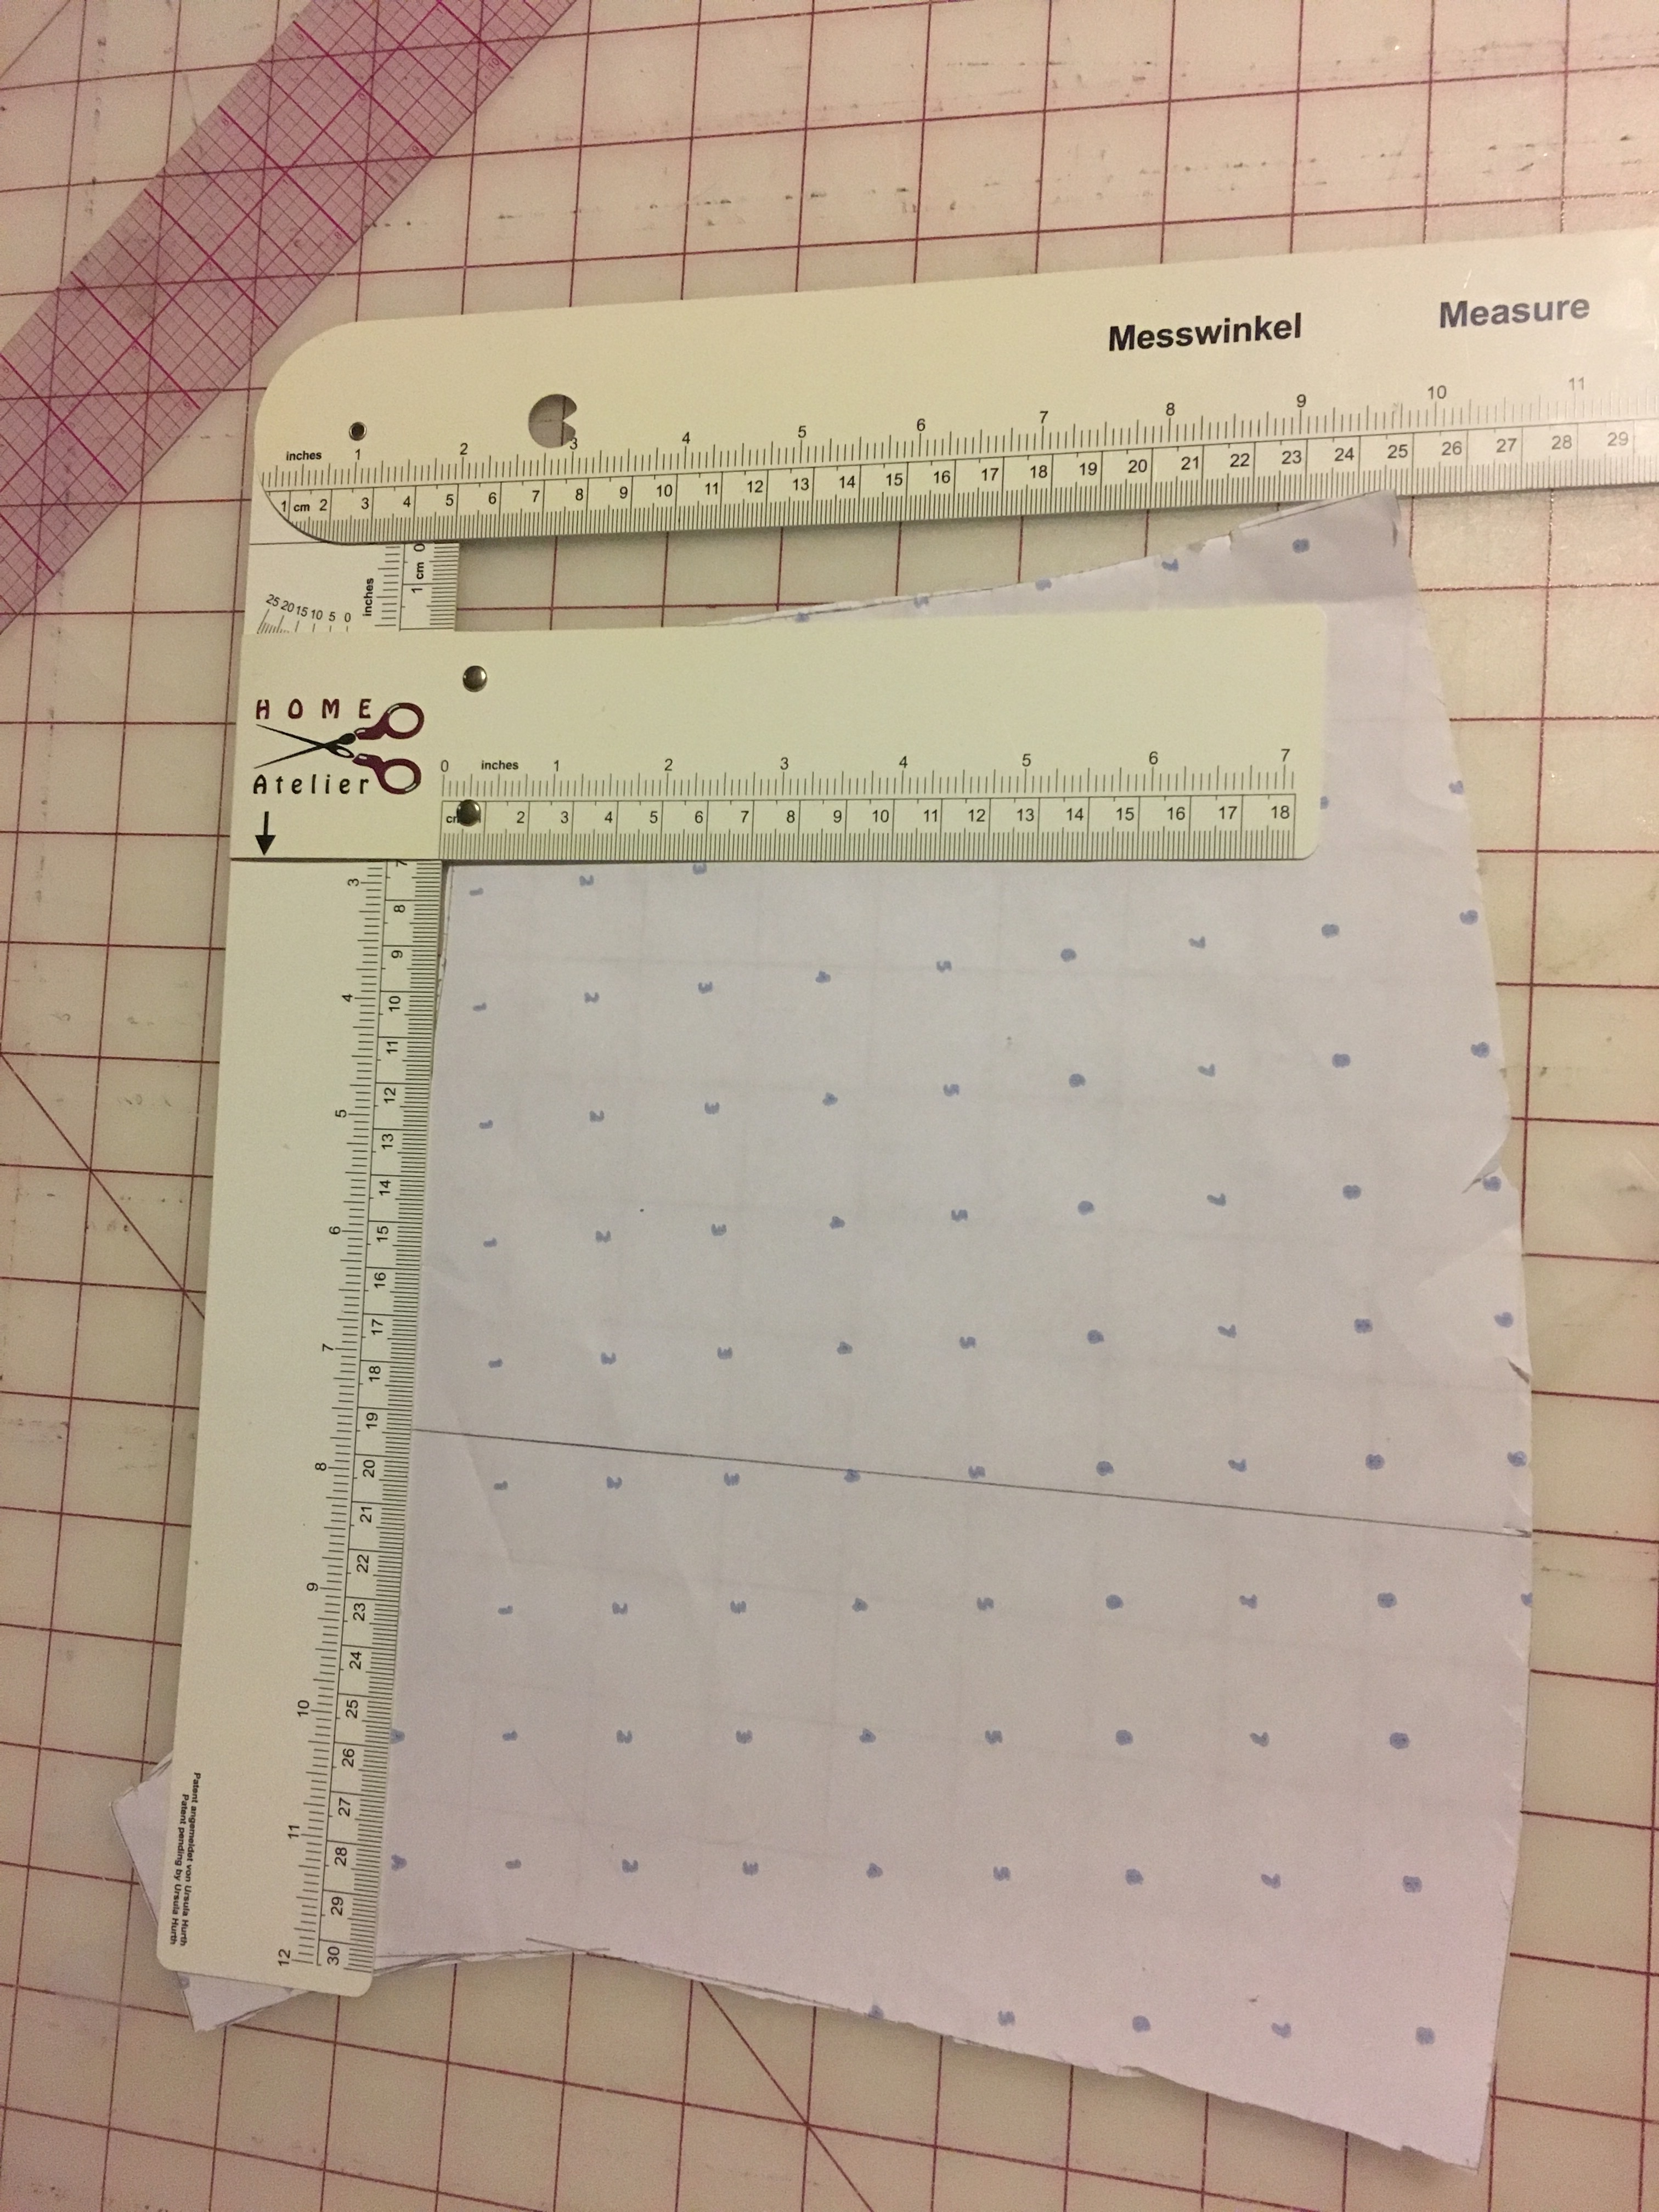
I taped my pattern down and grabbed my pencil, notebook and assorted rulers. I chose later on to use my Hurth Ruler instead of using multiple rulers.
First I need to get some measurements from my pattern. I generally sketch this out by hand in a notebook, but I made it nice and pretty for this post. This is the front pattern piece, you would do the same for the back:
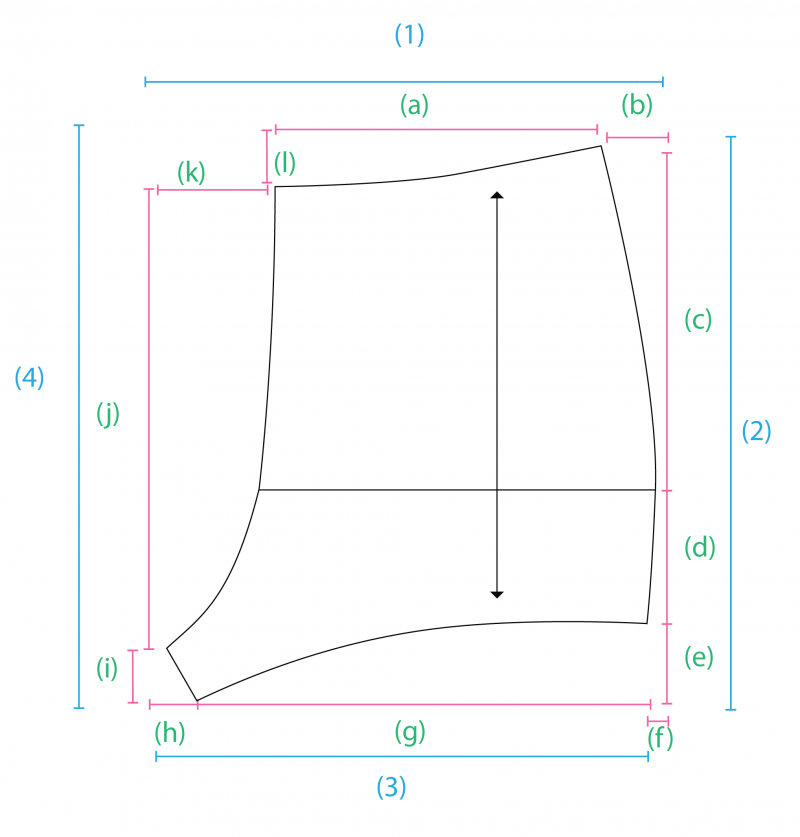
You will notice that I am measuring the pattern itself, as well as the negative space which is important to include. This is where the Hurth Ruler came in handy for me:

I also take my measurements starting at the top left and making my way around clockwise so I don’t miss anything.
After I am done taking my measurements, I do a little cross-check to make sure everything adds up. For example in the picture below #1 should be equal to k+l+a+b and so on with #2, #3 and #4…
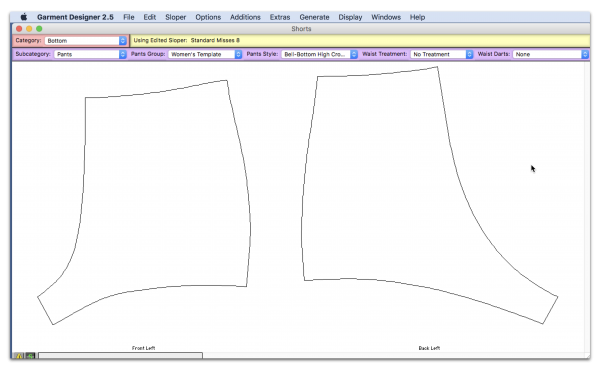
When I had all my measurements and checked them over I was ready to go over to Garment Designer!
Now I know what some of you are thinking…”I haven’t seen a shorts style set like that in Garment Designer…”. It’s time we think out of the box again! I just needed to find a style set to transform, which was easy enough. Can you guess which one I chose?
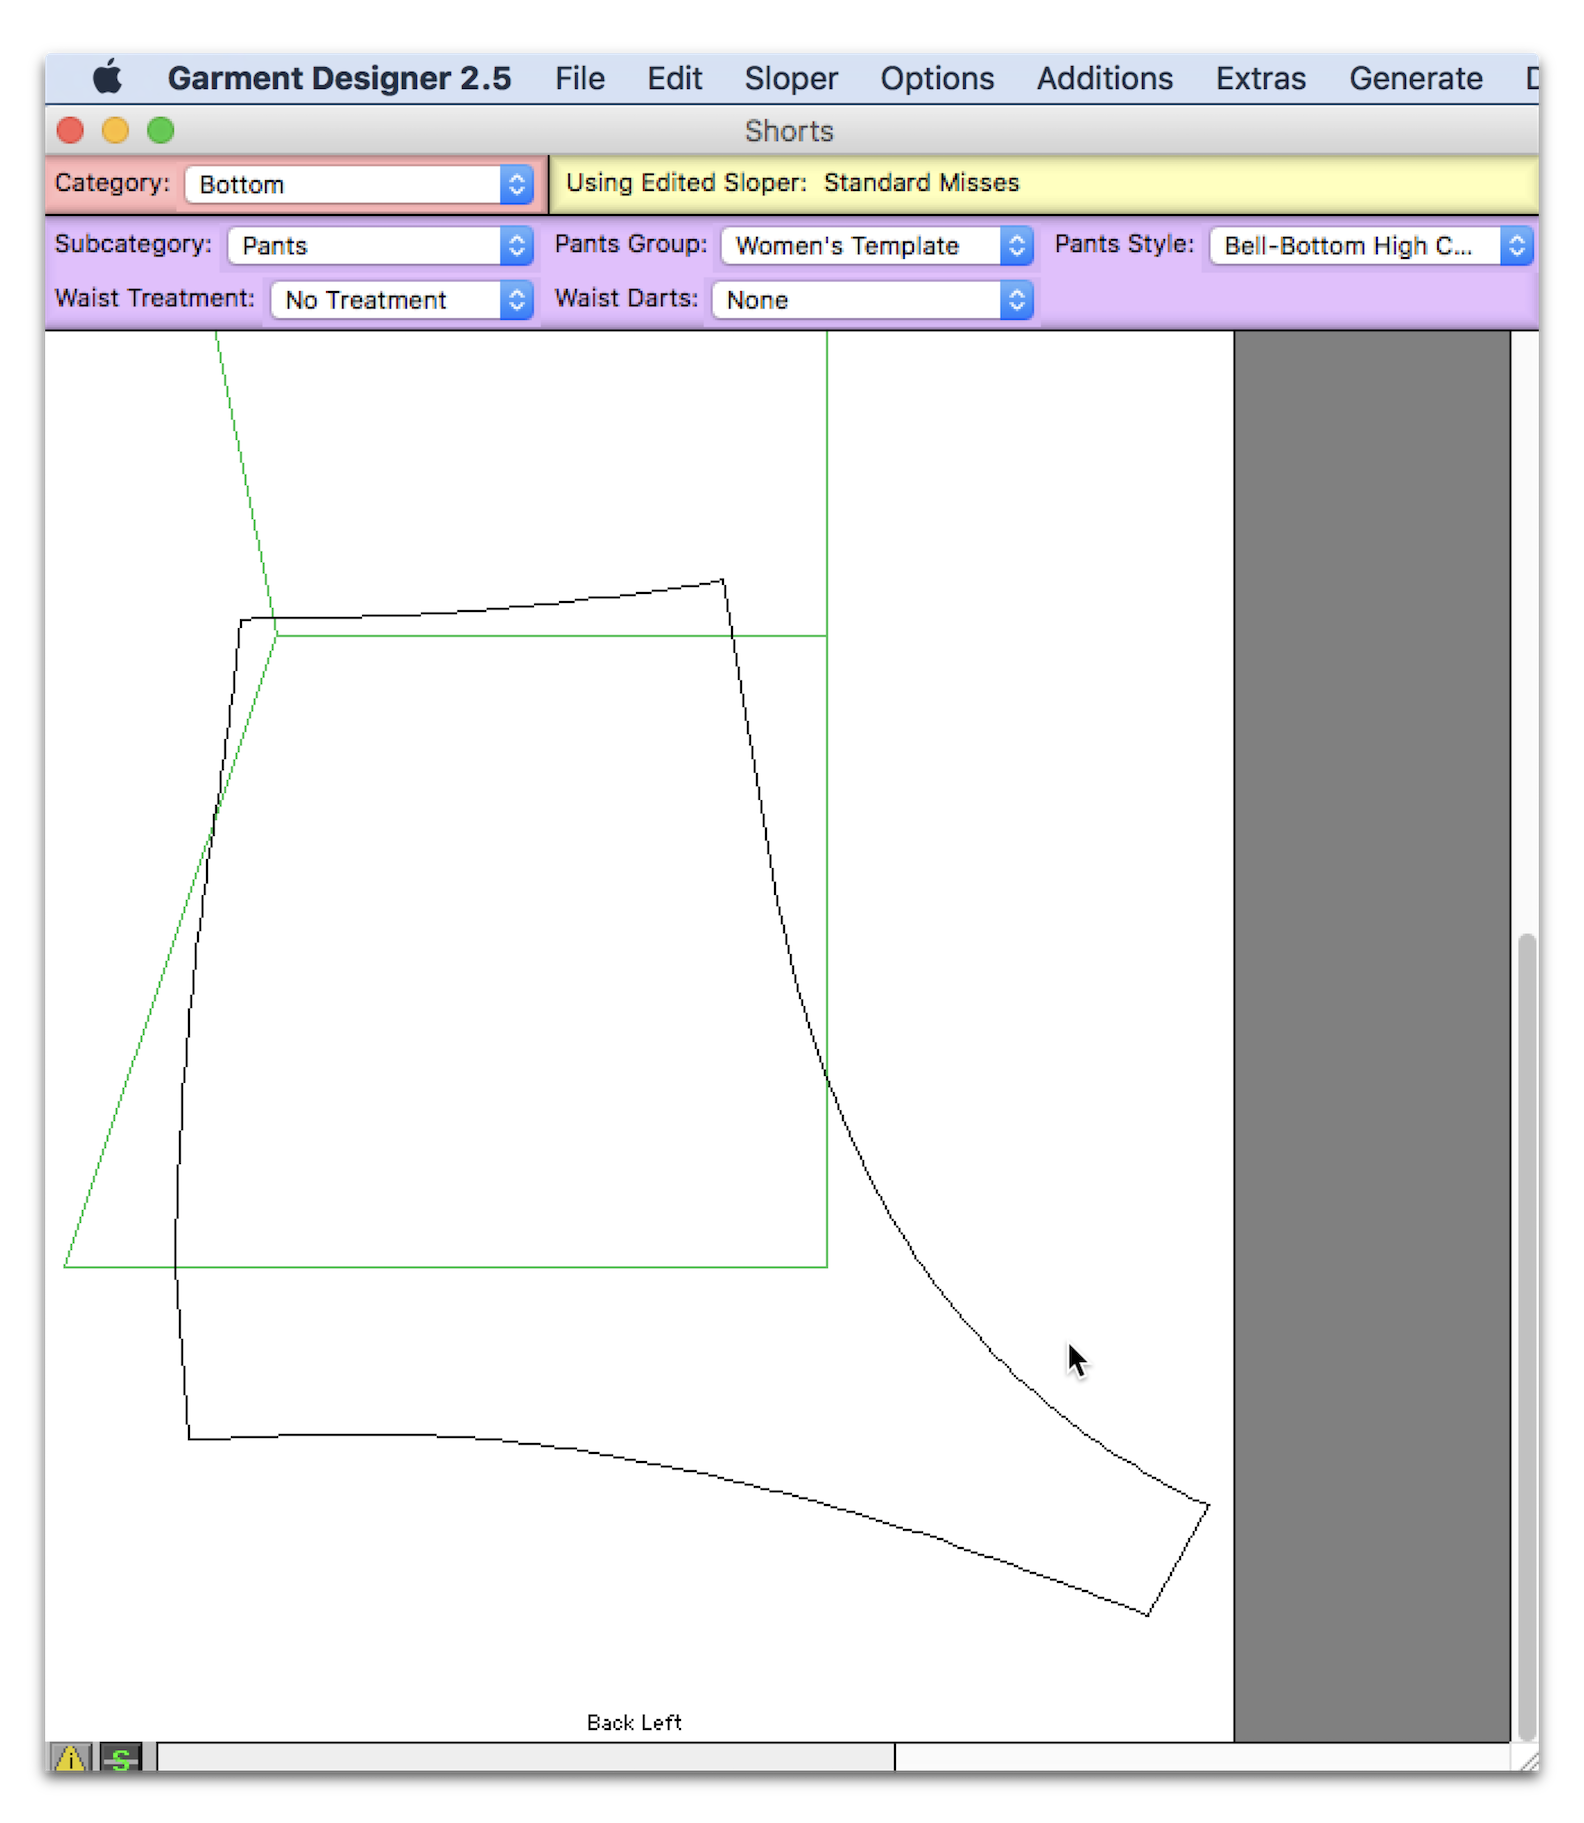
If you thought bell bottoms, you were right! Why did I choose this? Well I knew I needed a curved hem for the leg holes, and I know the bell bottoms has bezier curves at the hem (circular points=bezier handles)
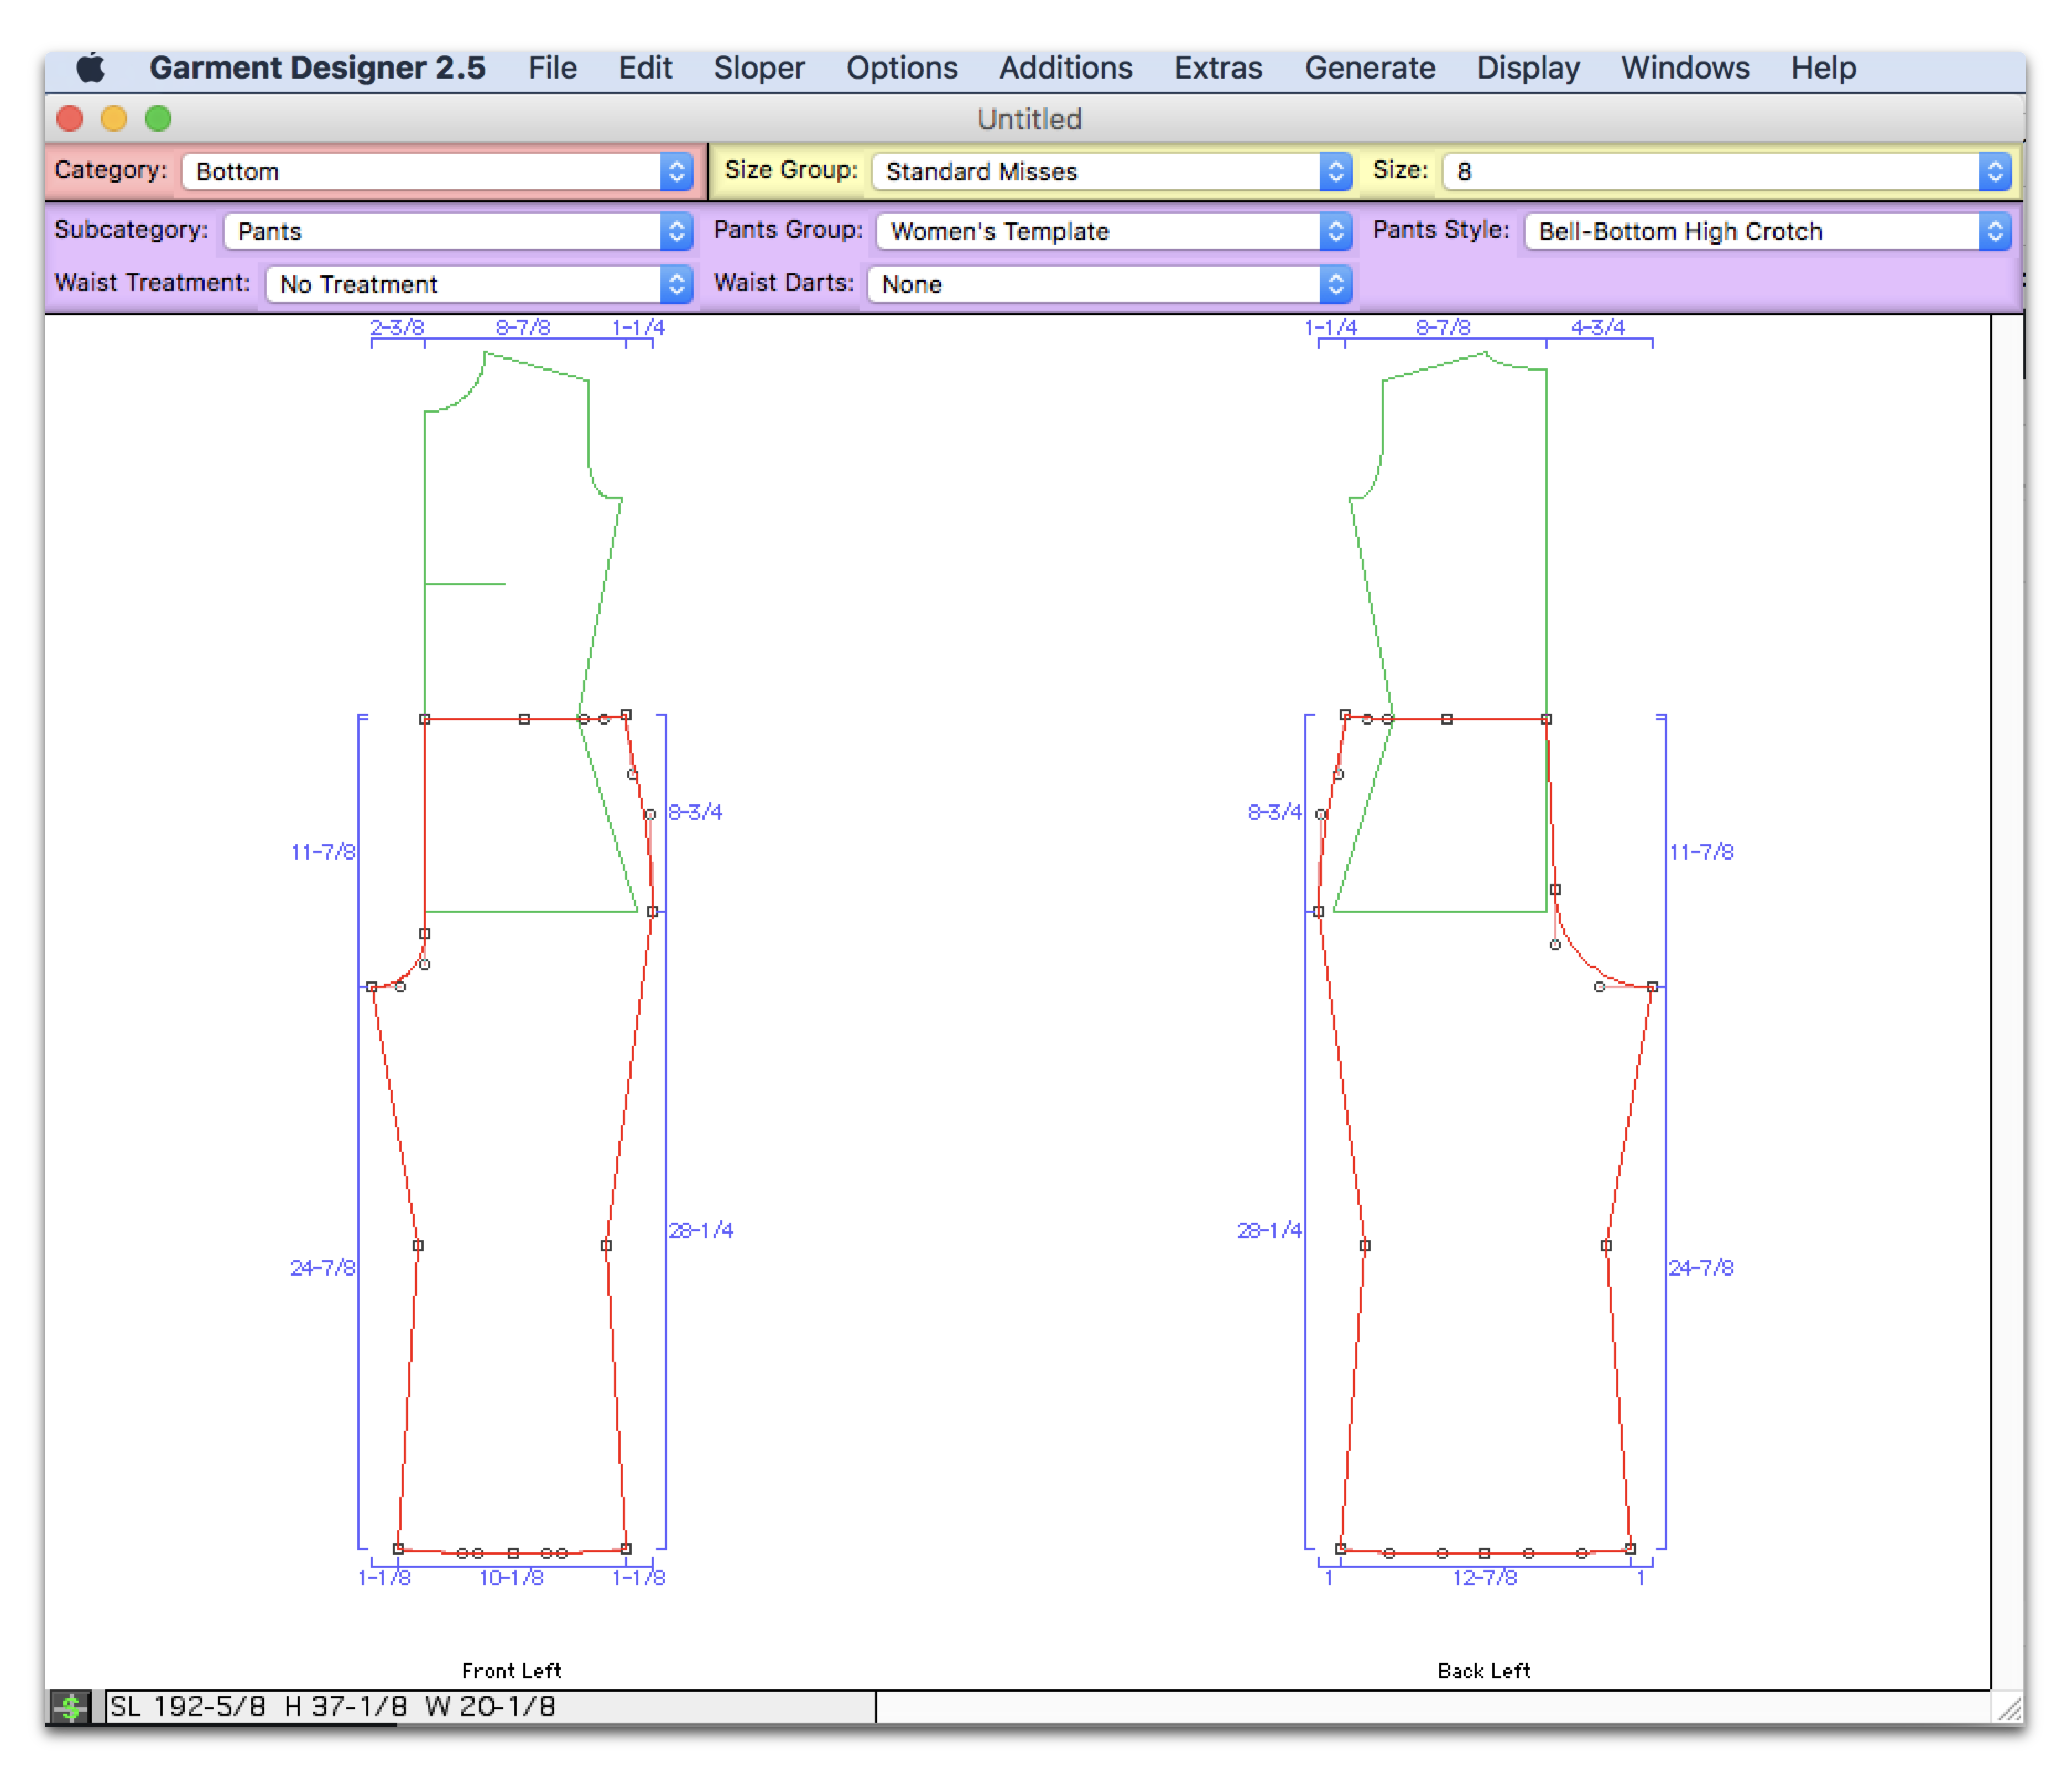
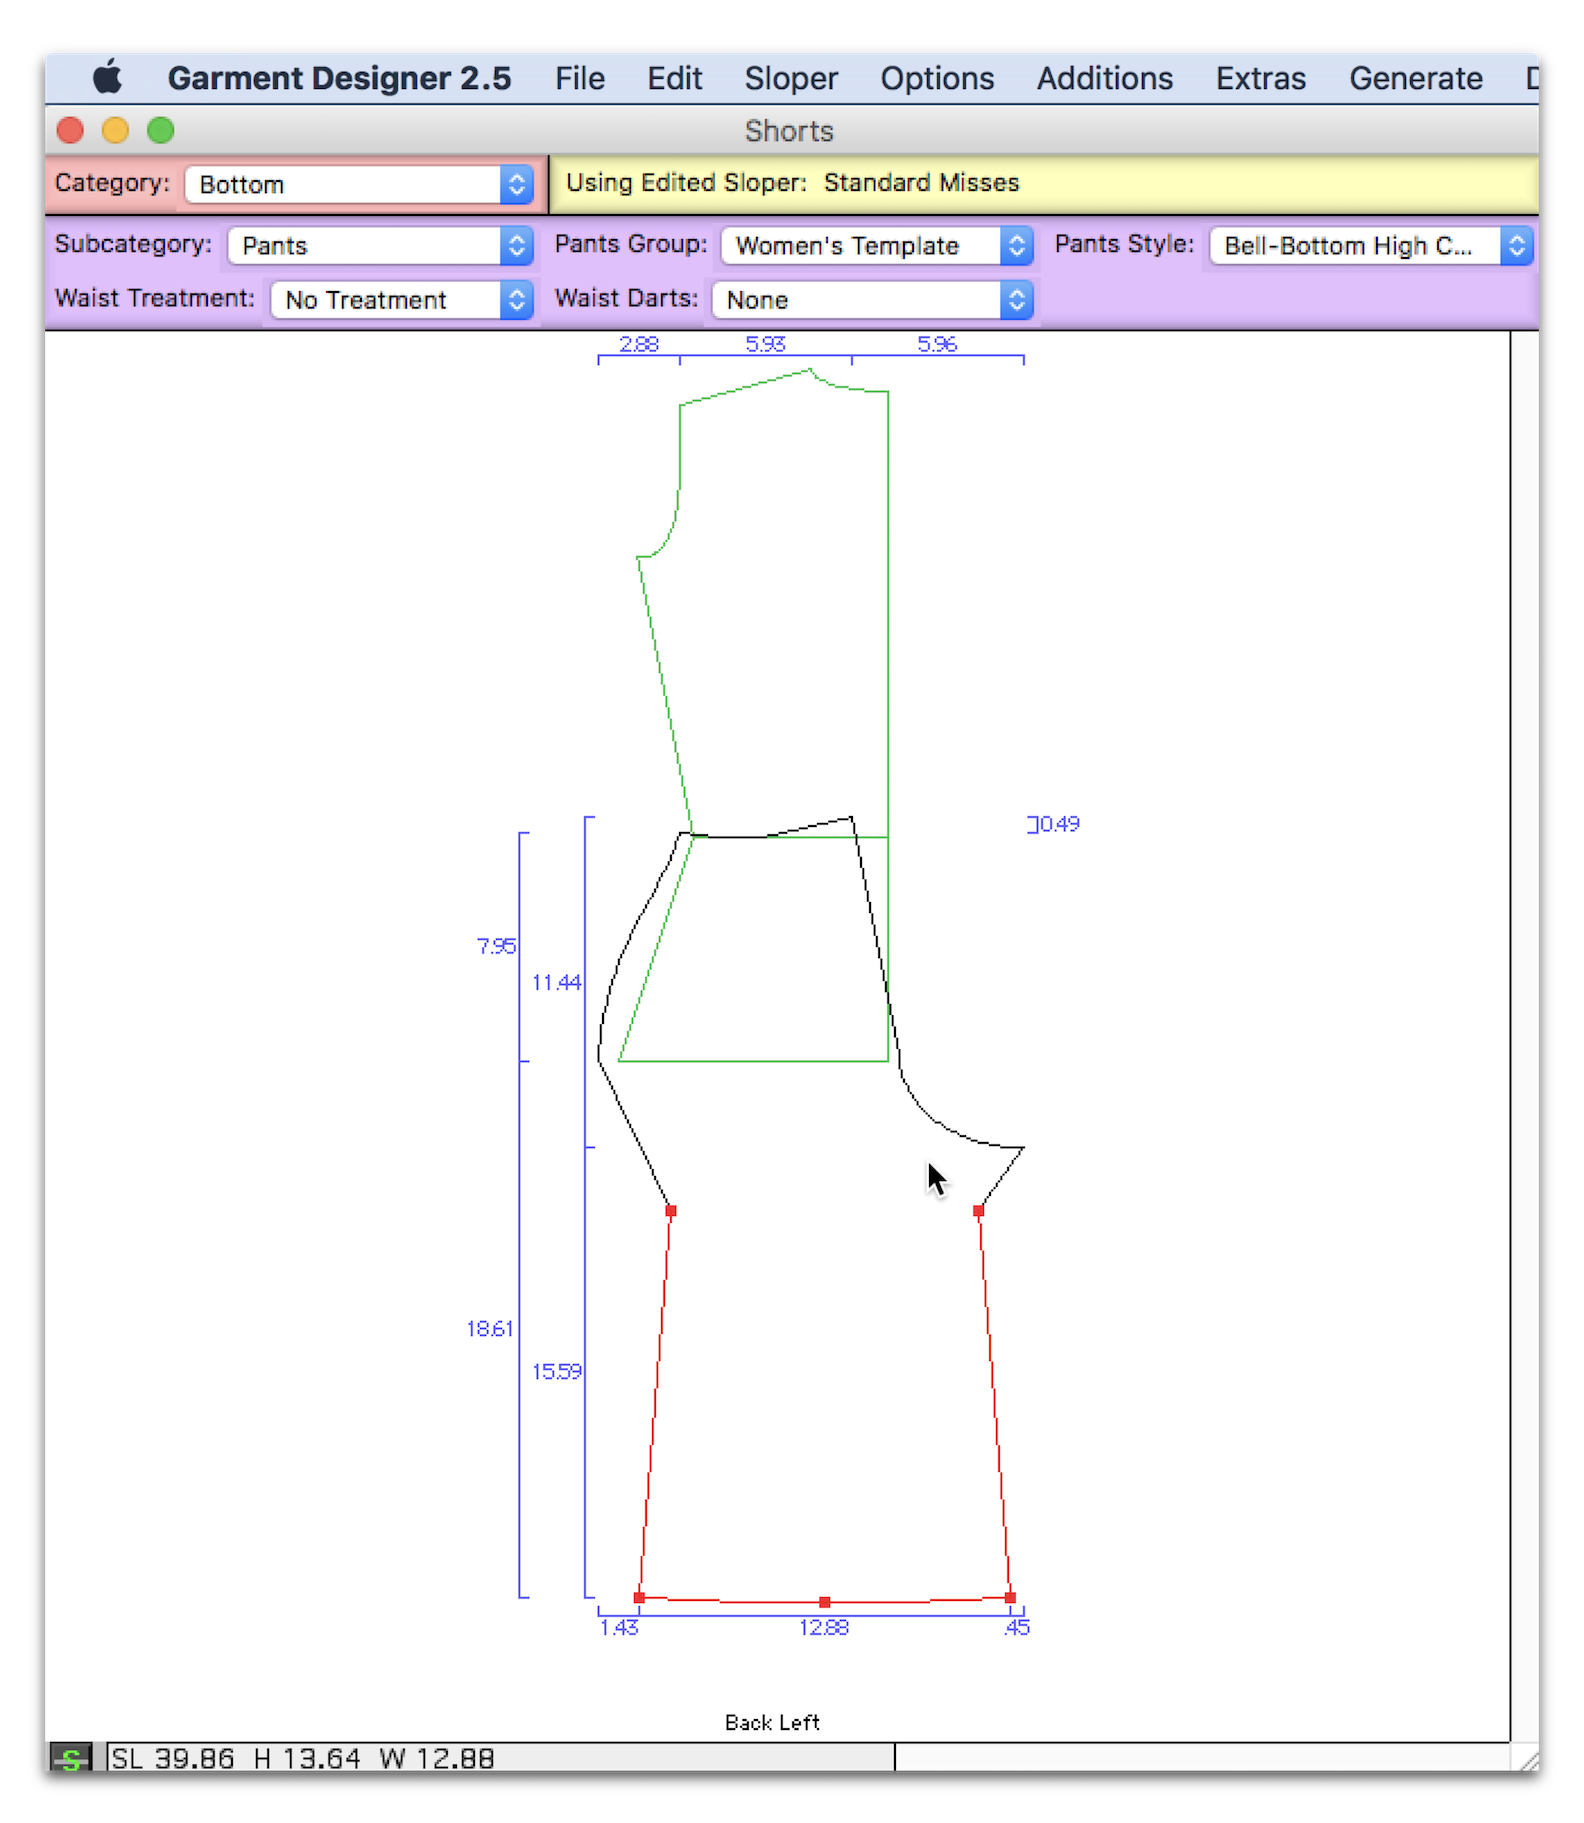
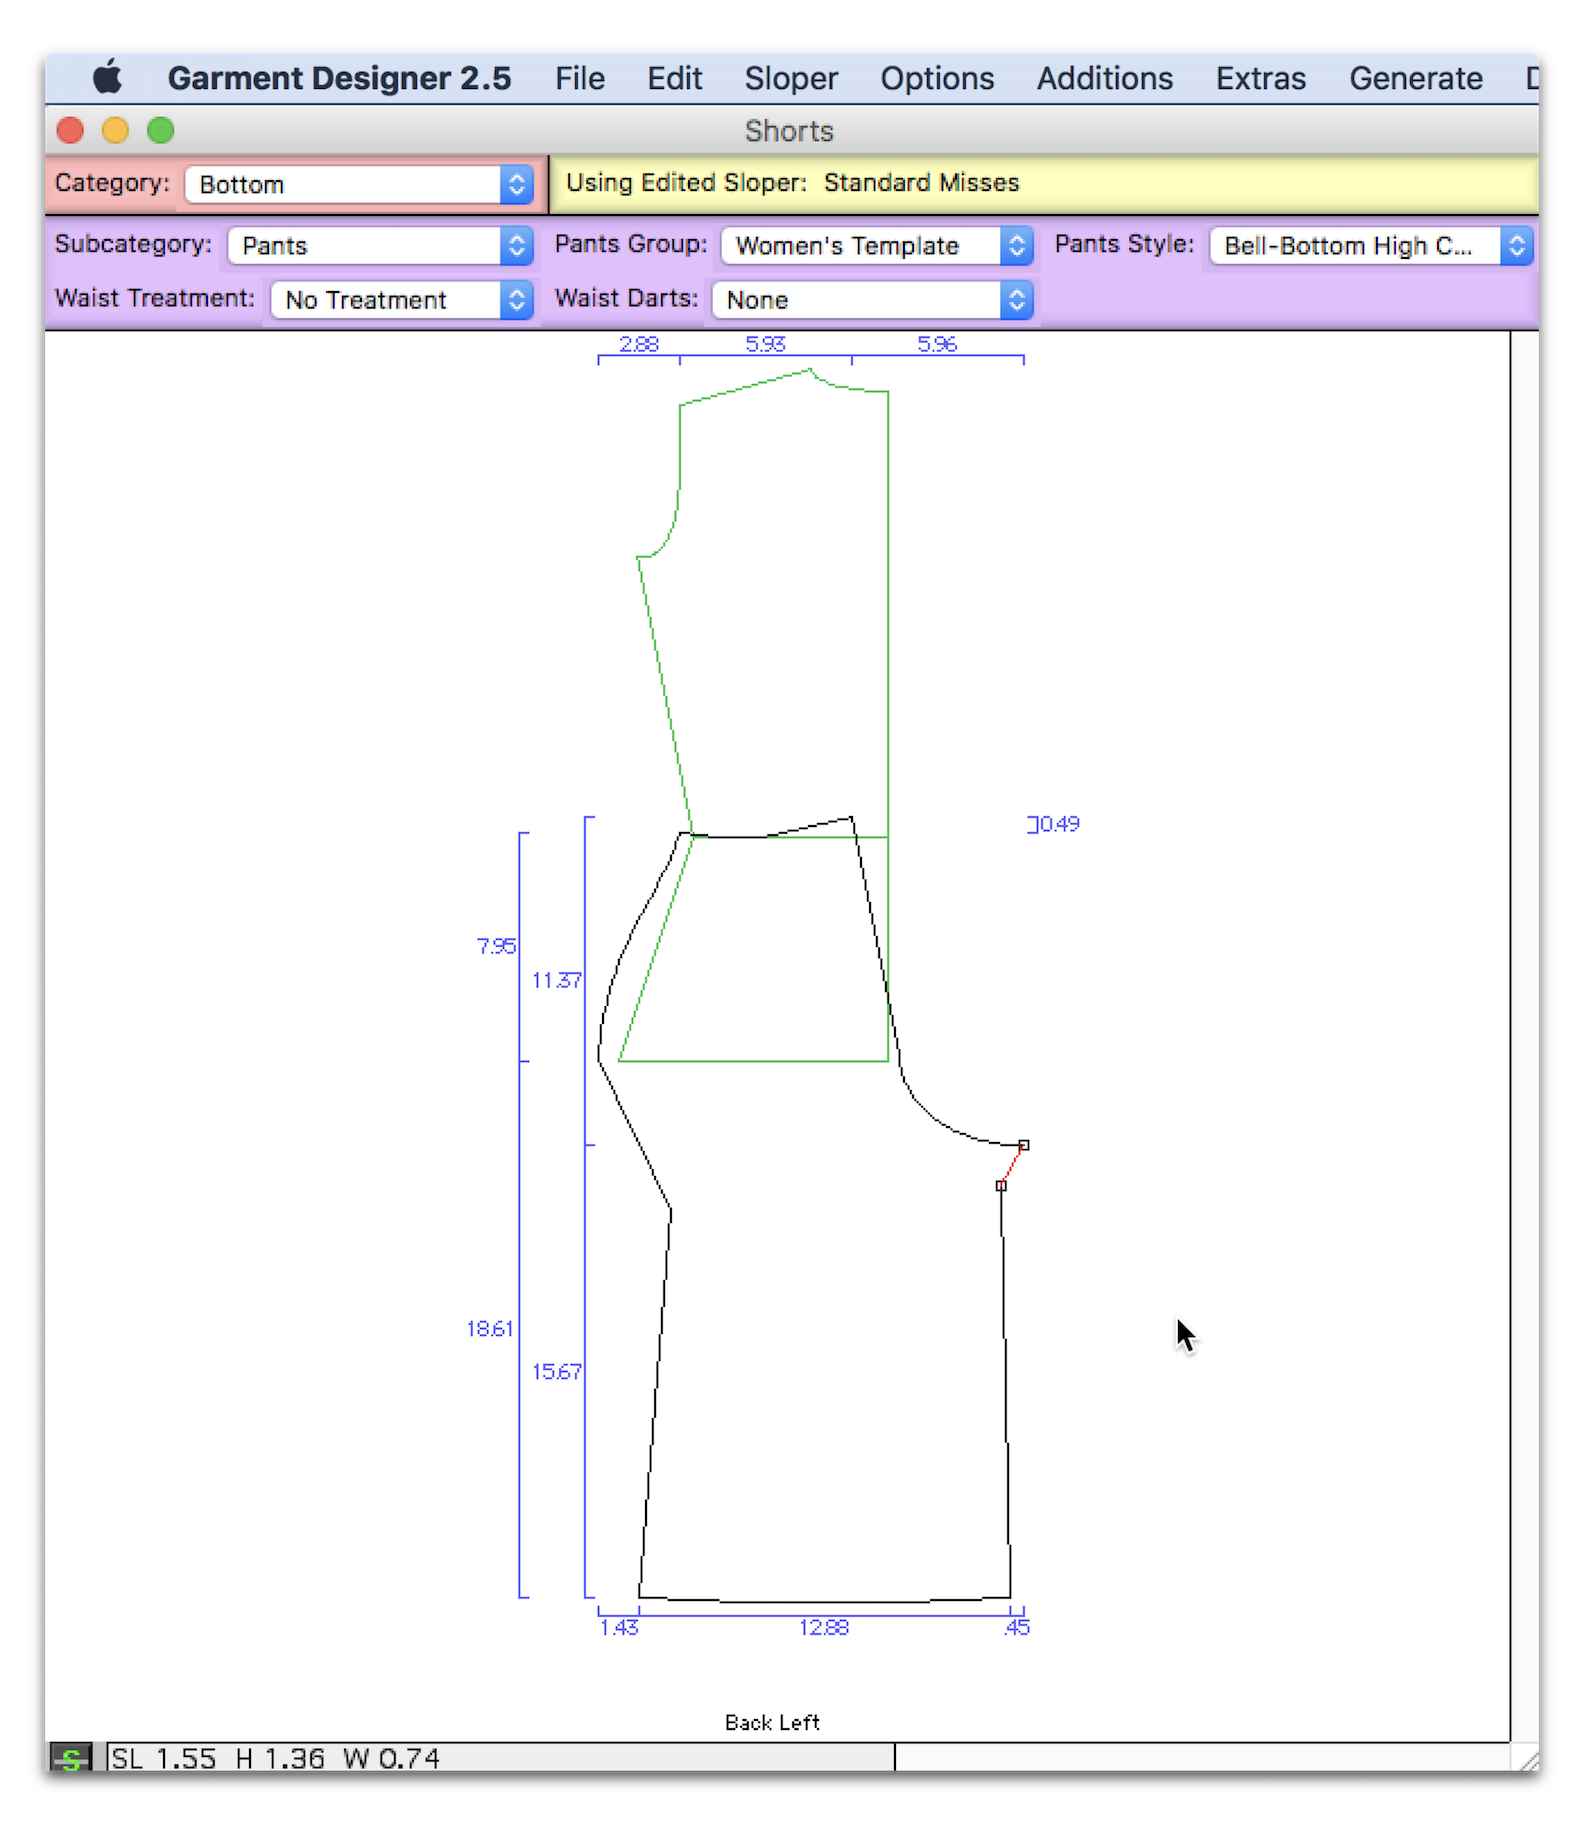
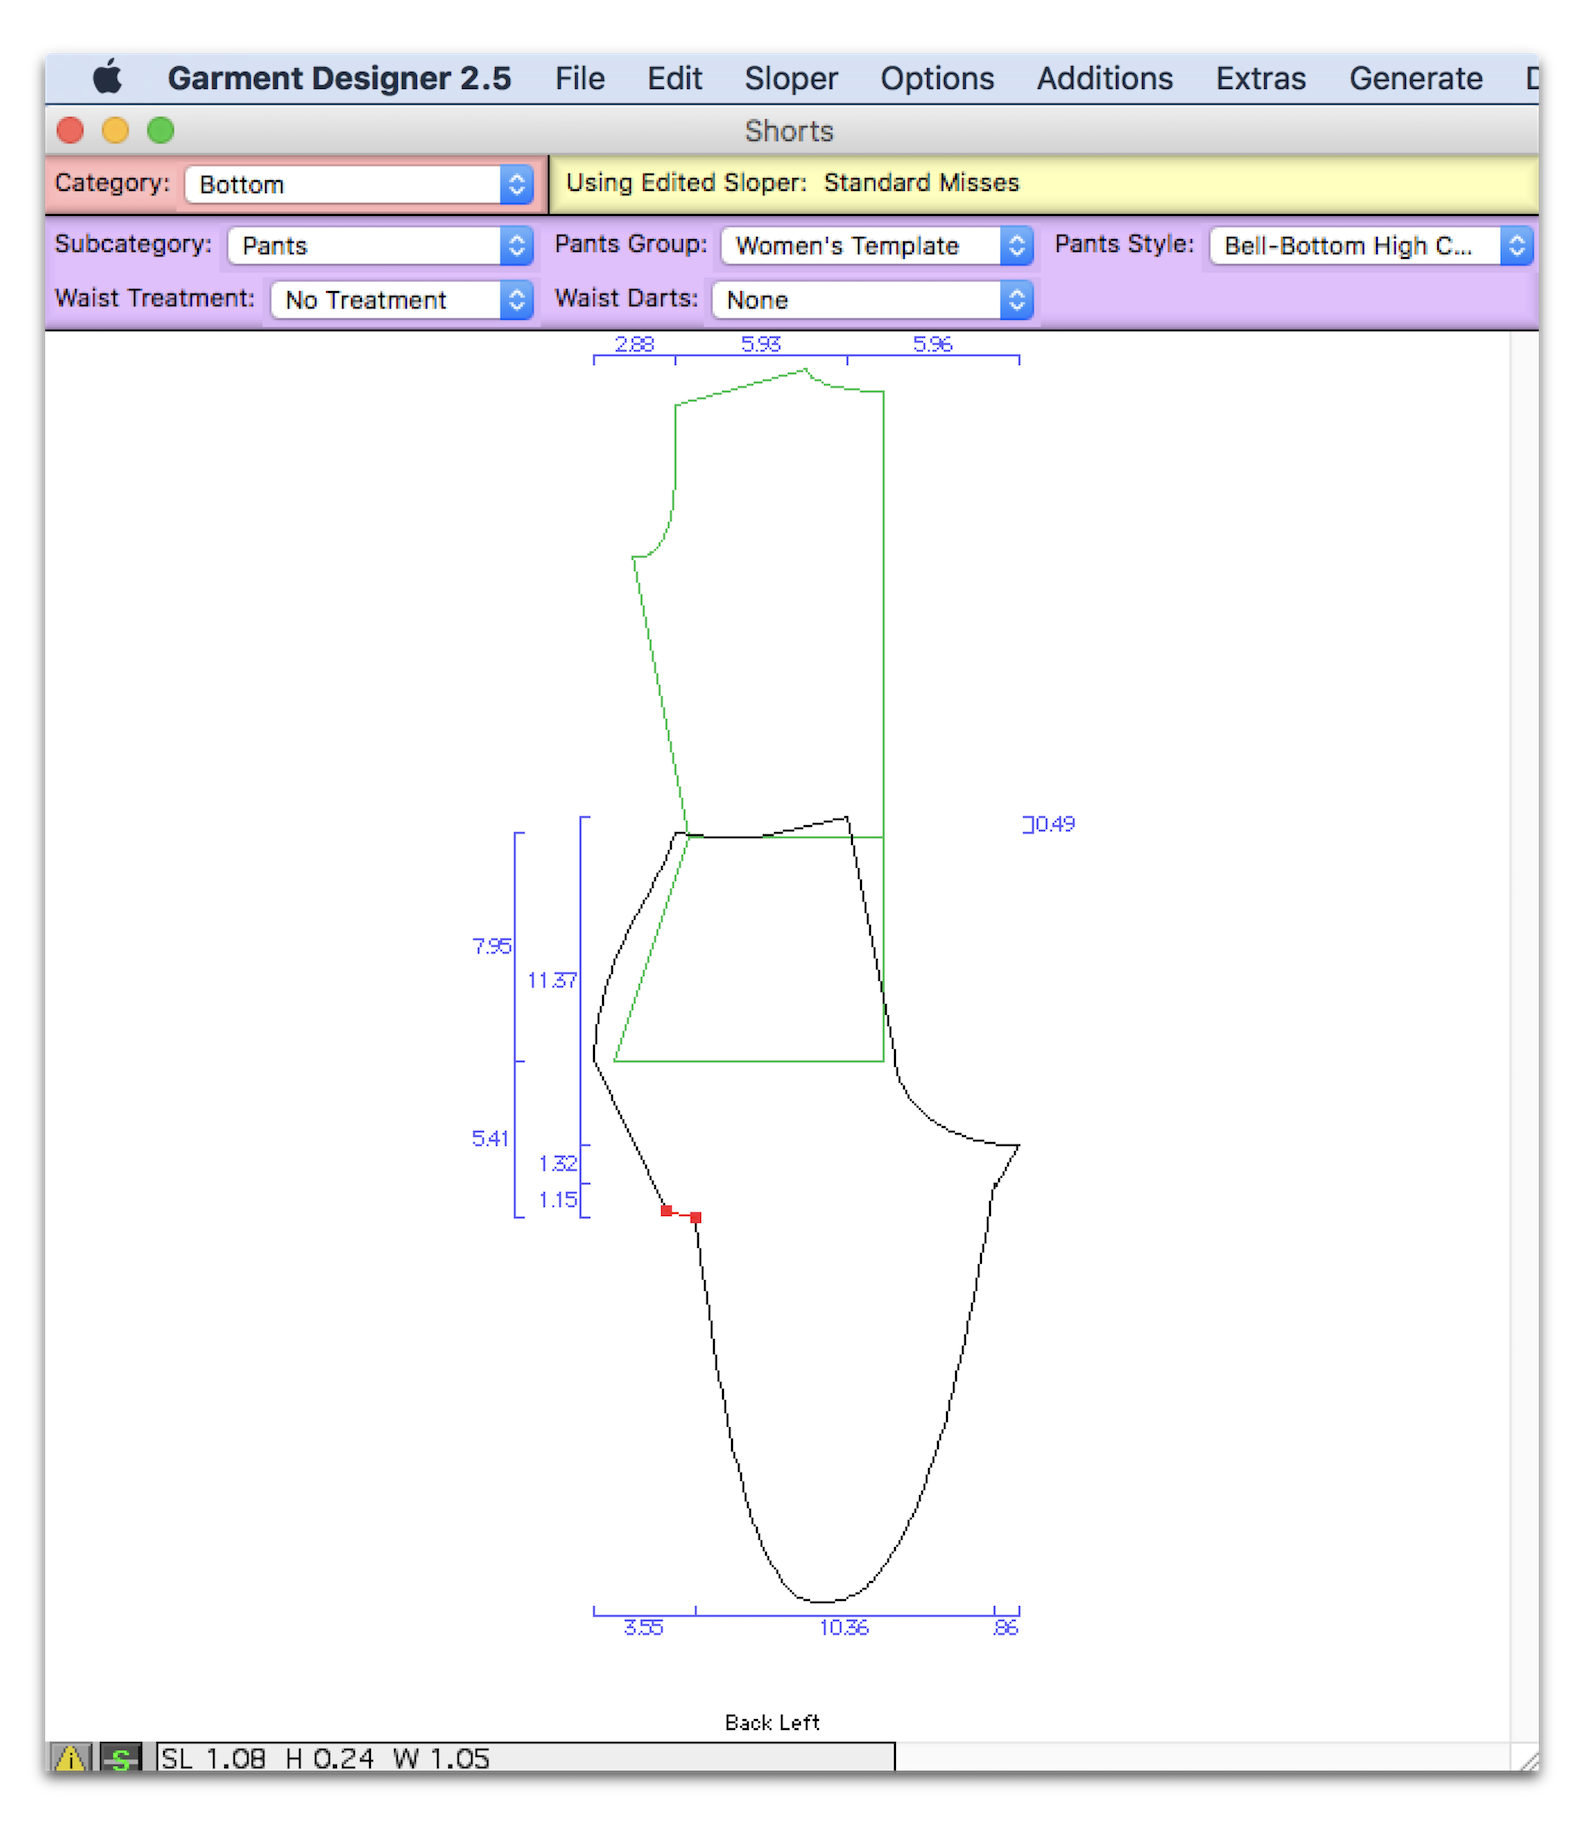
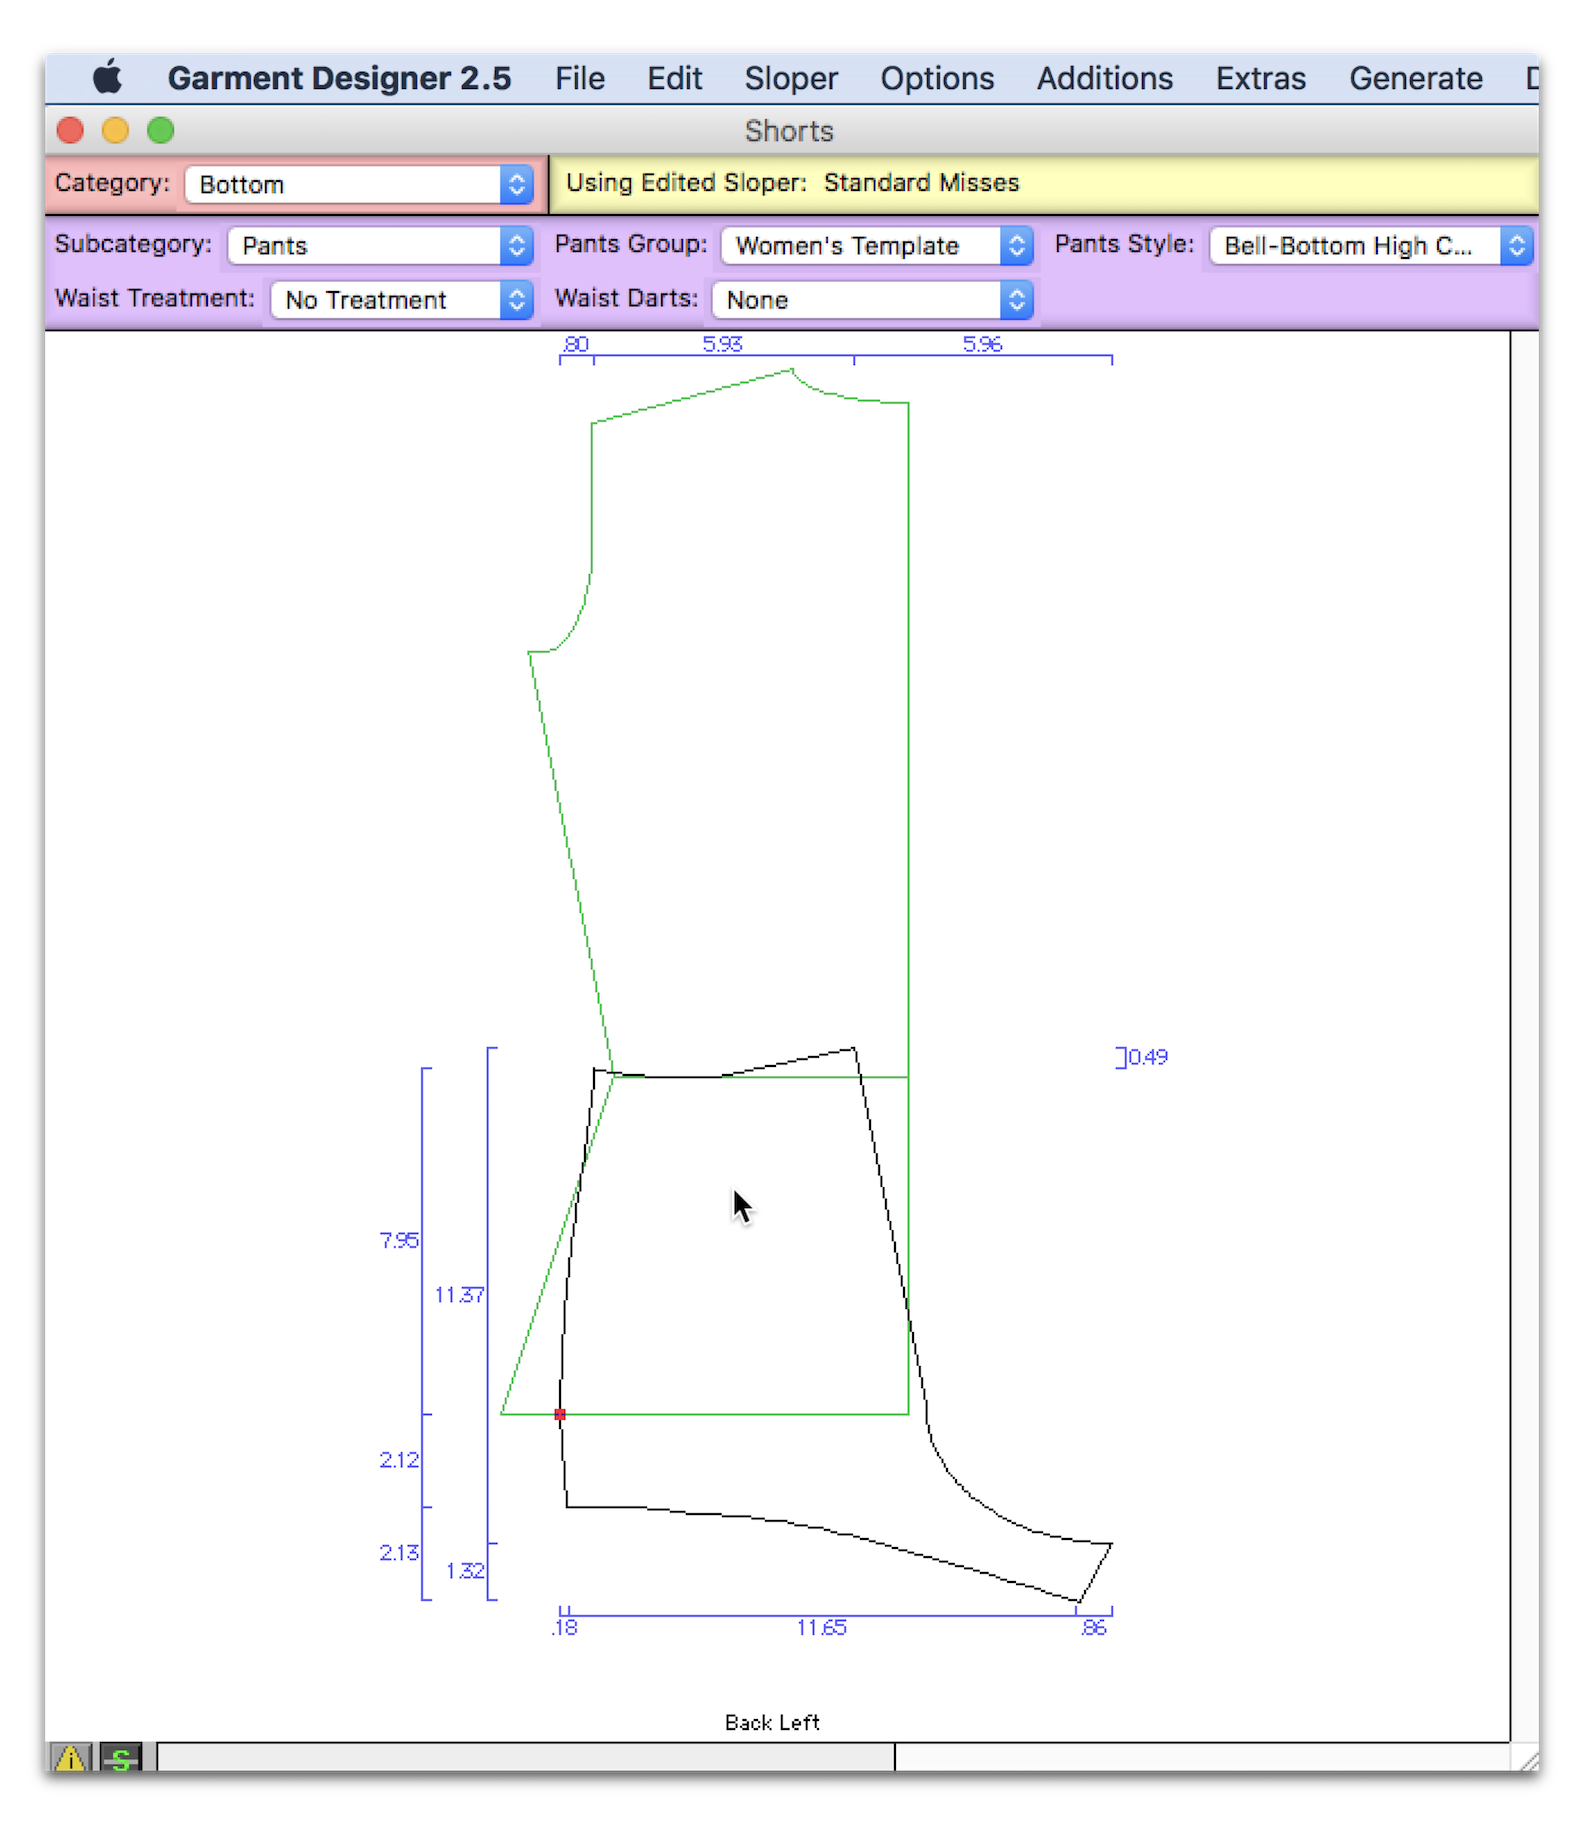
I turned my front/back symmetry off just because I knew I had major differences from front to back and I had all the measurements I needed to adjust each piece.
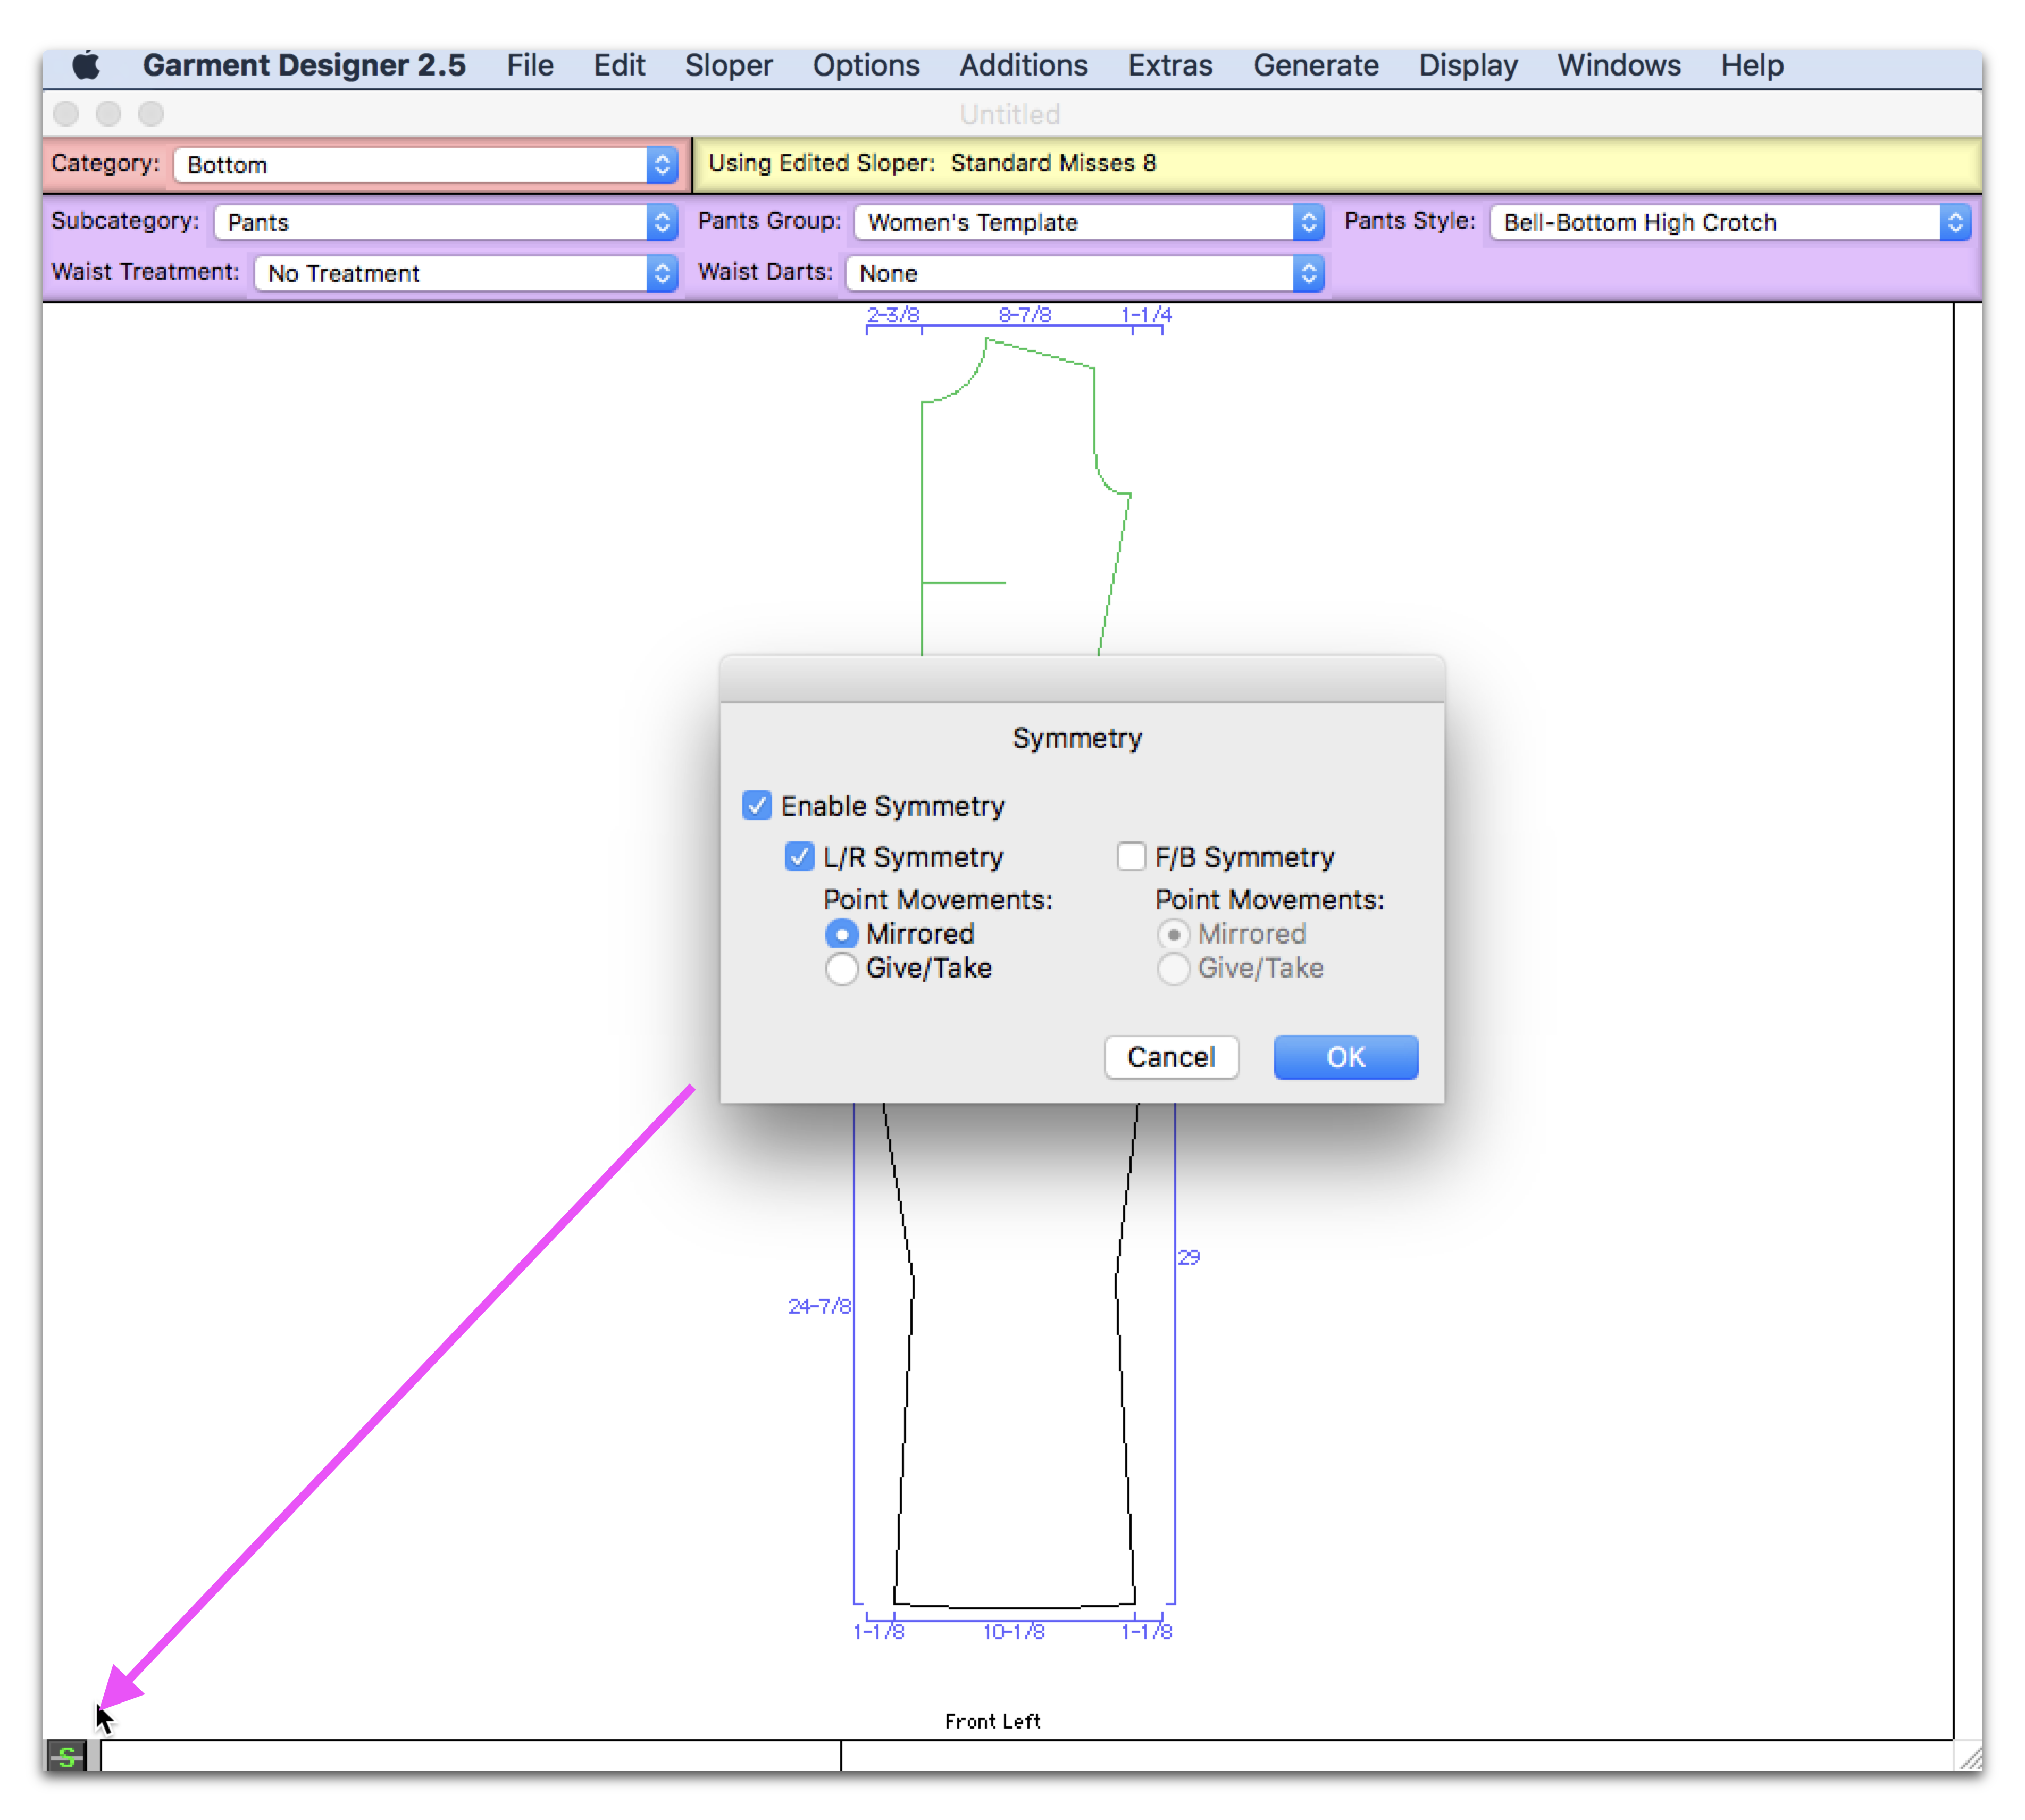
Don’t forget about the little Symmetry Options shortcut in the bottom left corner. I clicked it and it displayed my Symmetry Options.
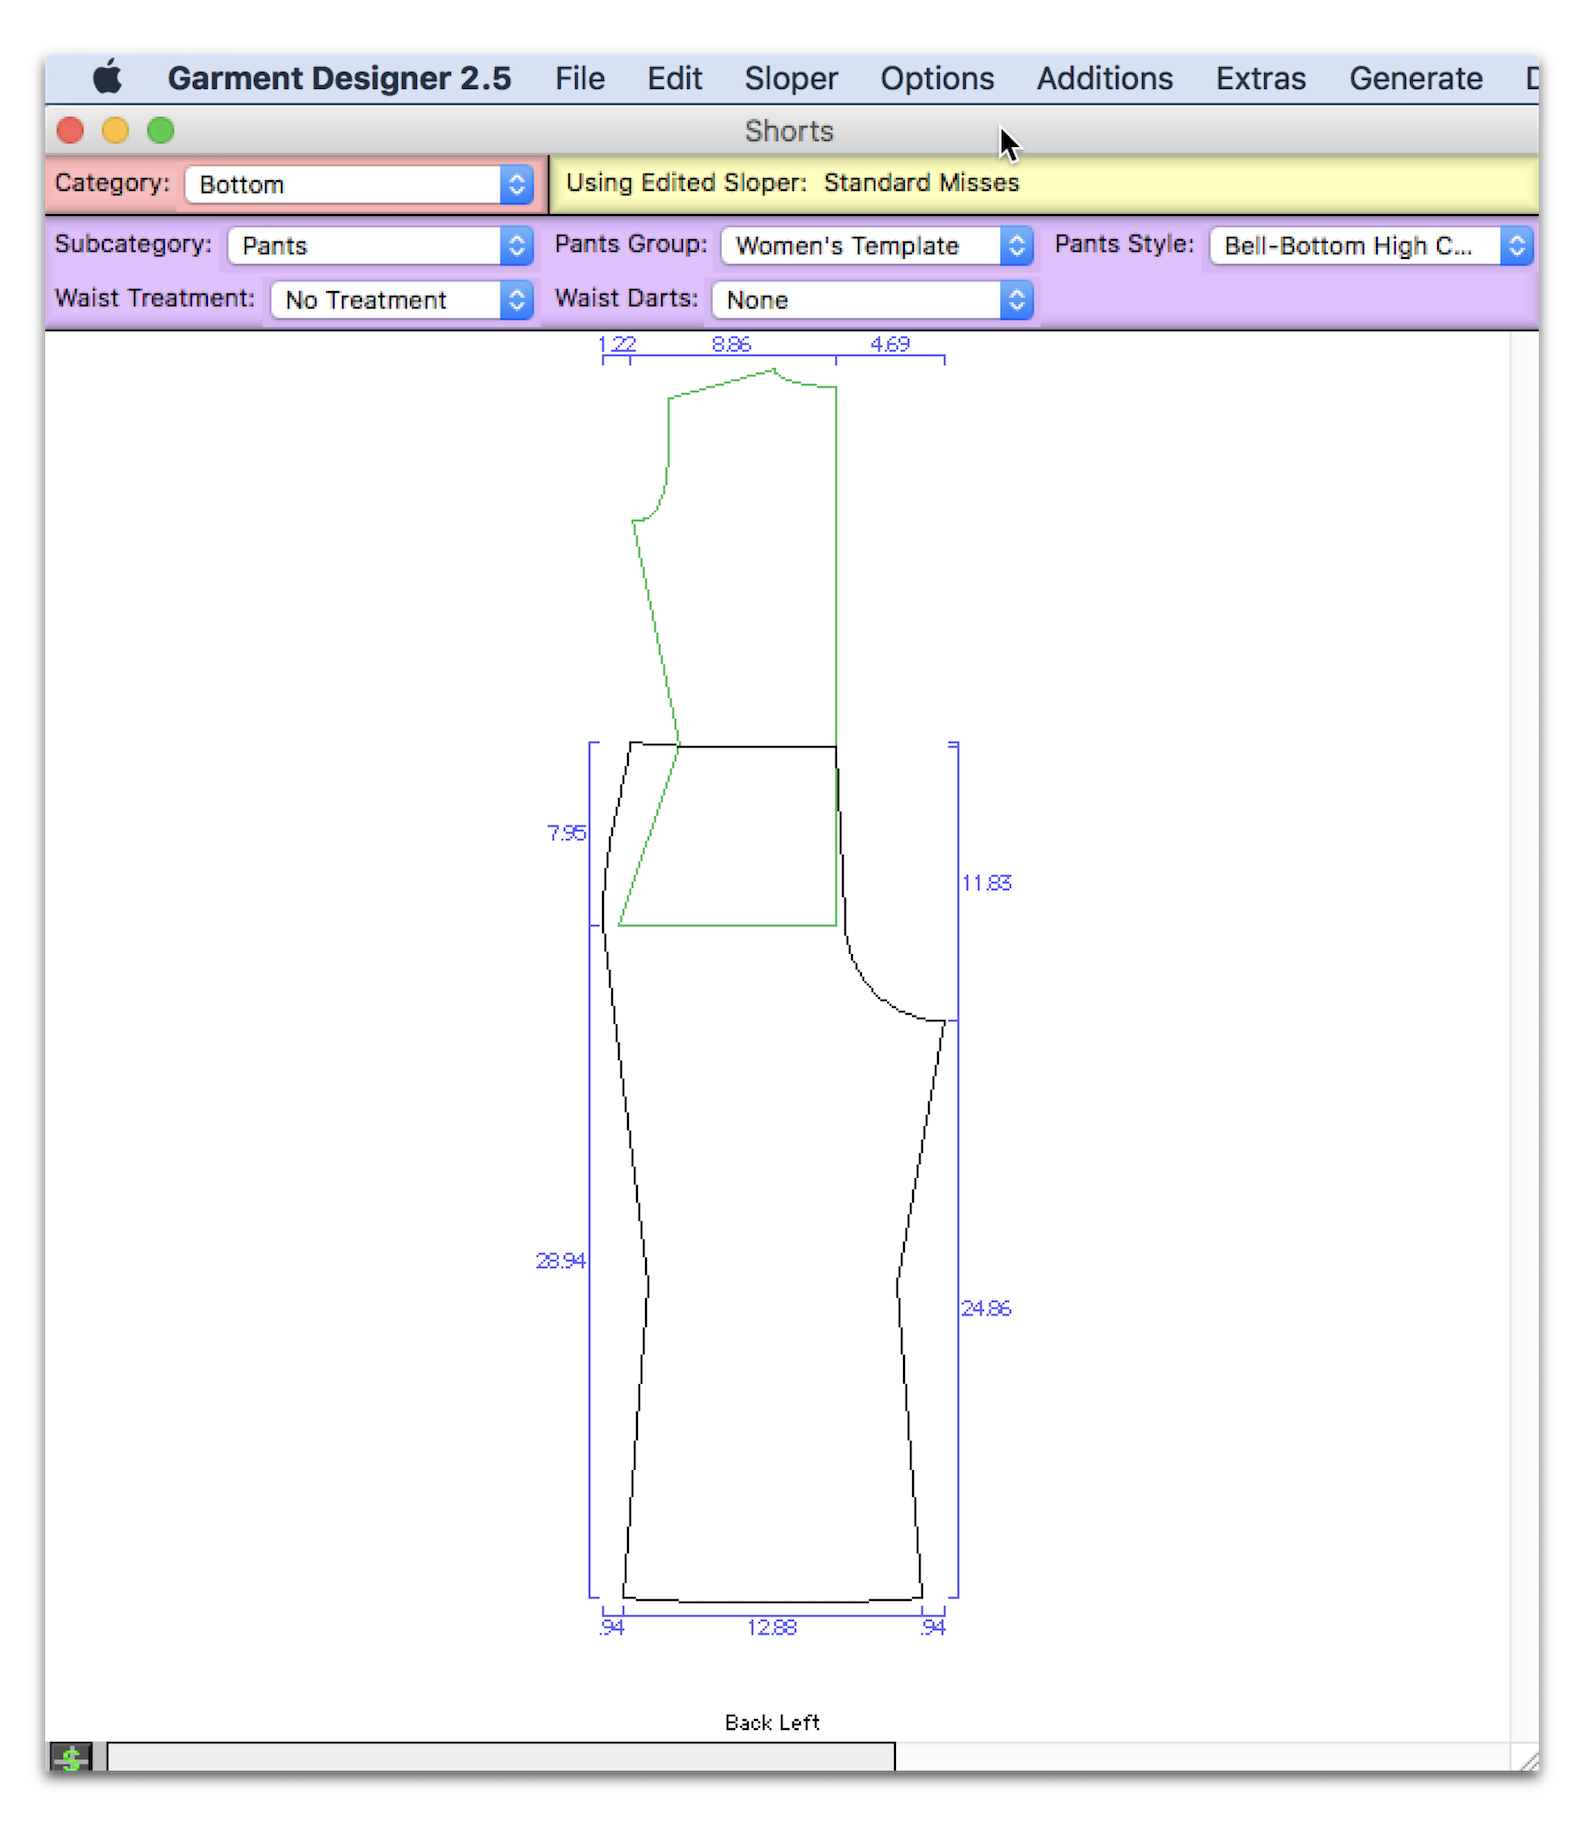
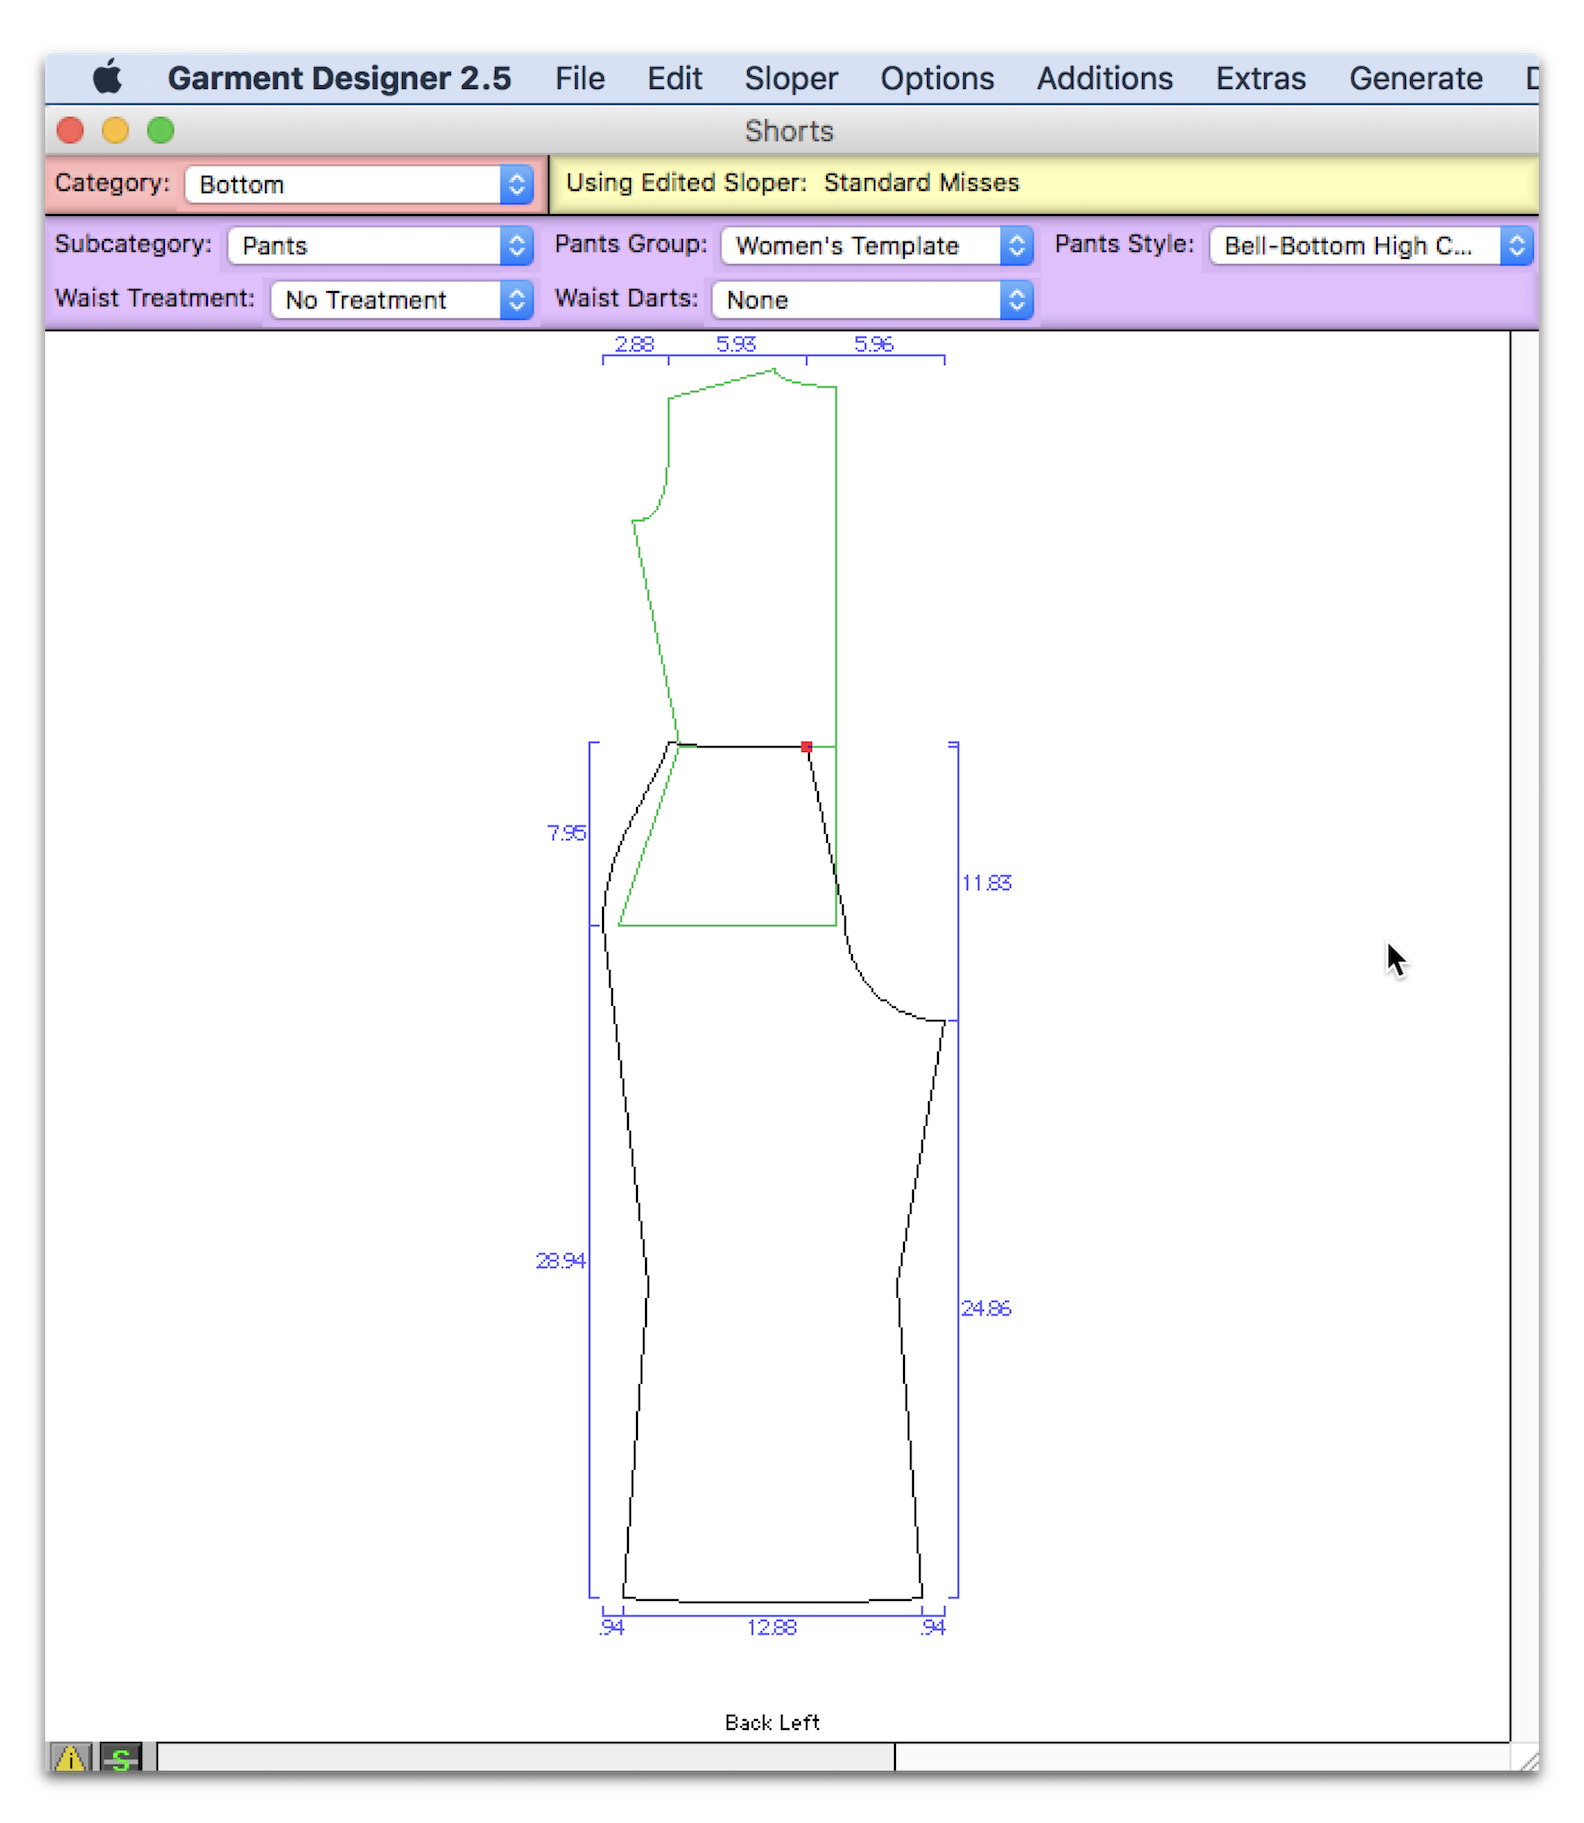
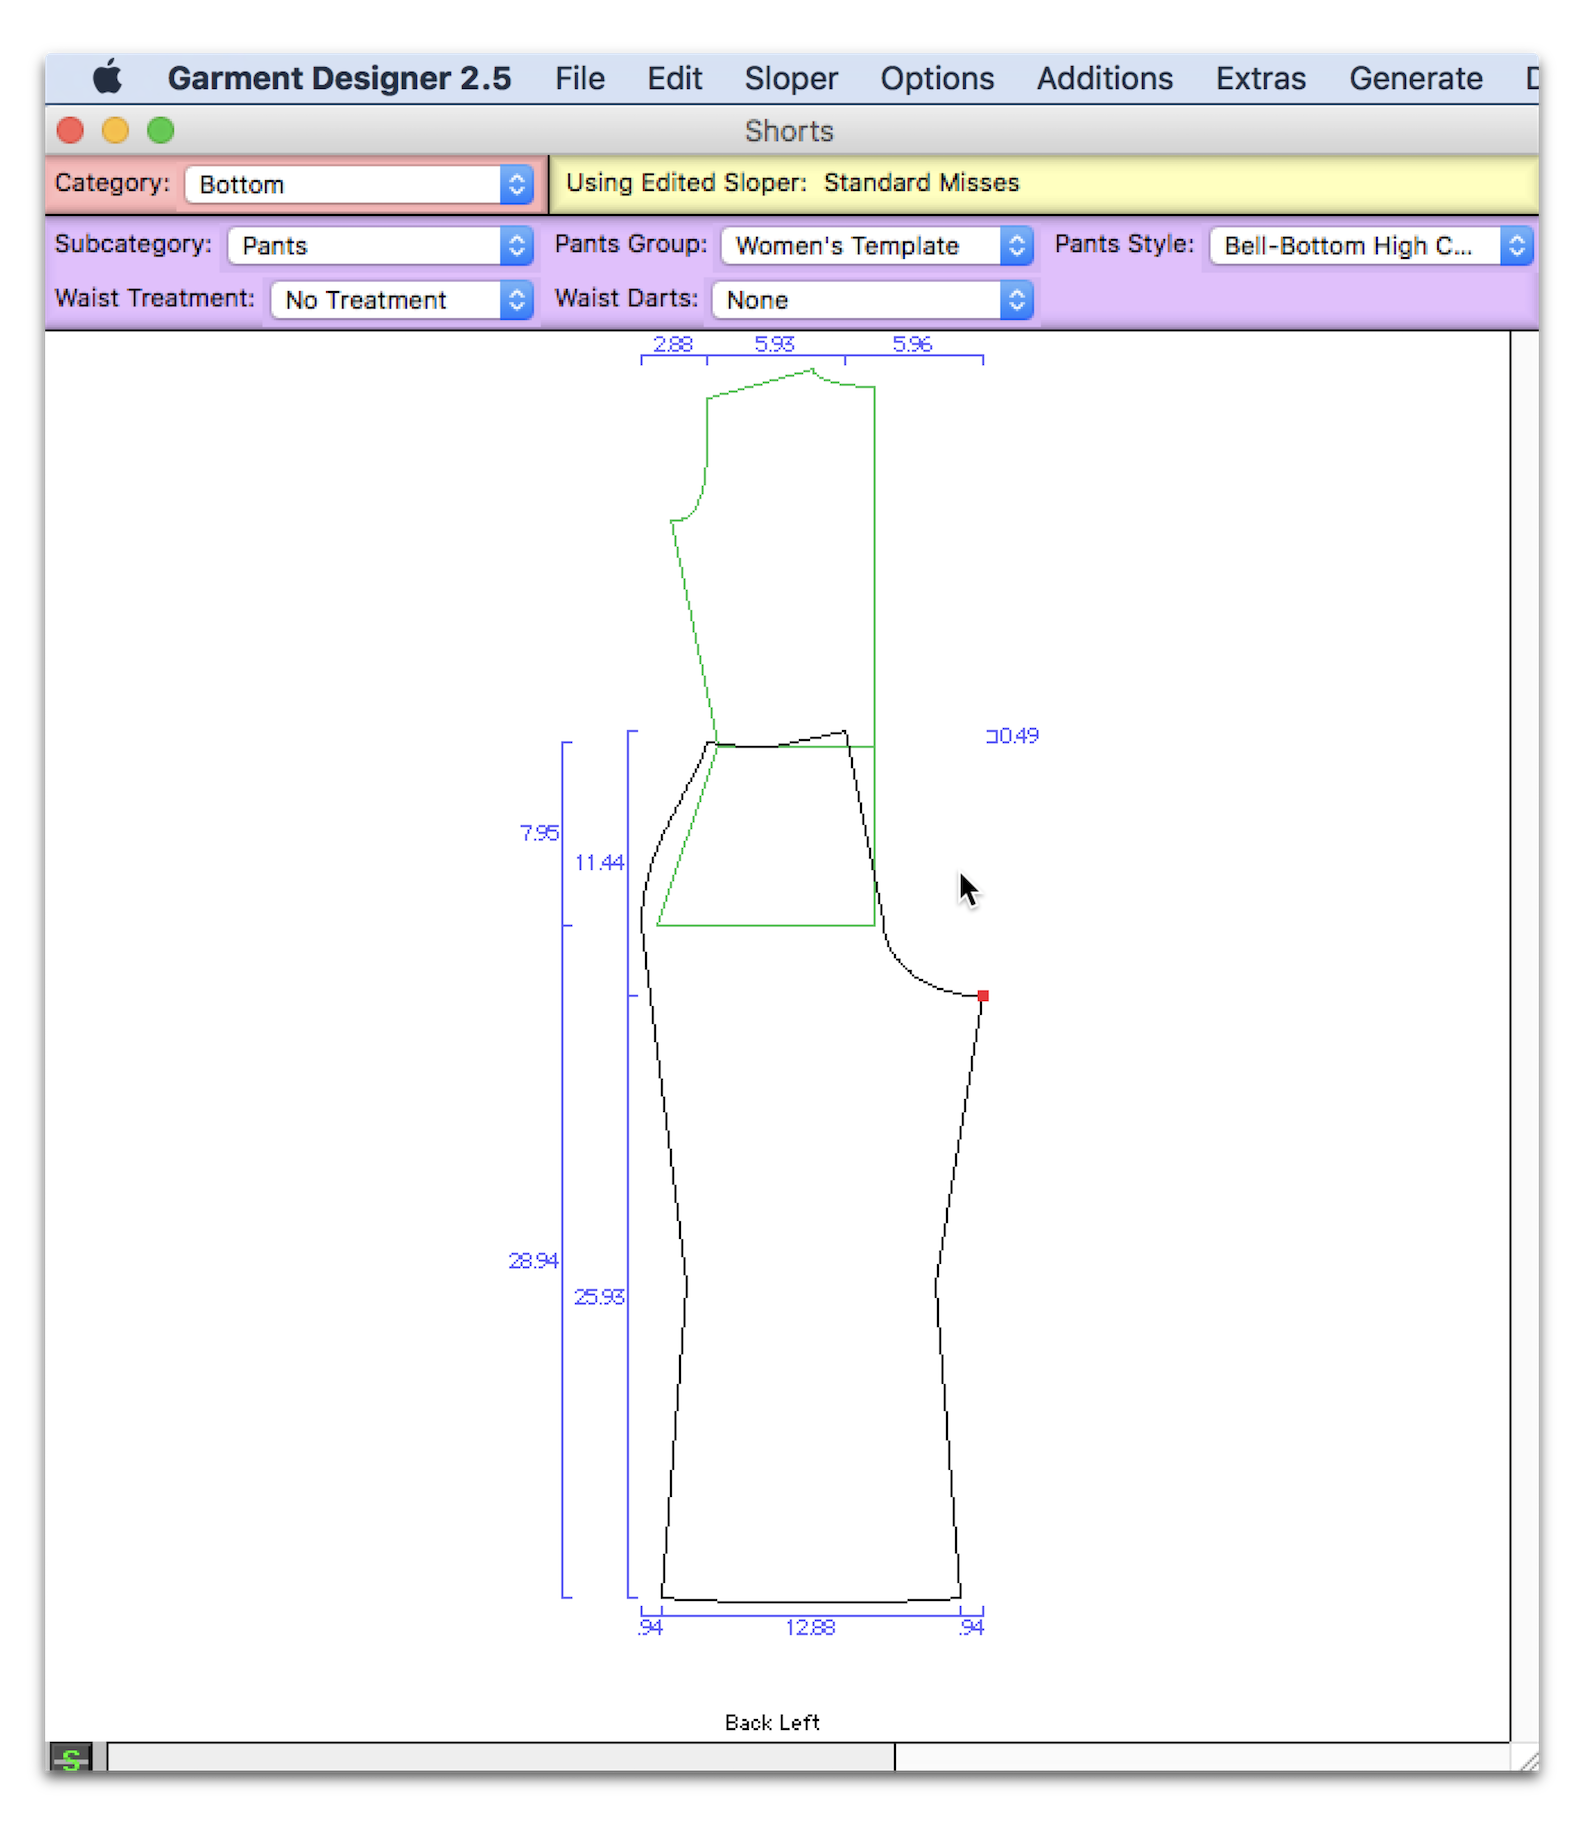
Then, with my dimensions turned on (Display>Show Dimensions), I started matching up the pattern on Garment Designer to my sketch. I also switched over to decimals duringthis time to be a little more precise.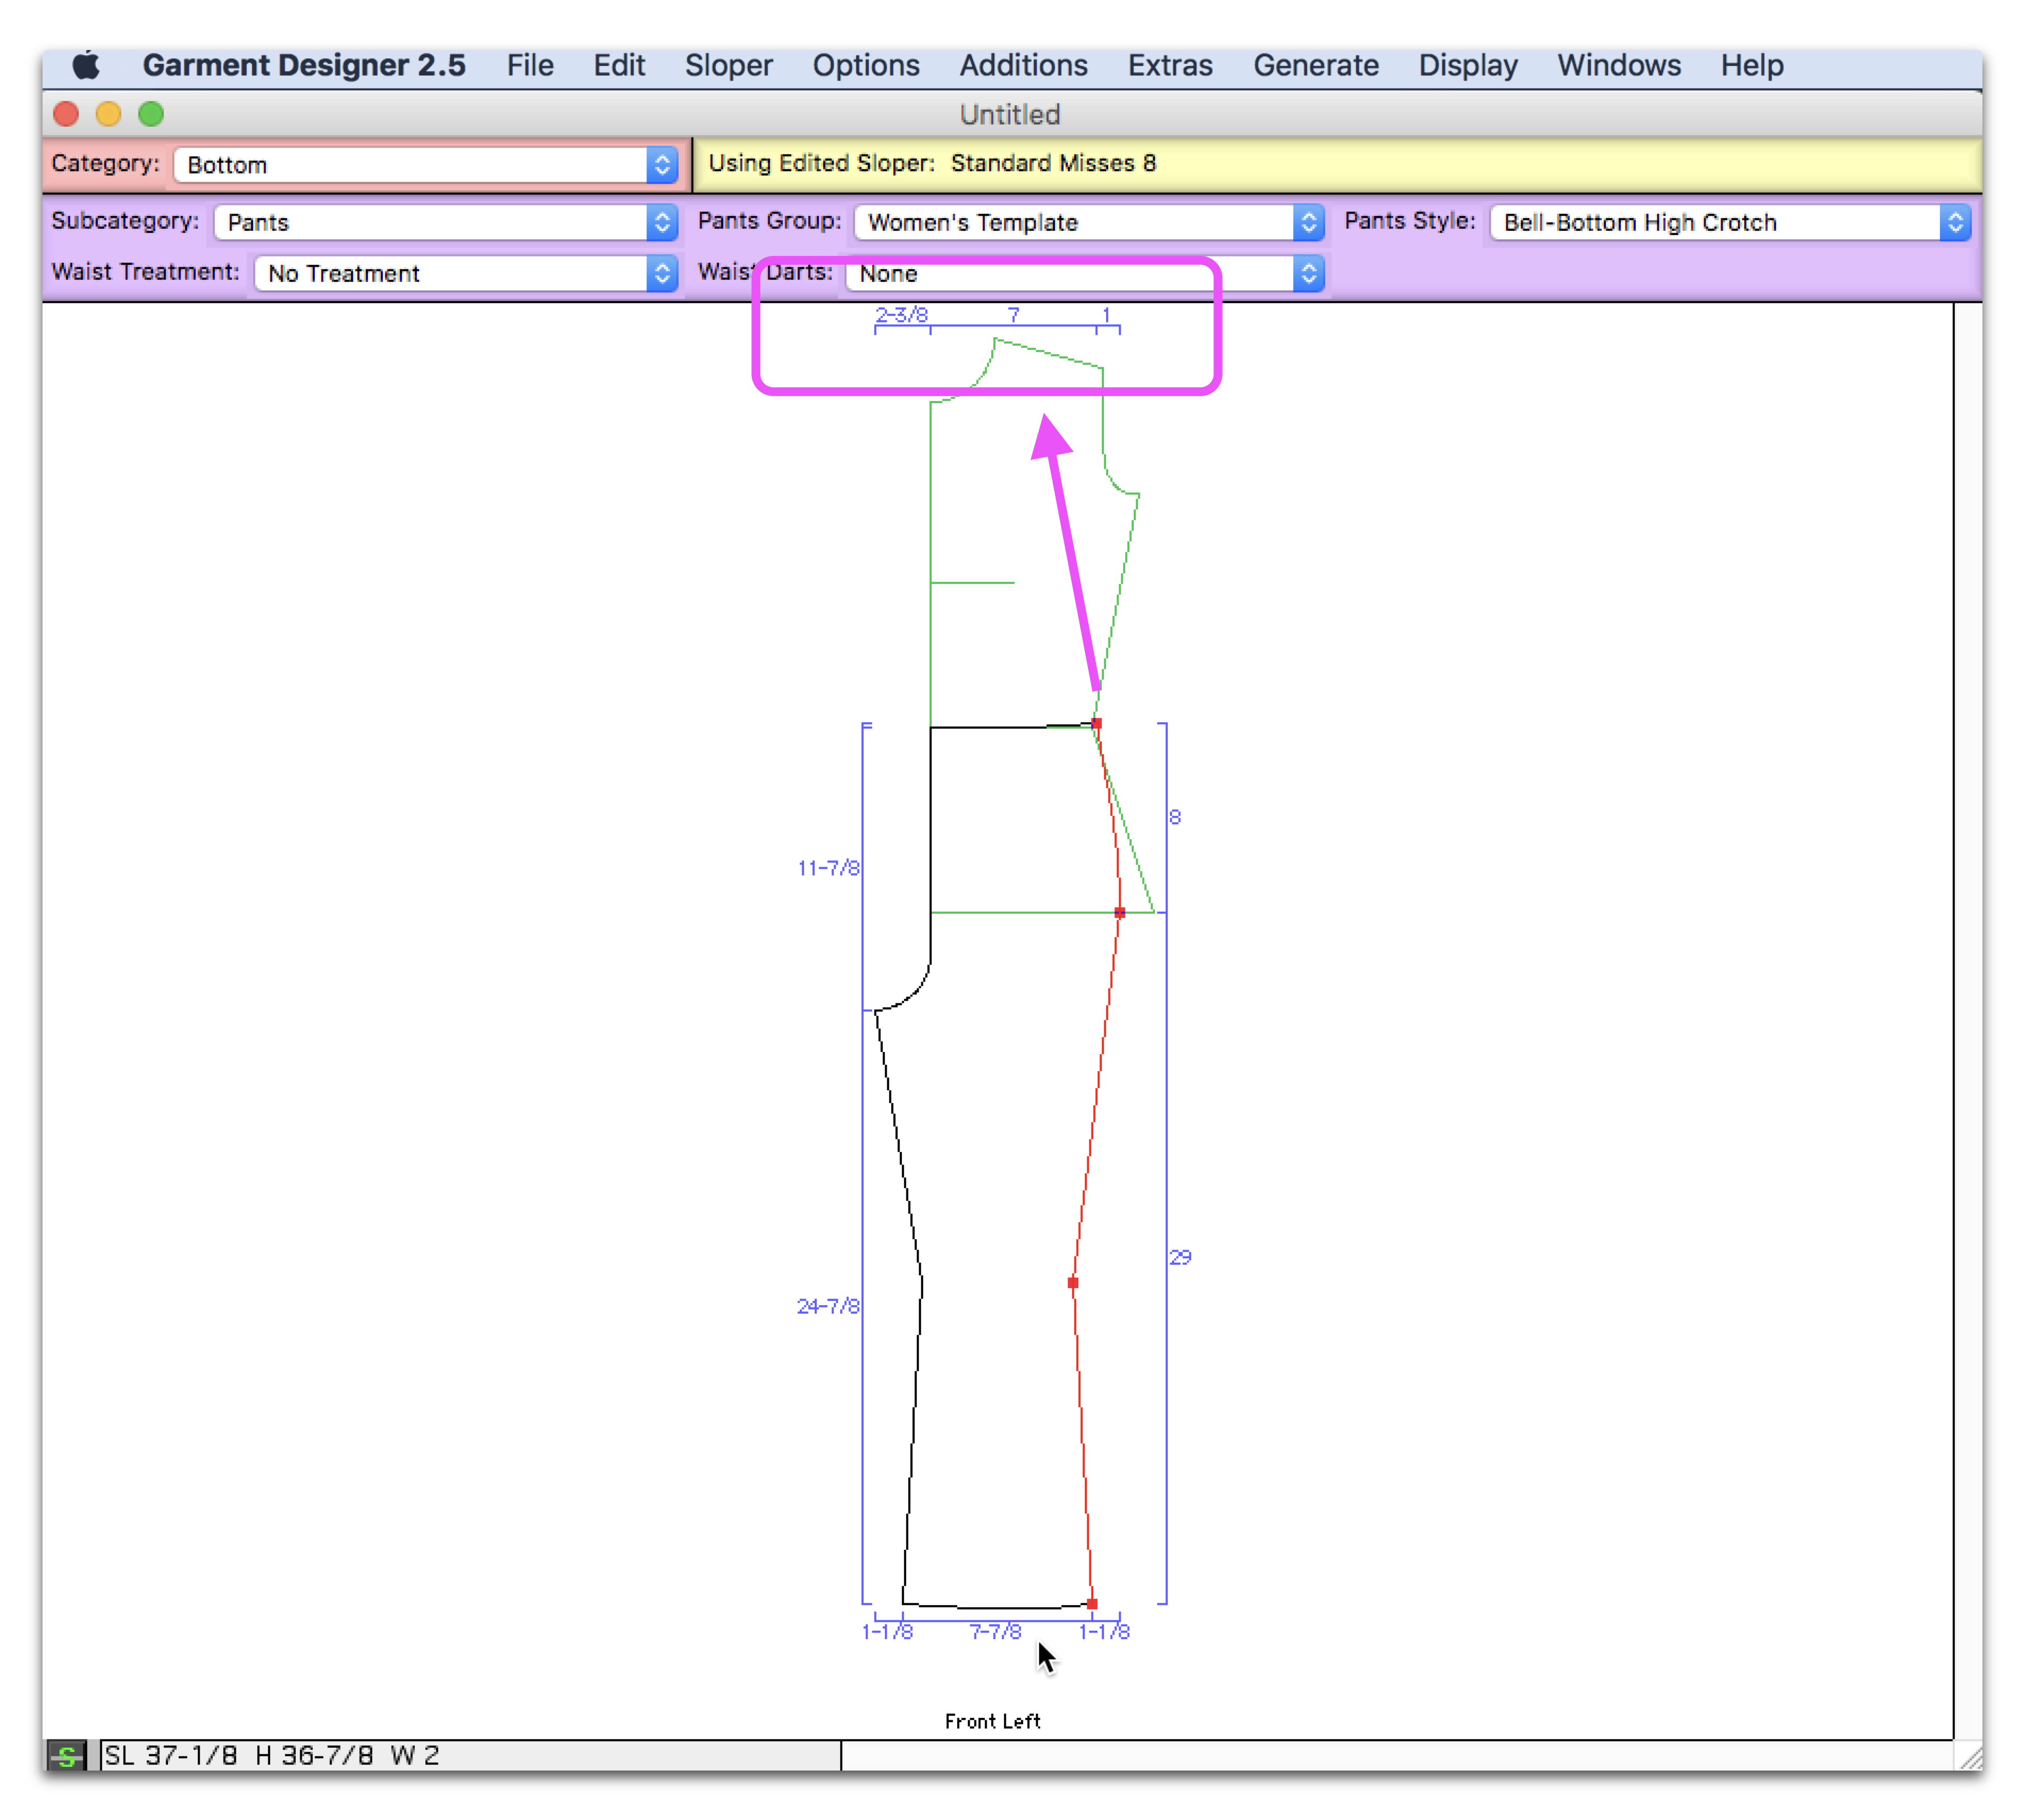
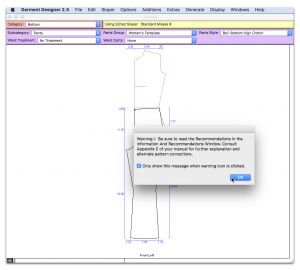
The Garment Designer warning message popped up, which was to be expected when making these kinds of changes. I checked the box so it wouldn’t bother me anymore and continued. If you’re unfamiliar with what this is, see this video or look in your manual:
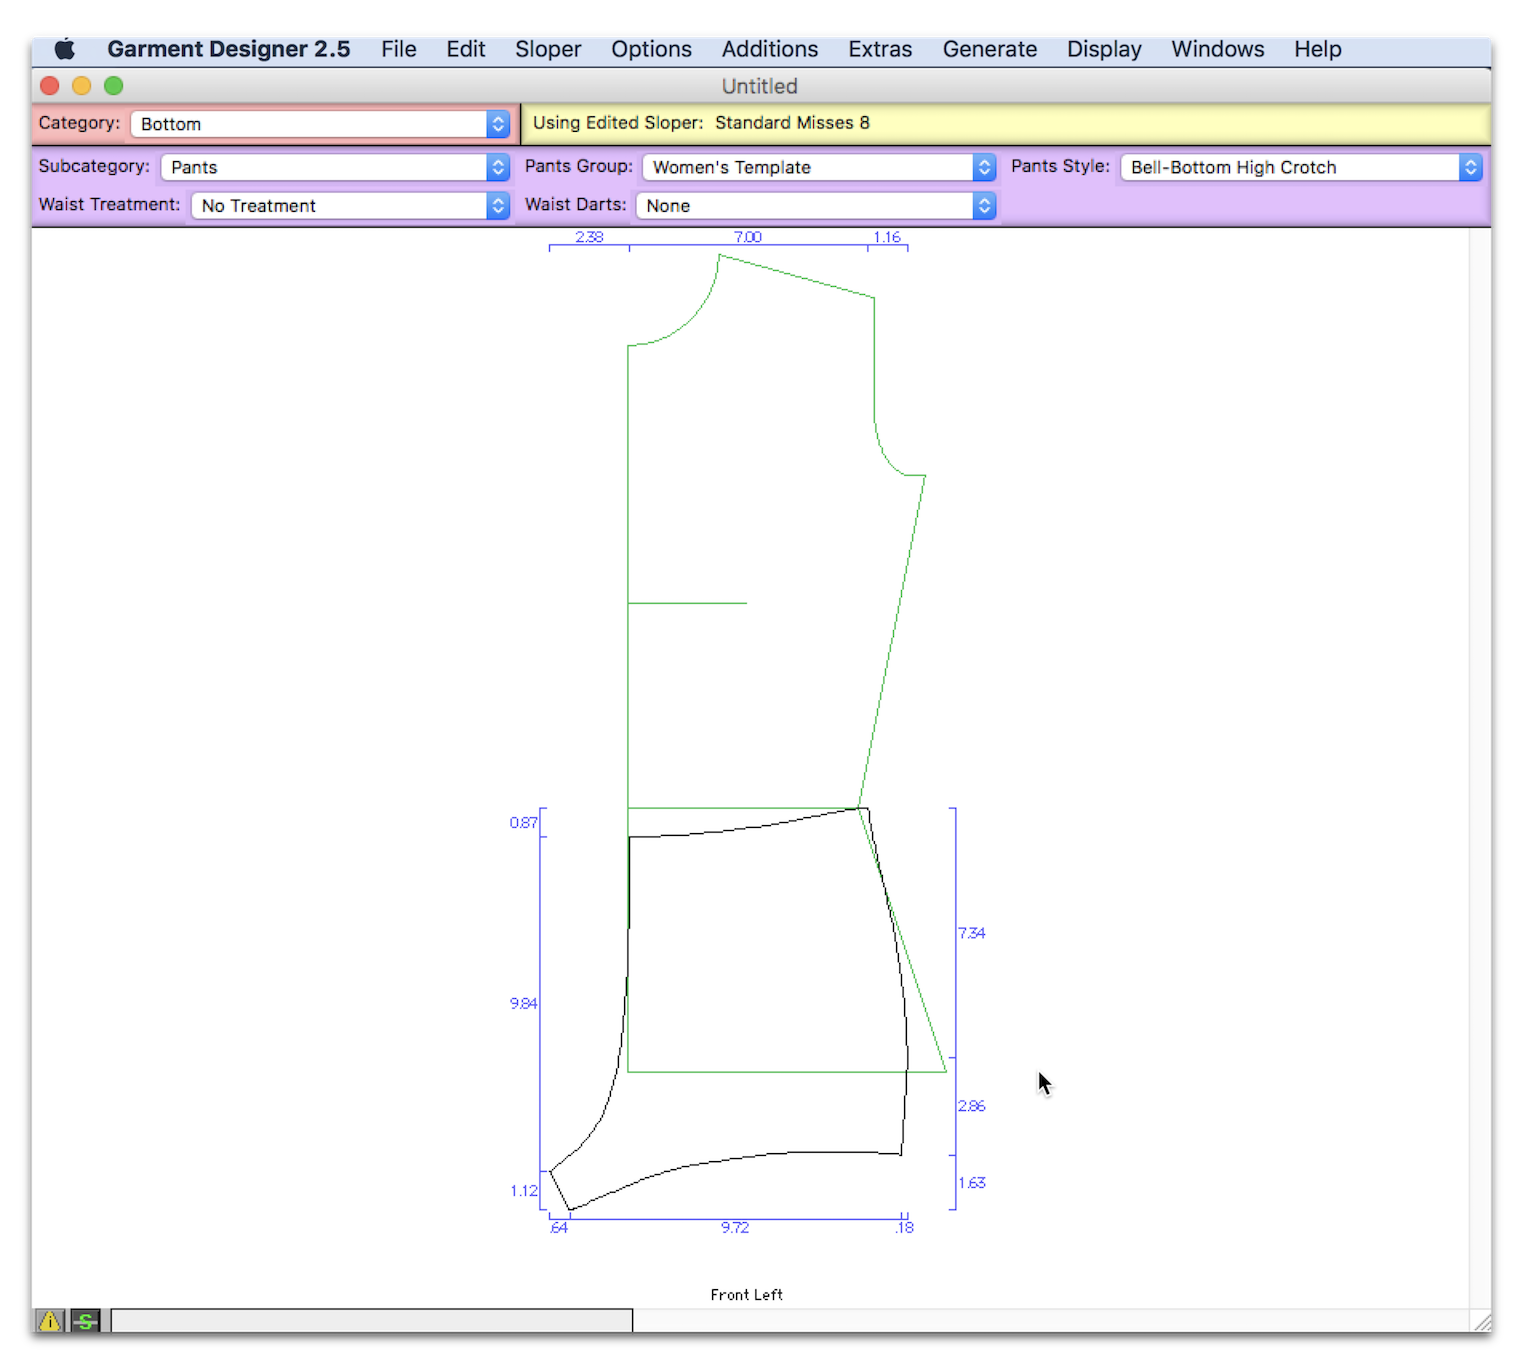
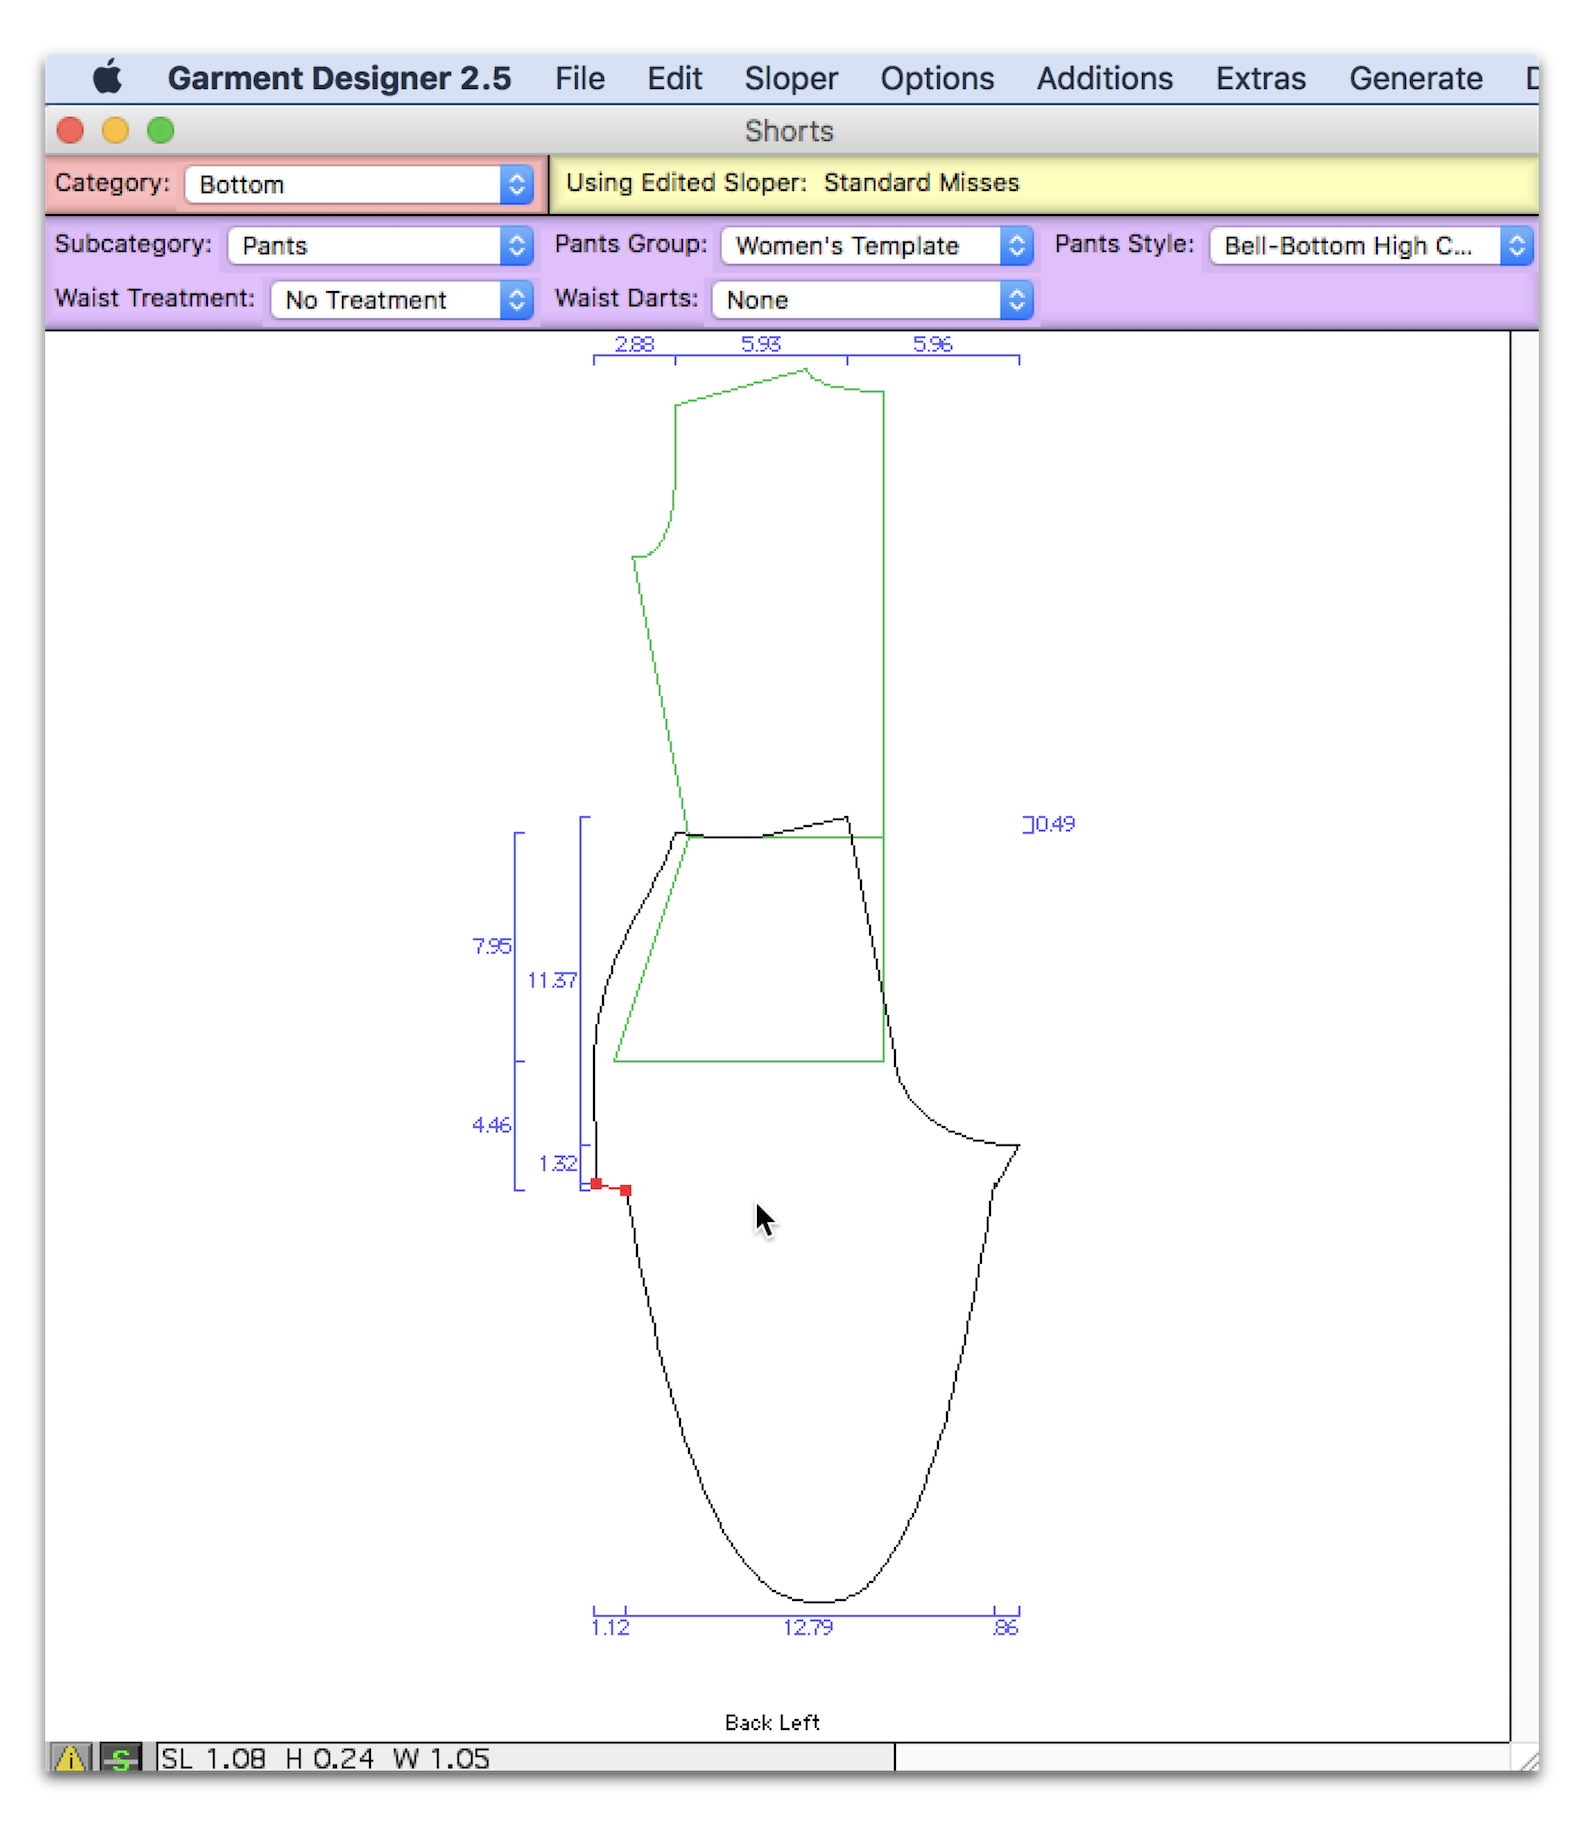
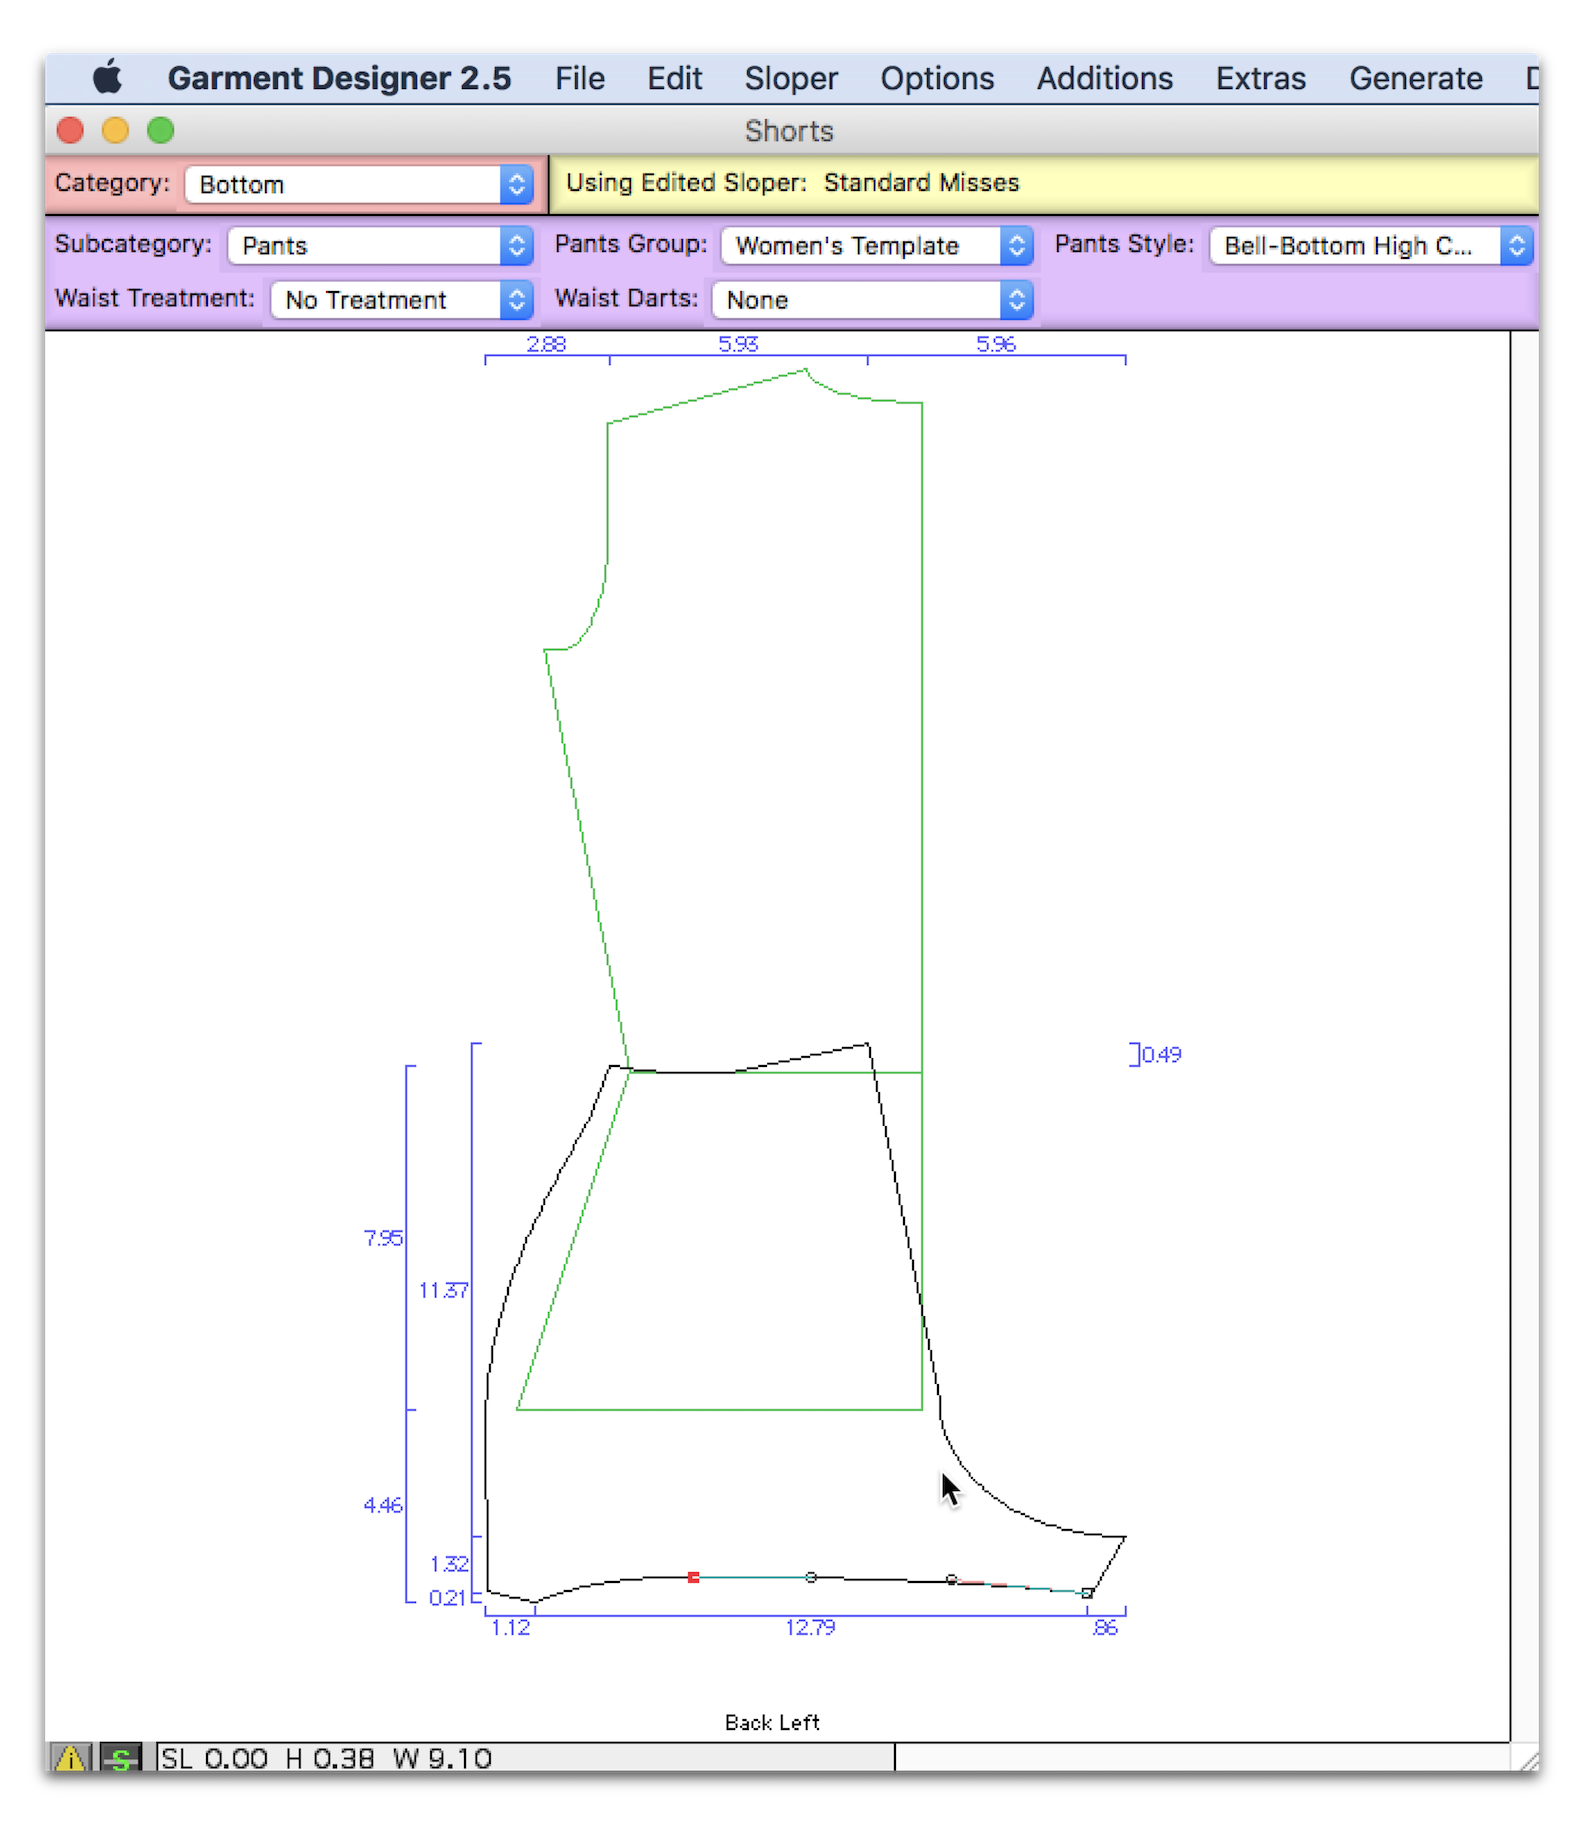
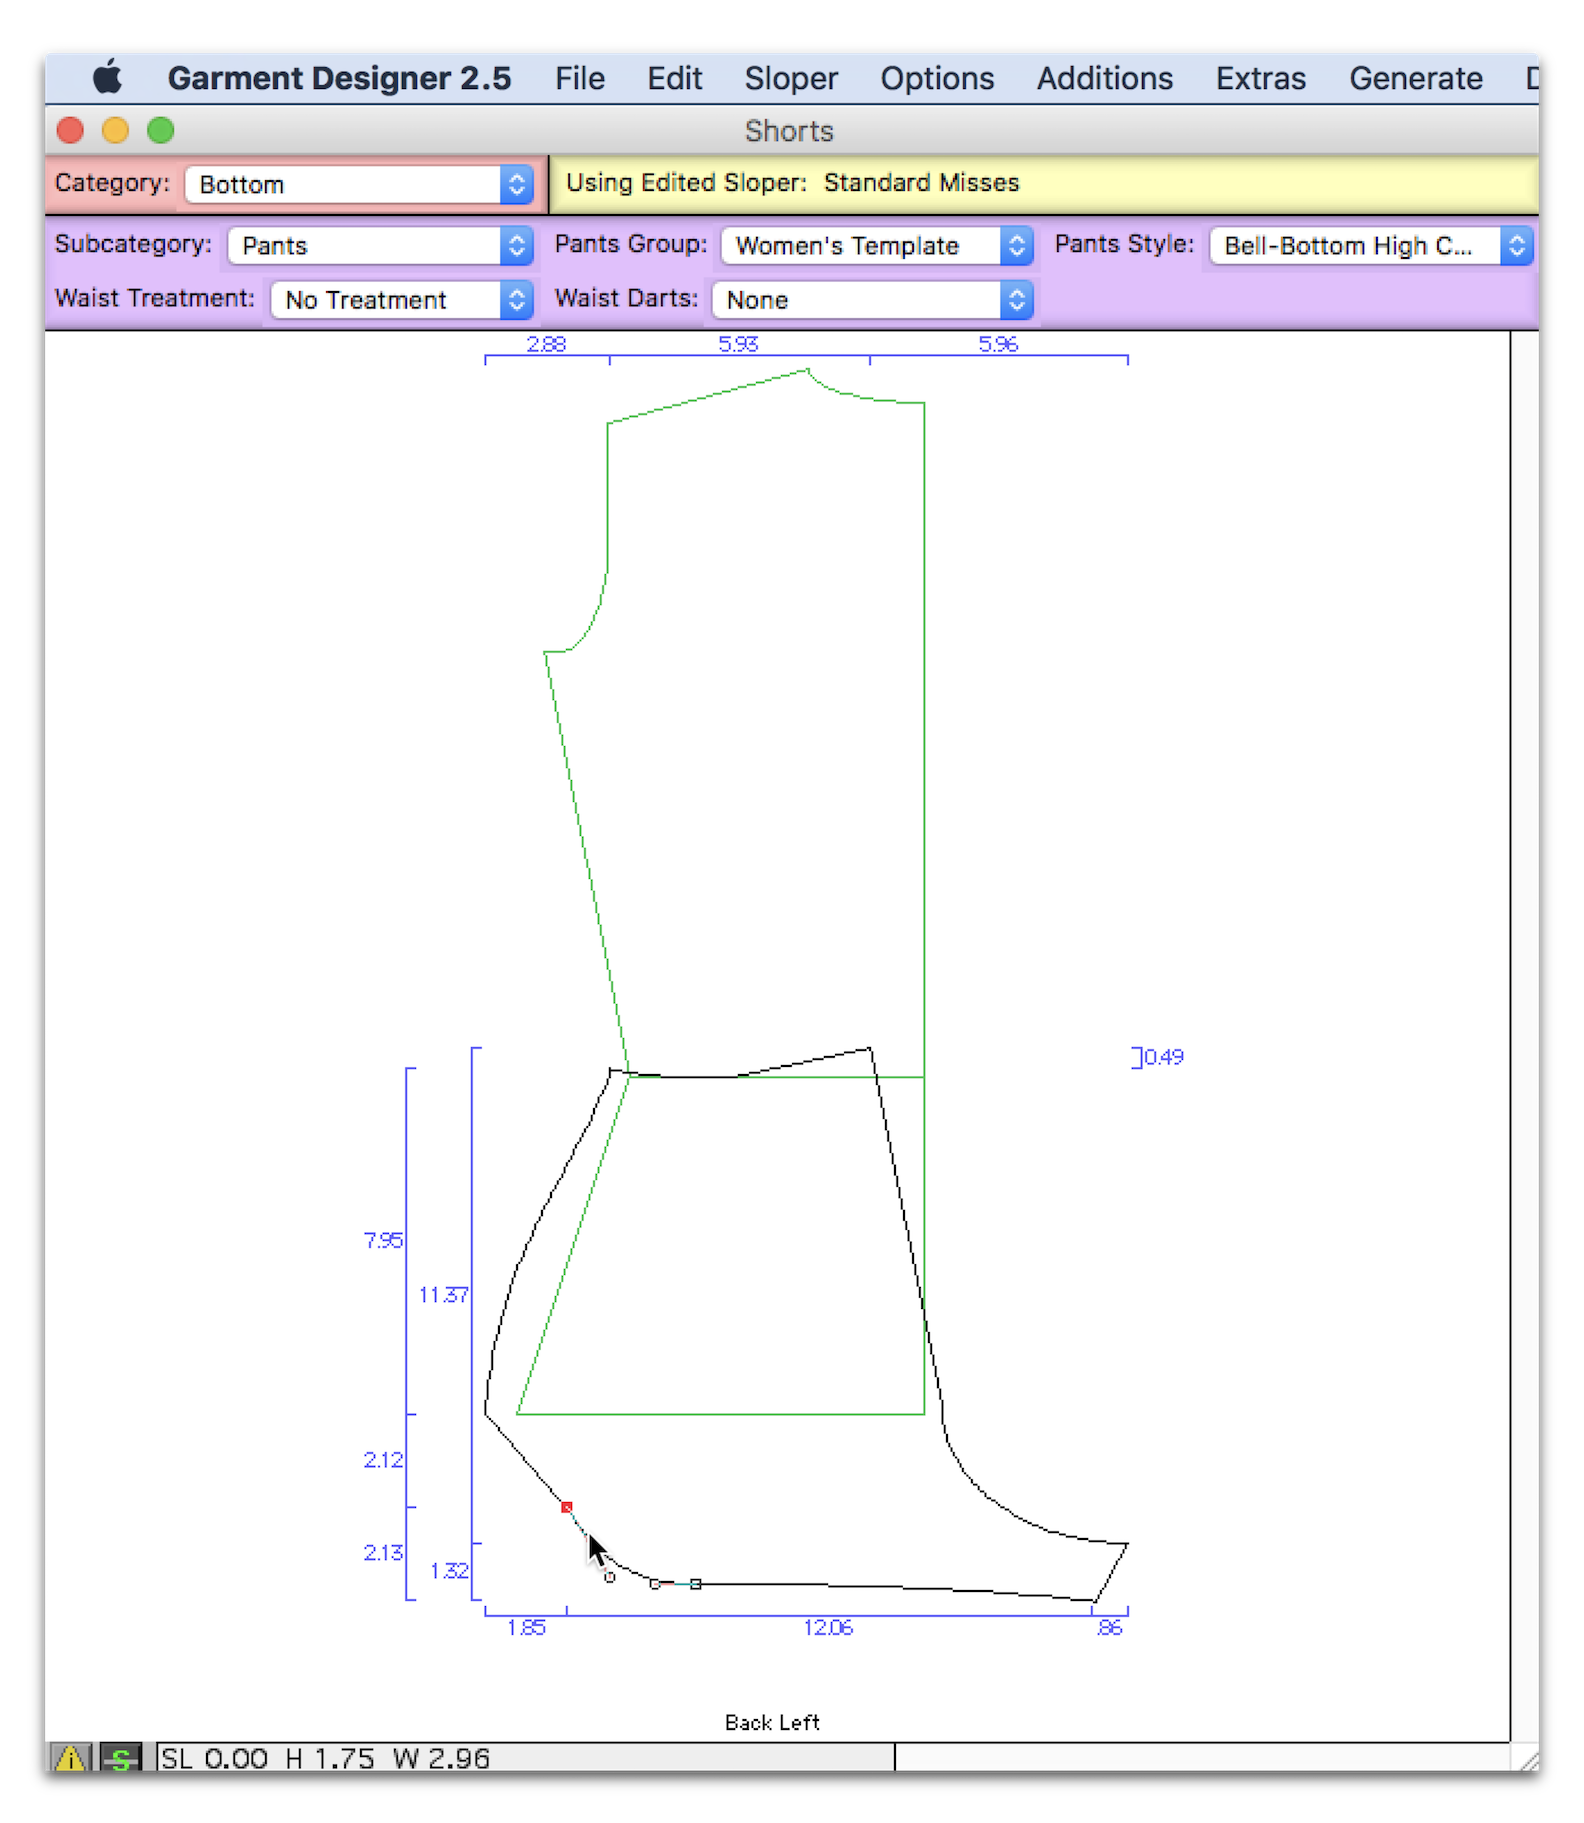
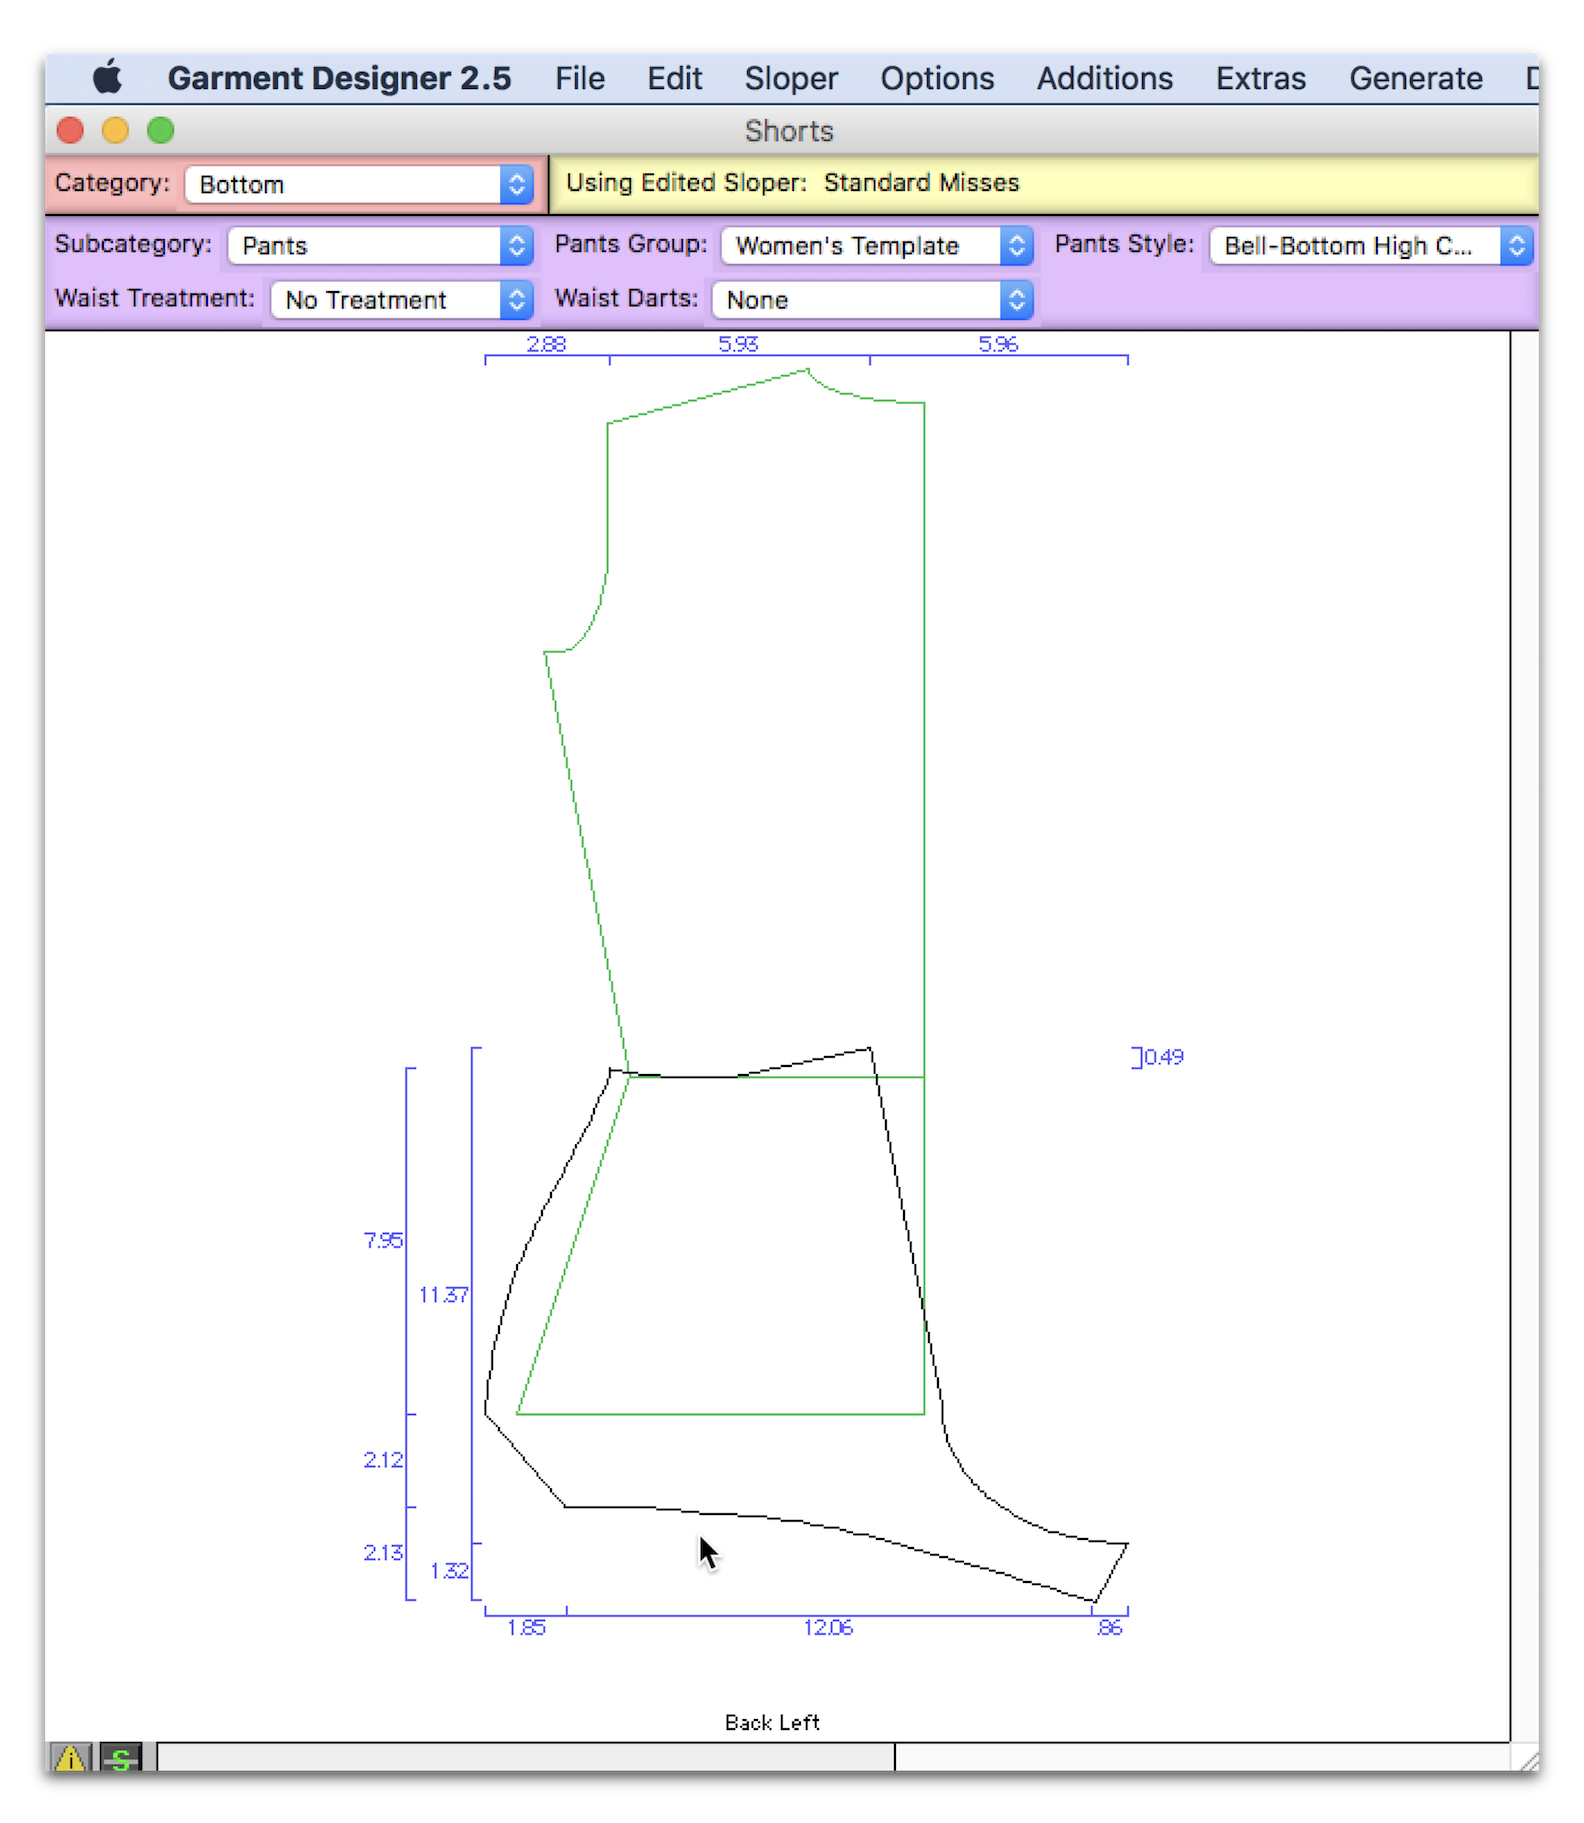
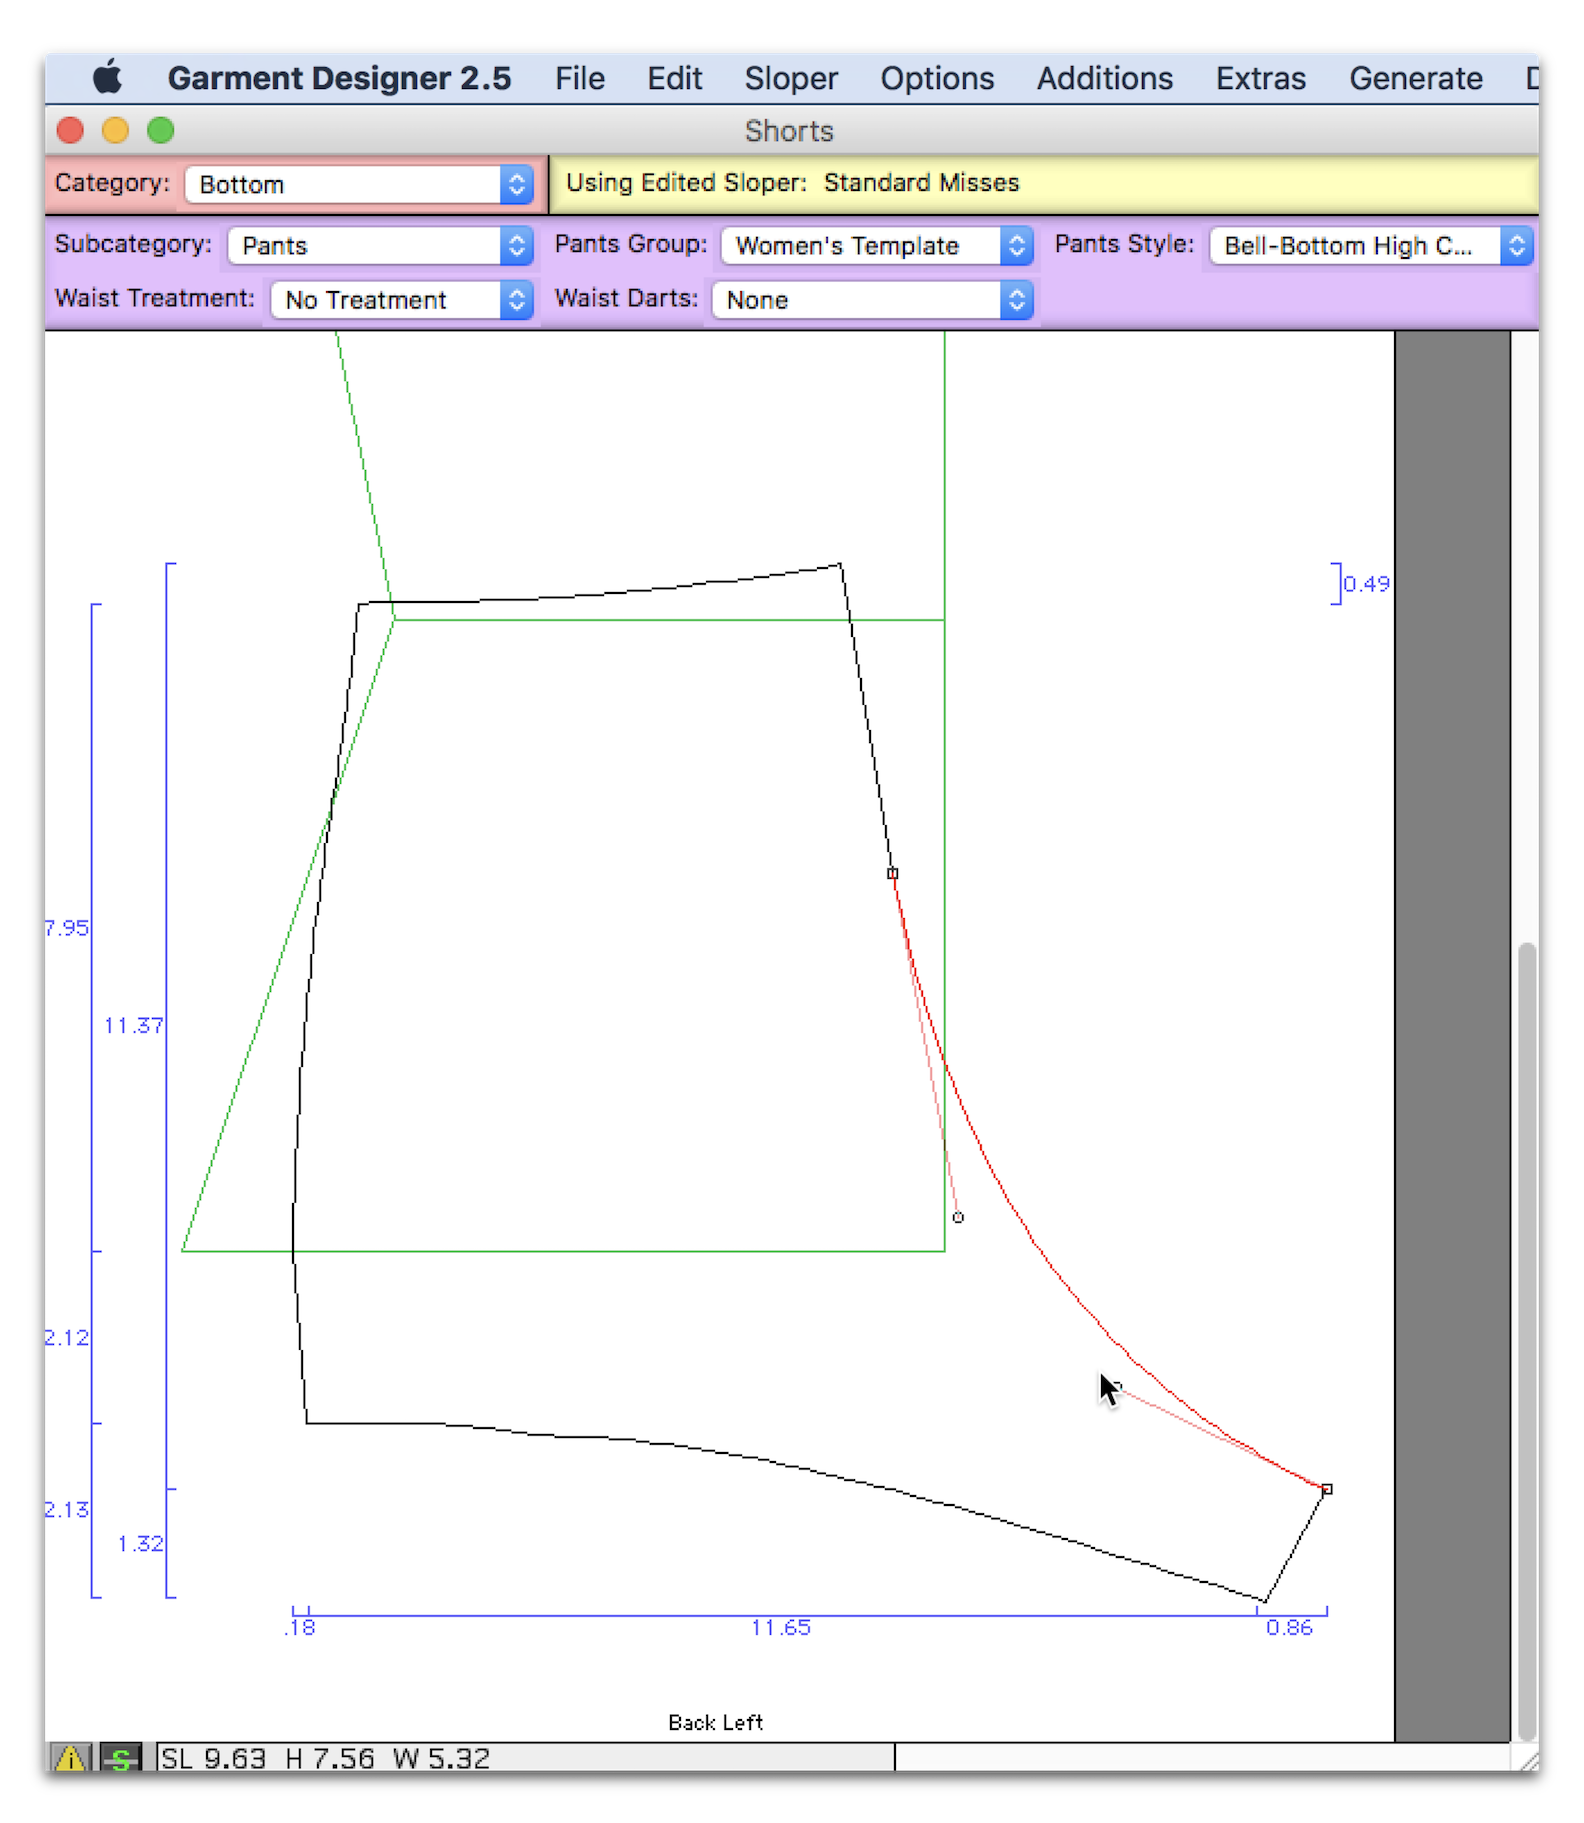
I made a slideshow showing how I was adjusting some of the points:

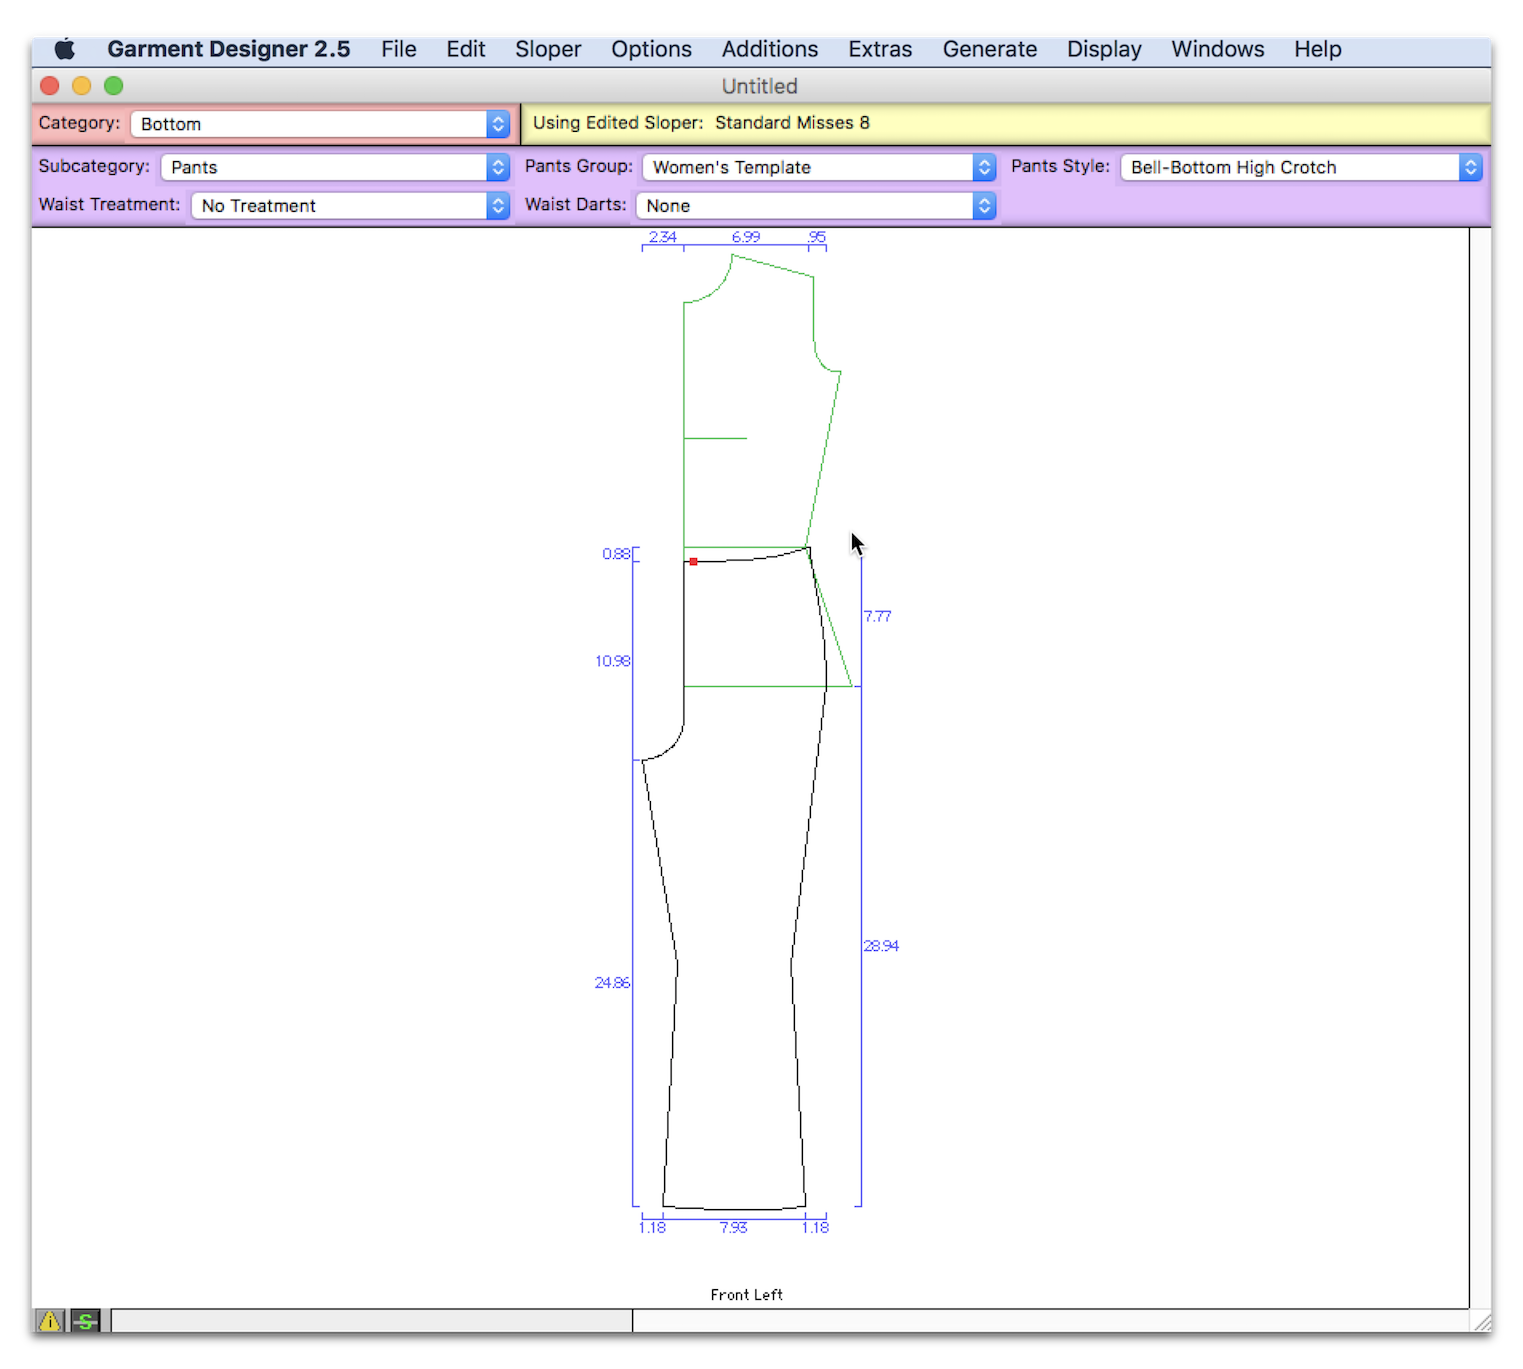
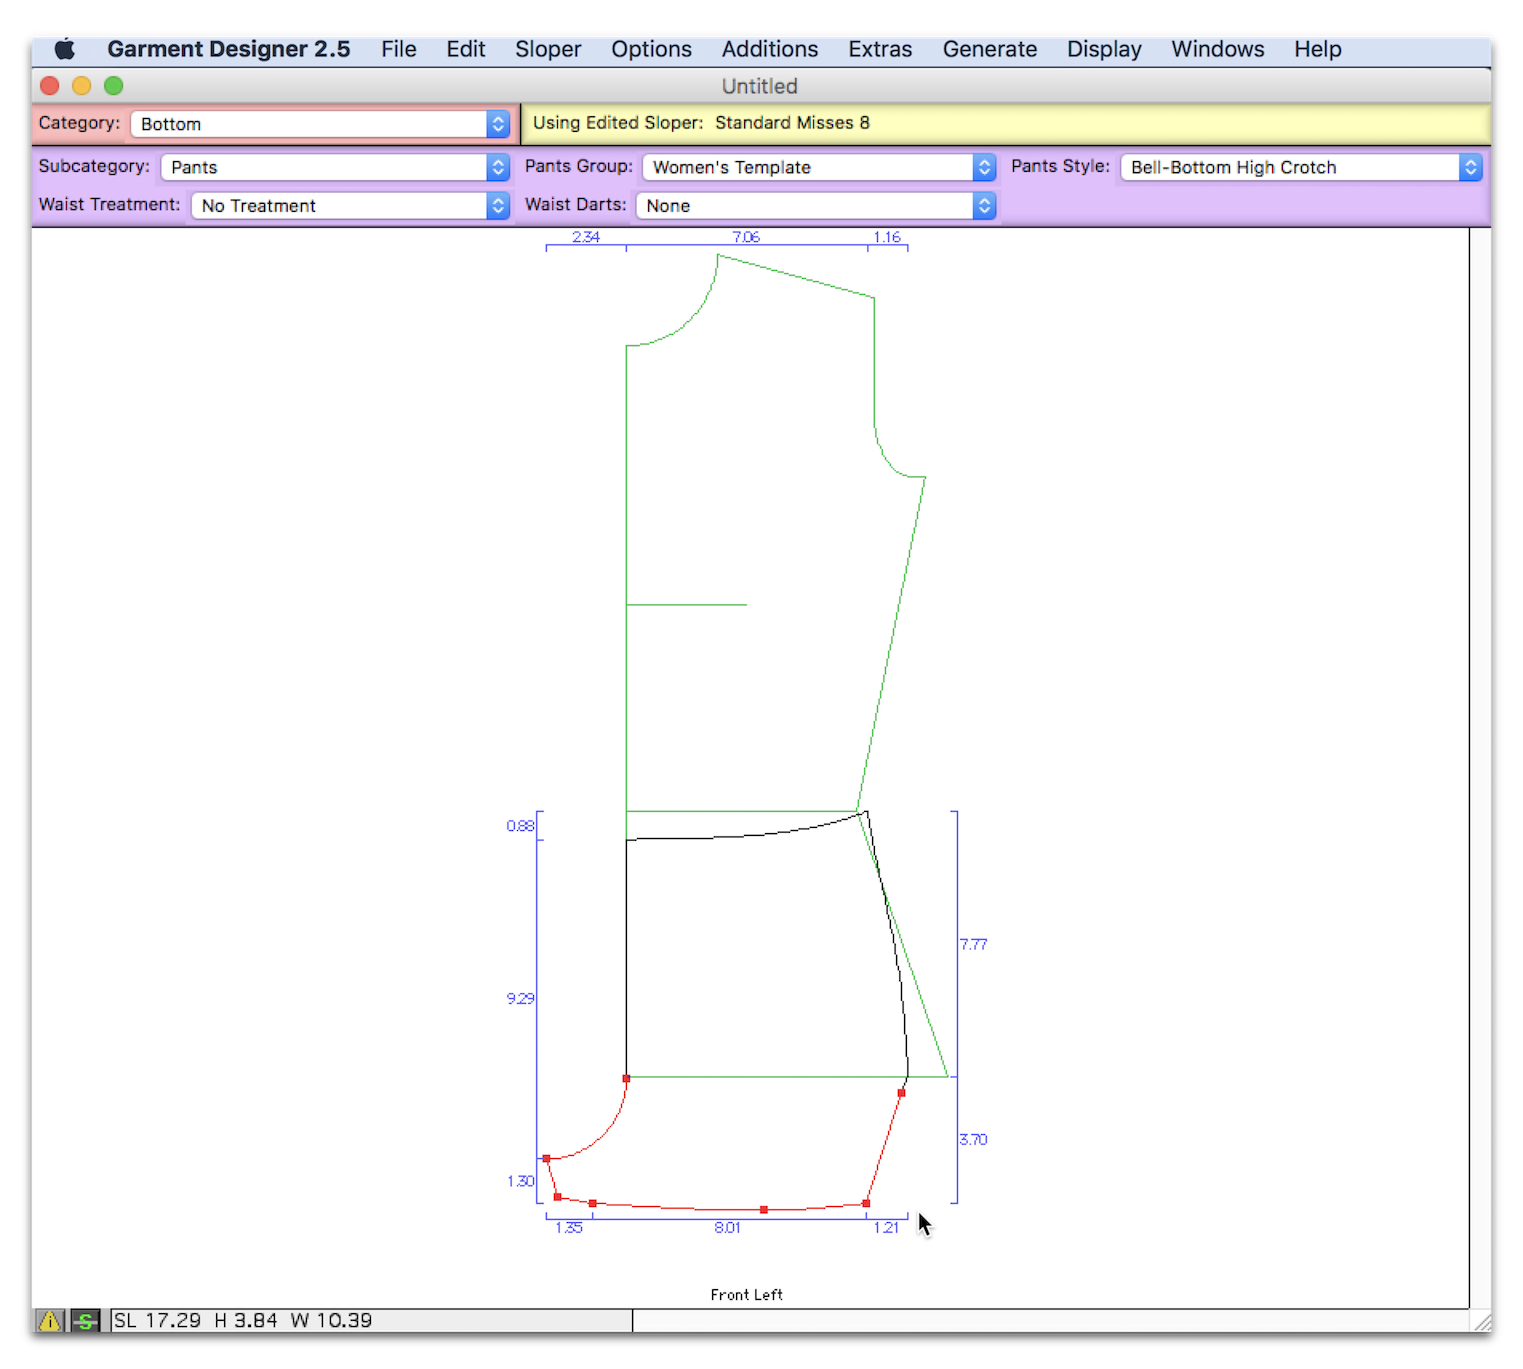
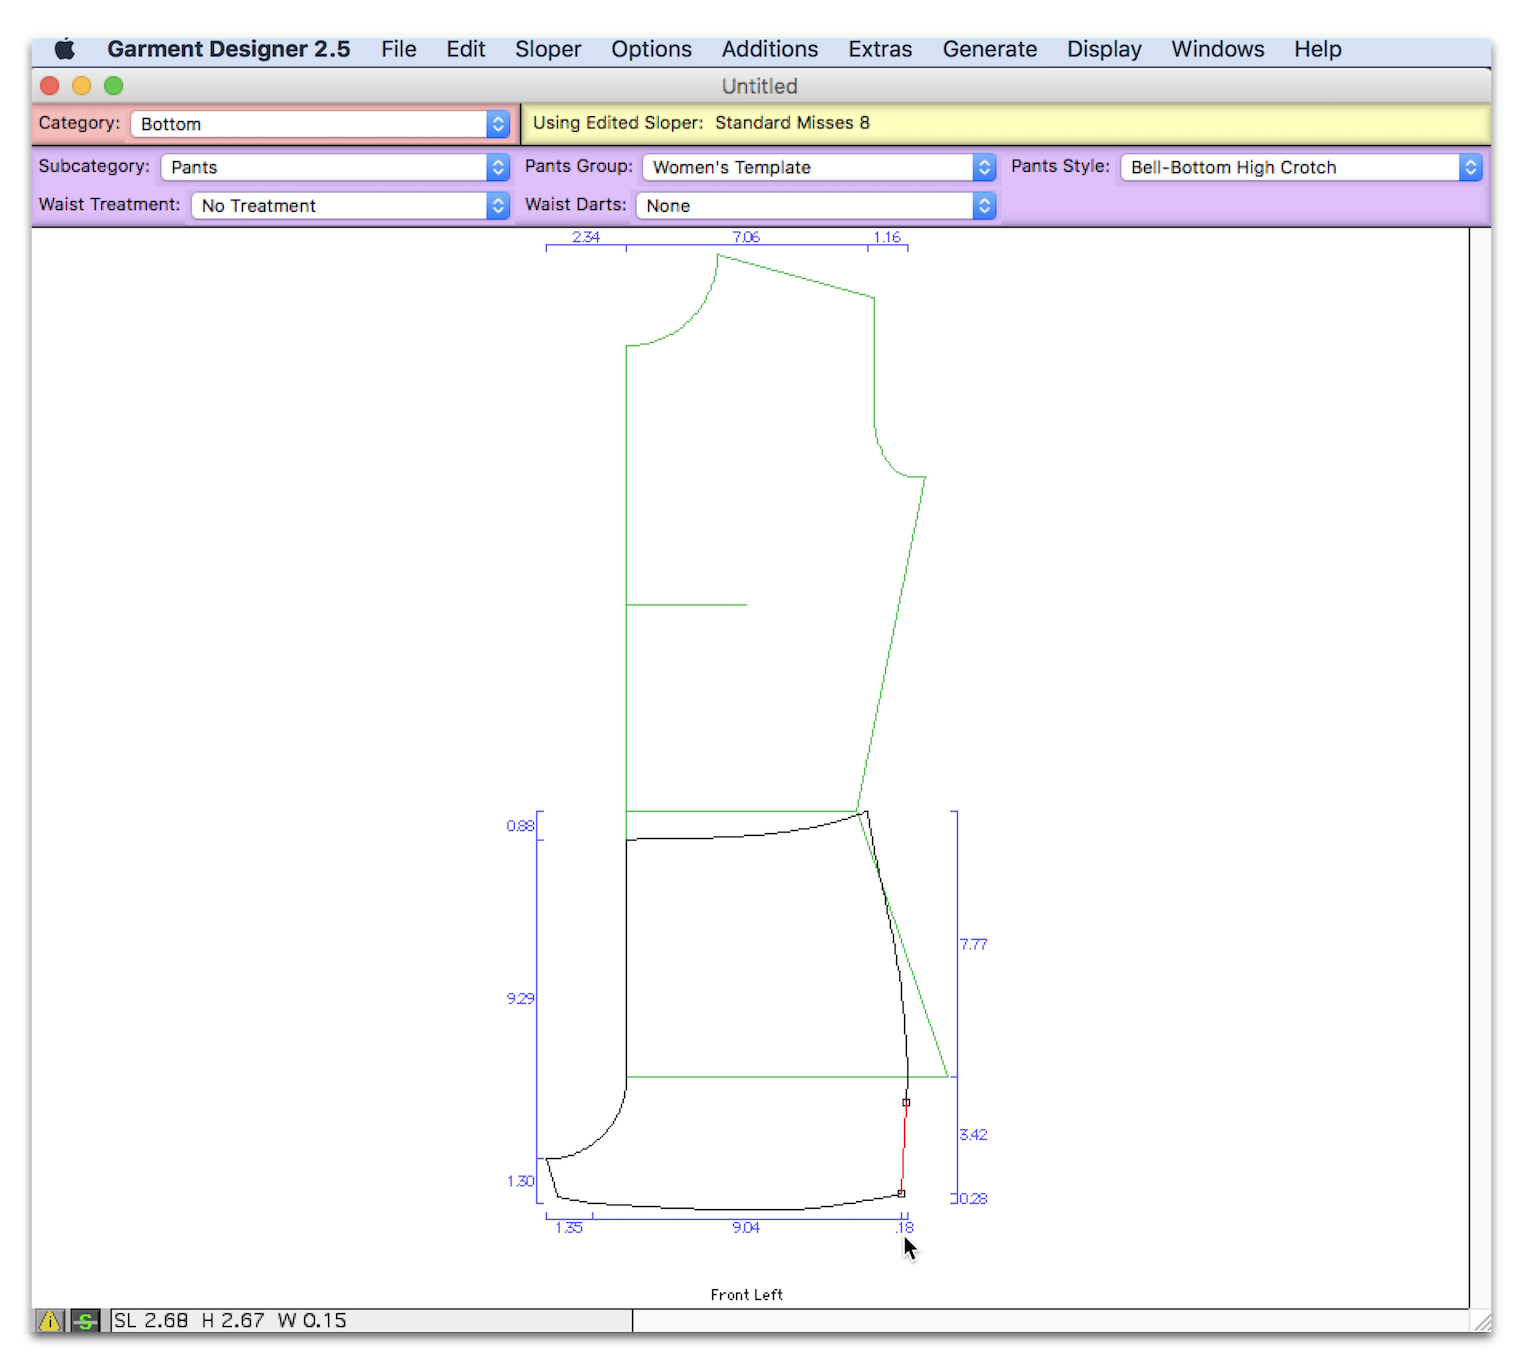


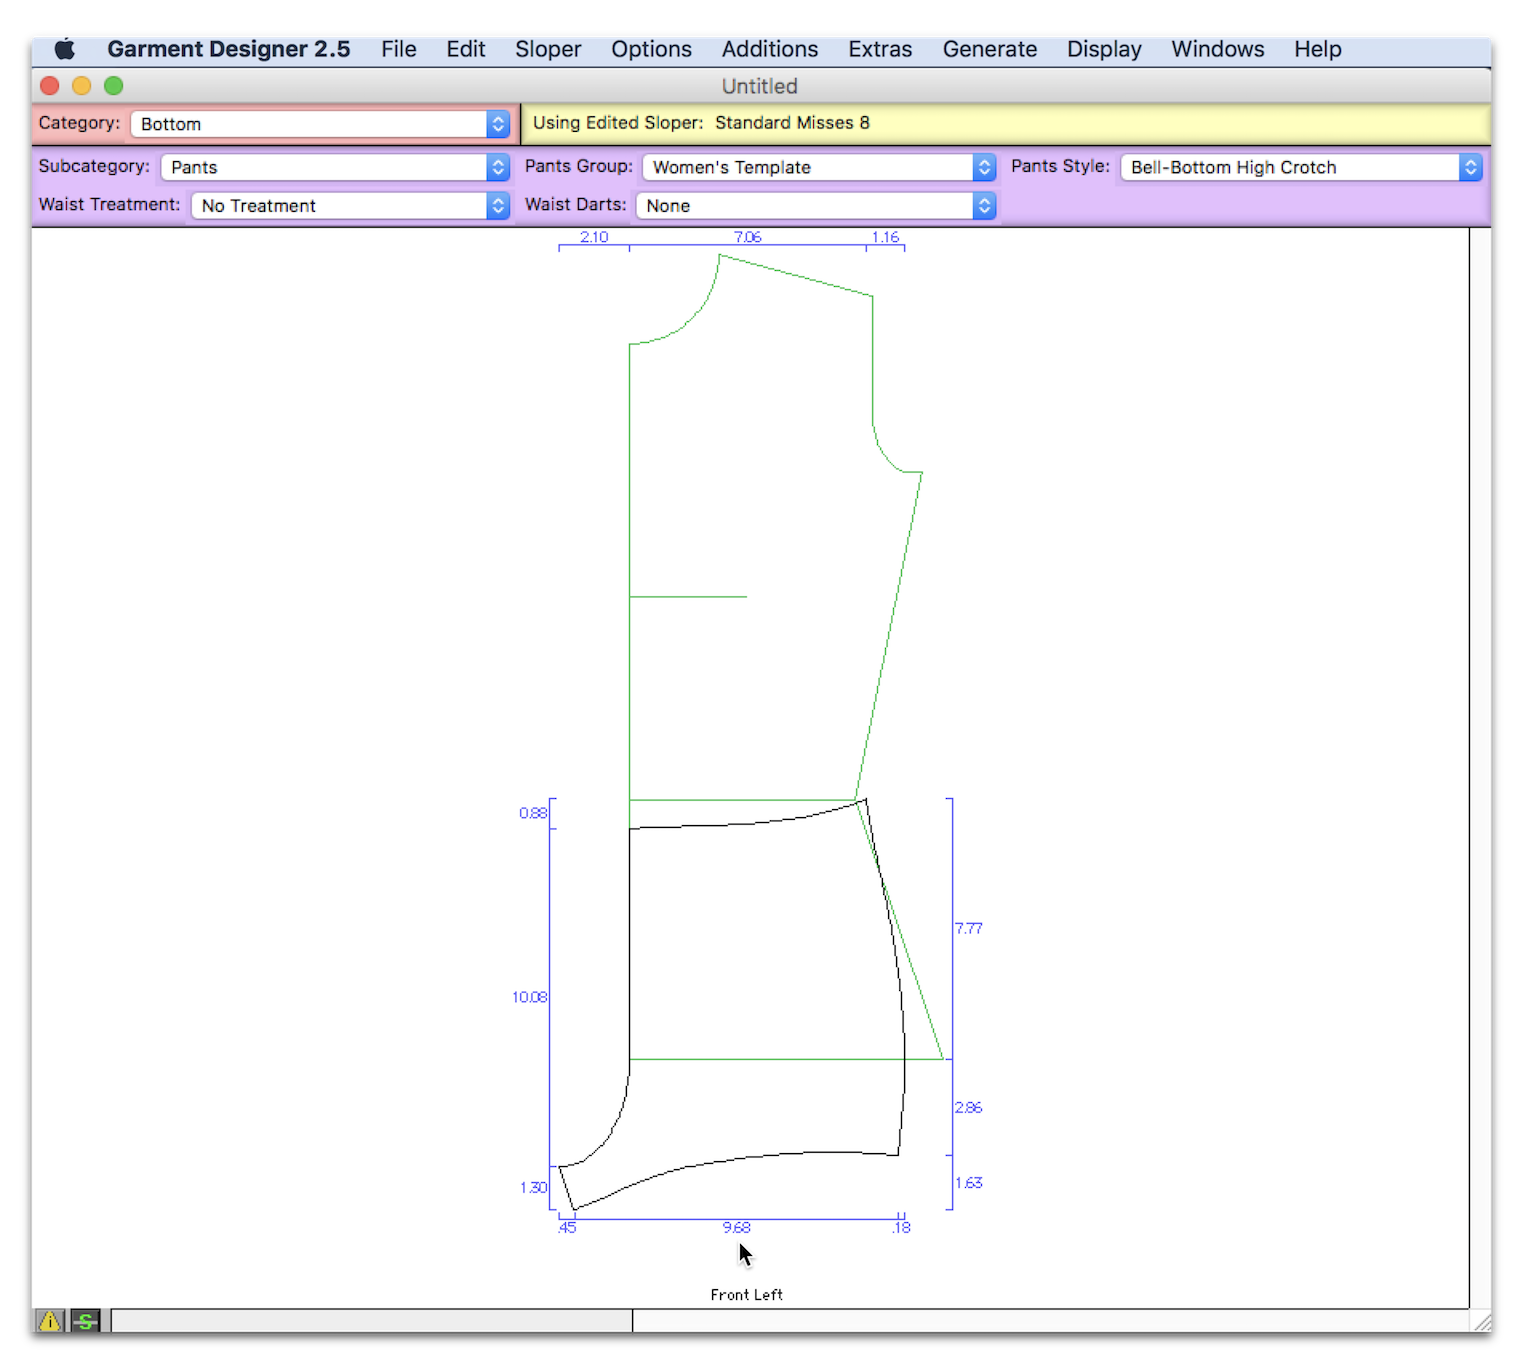
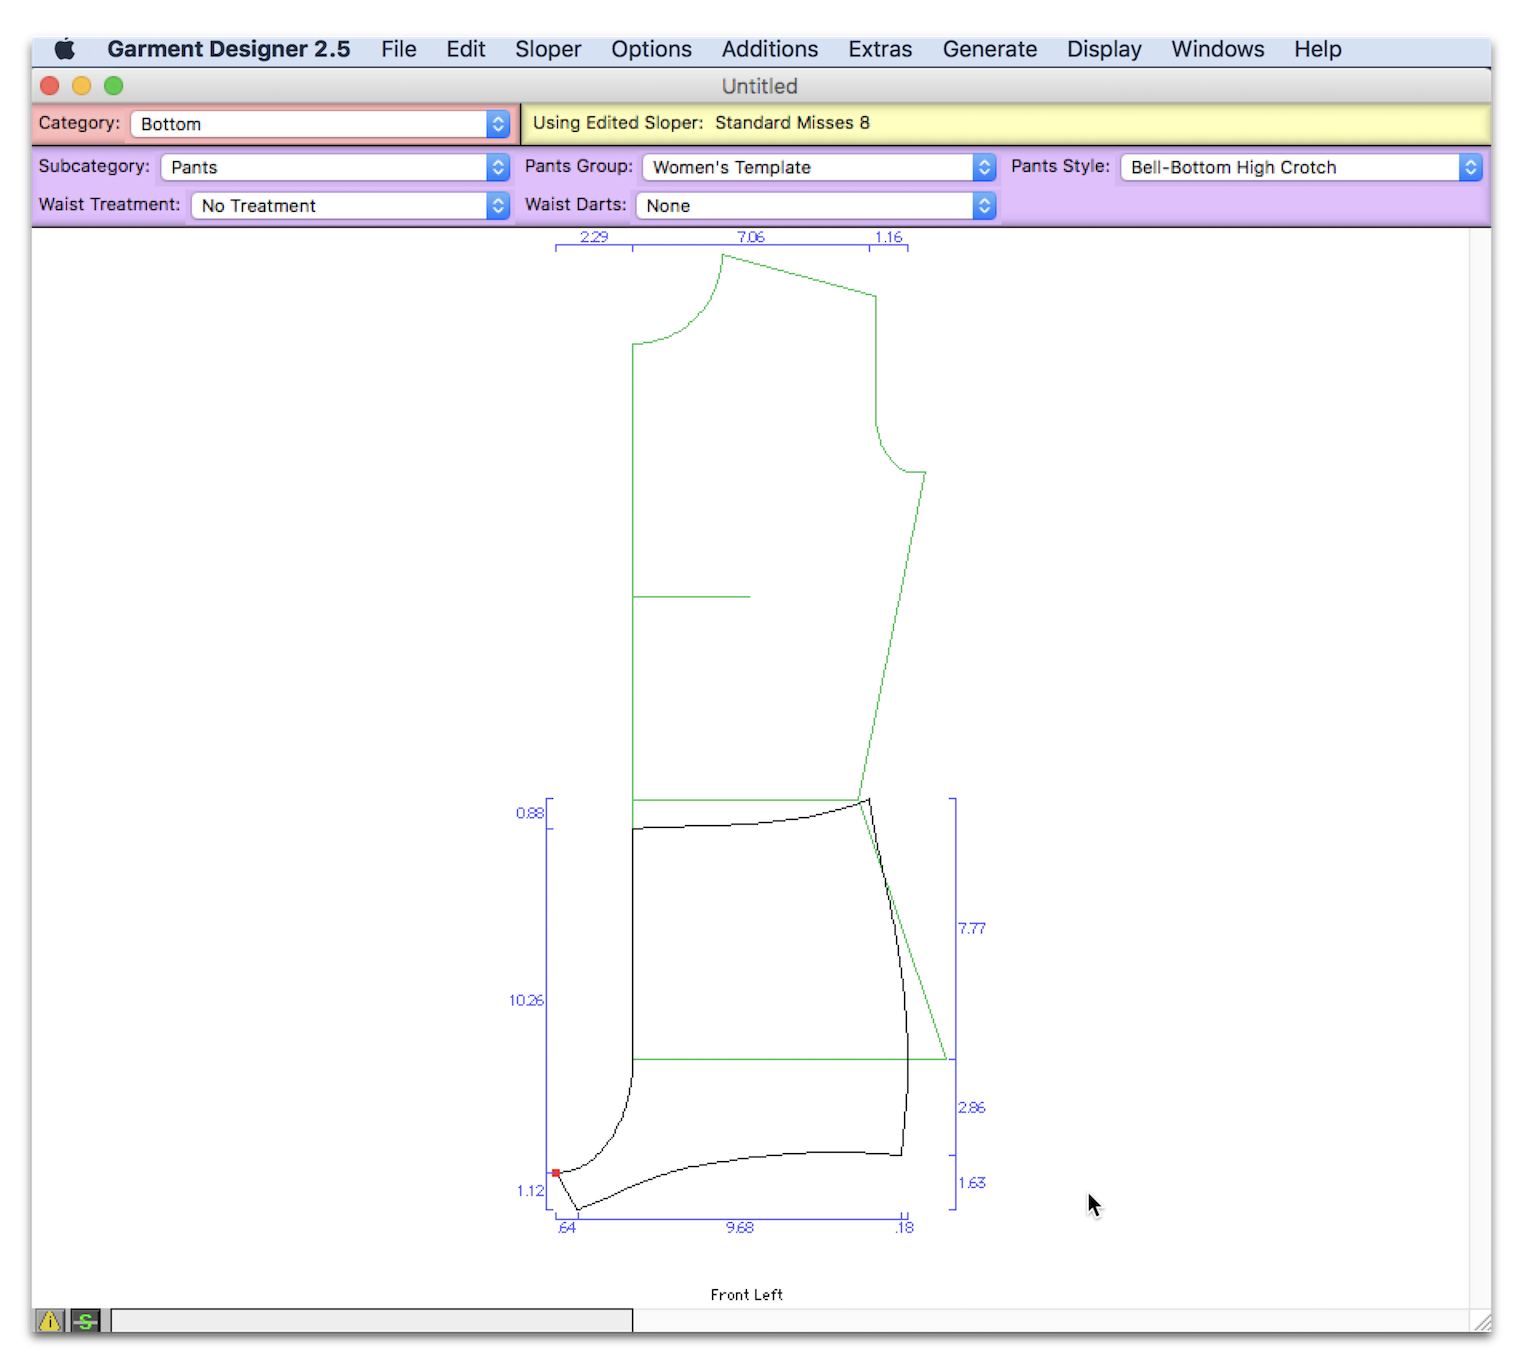
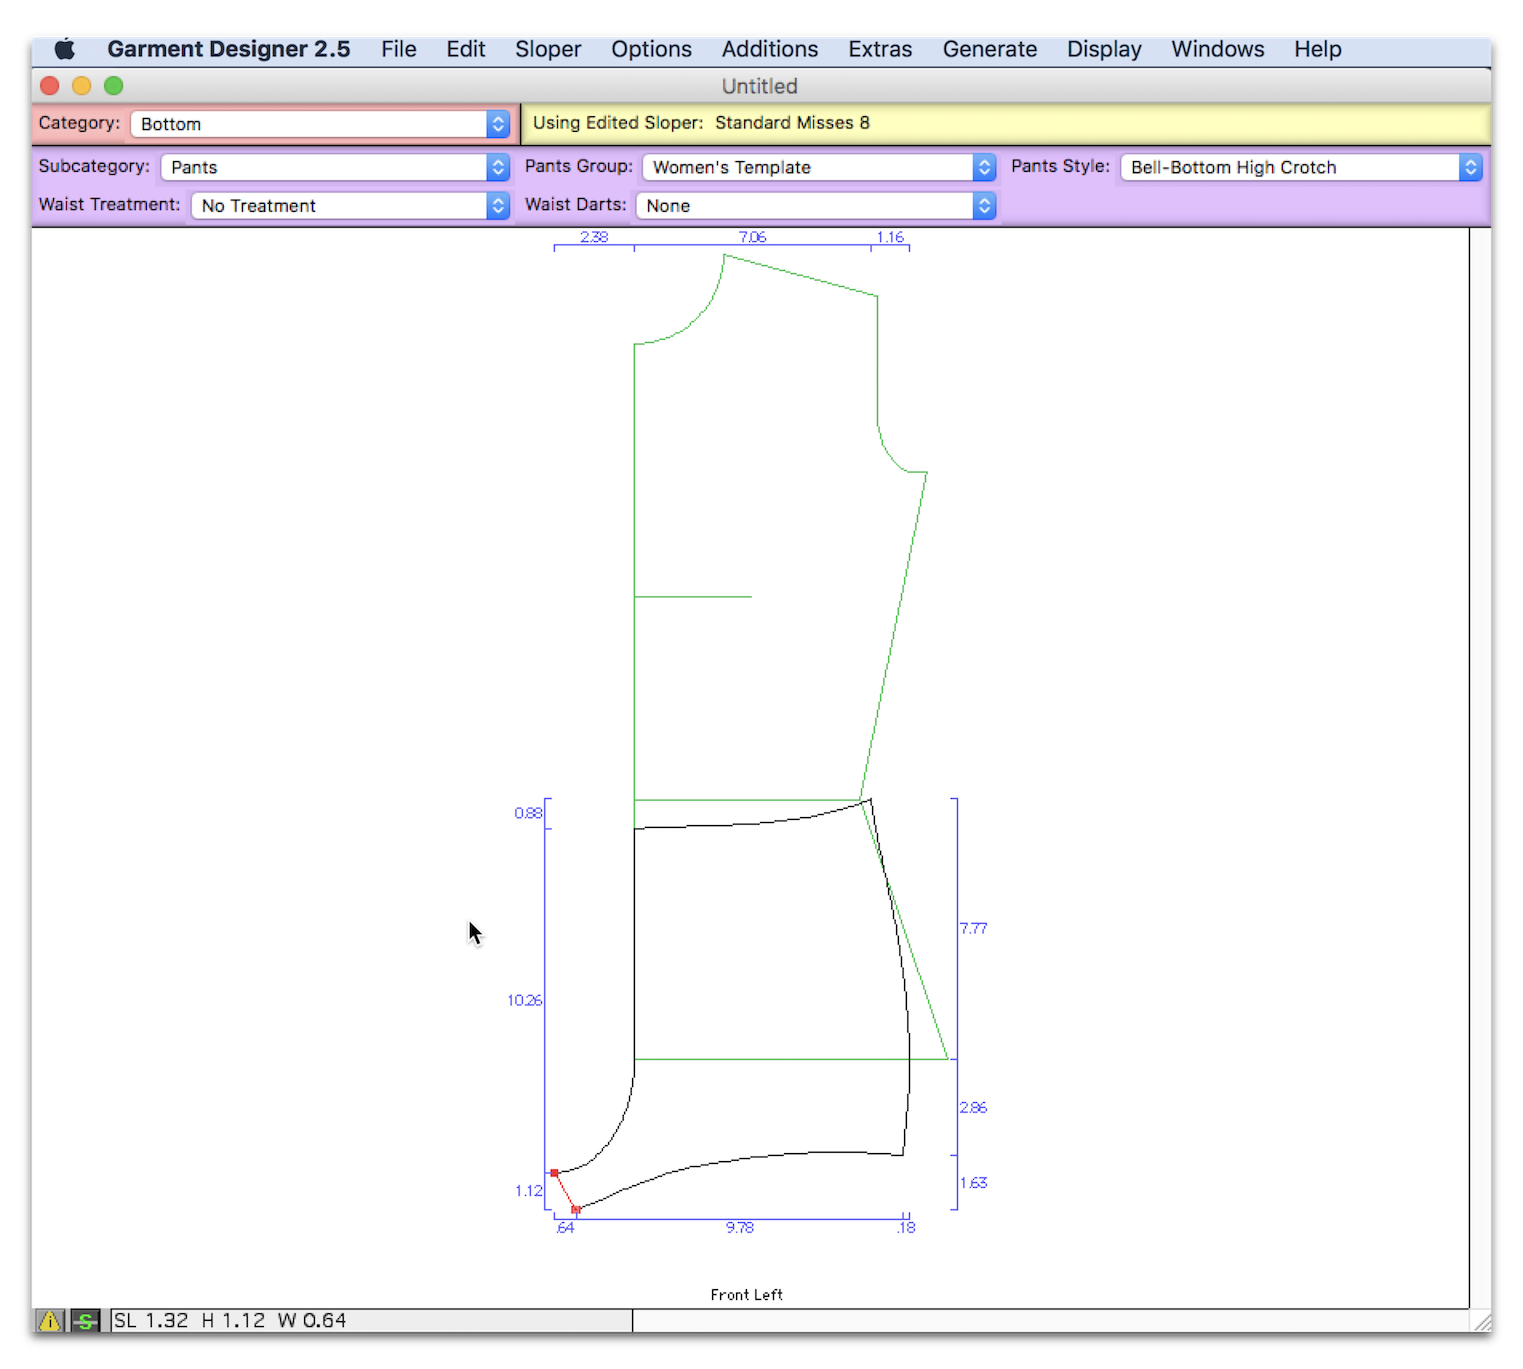

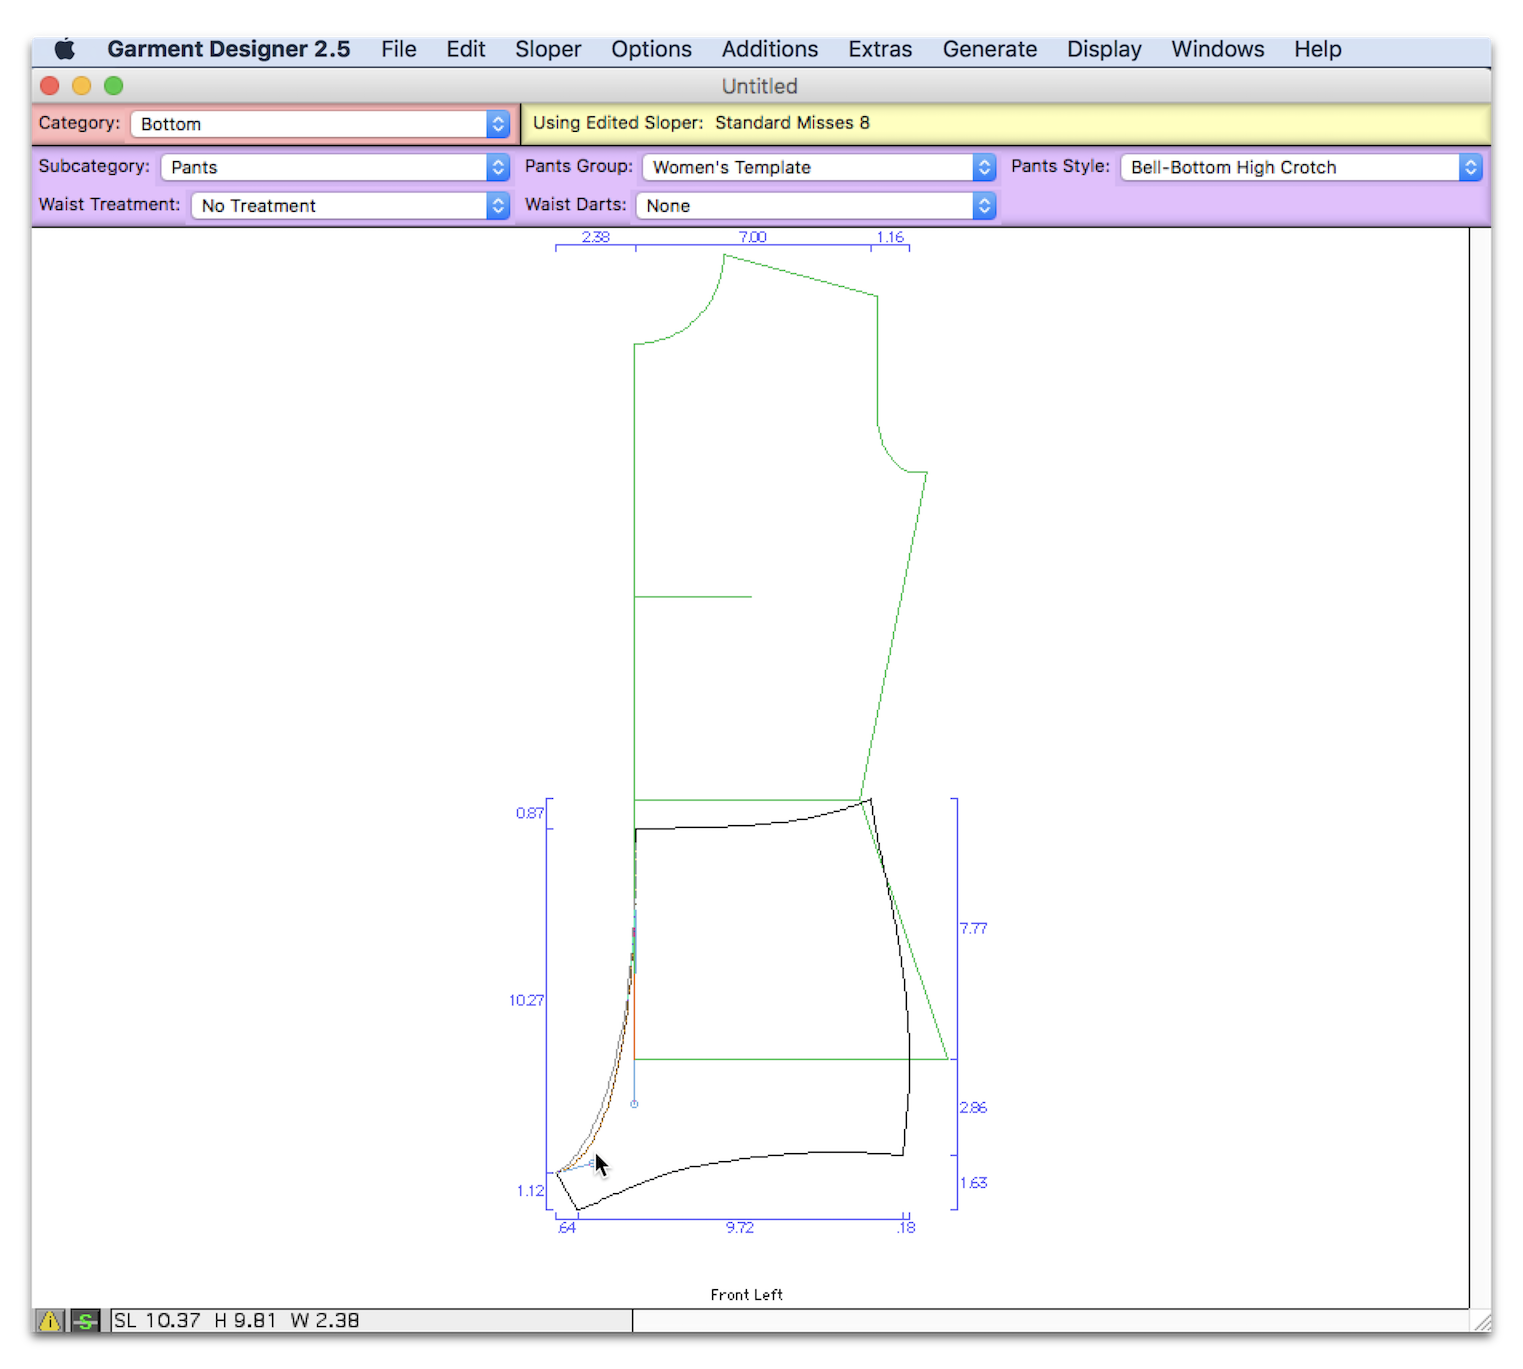

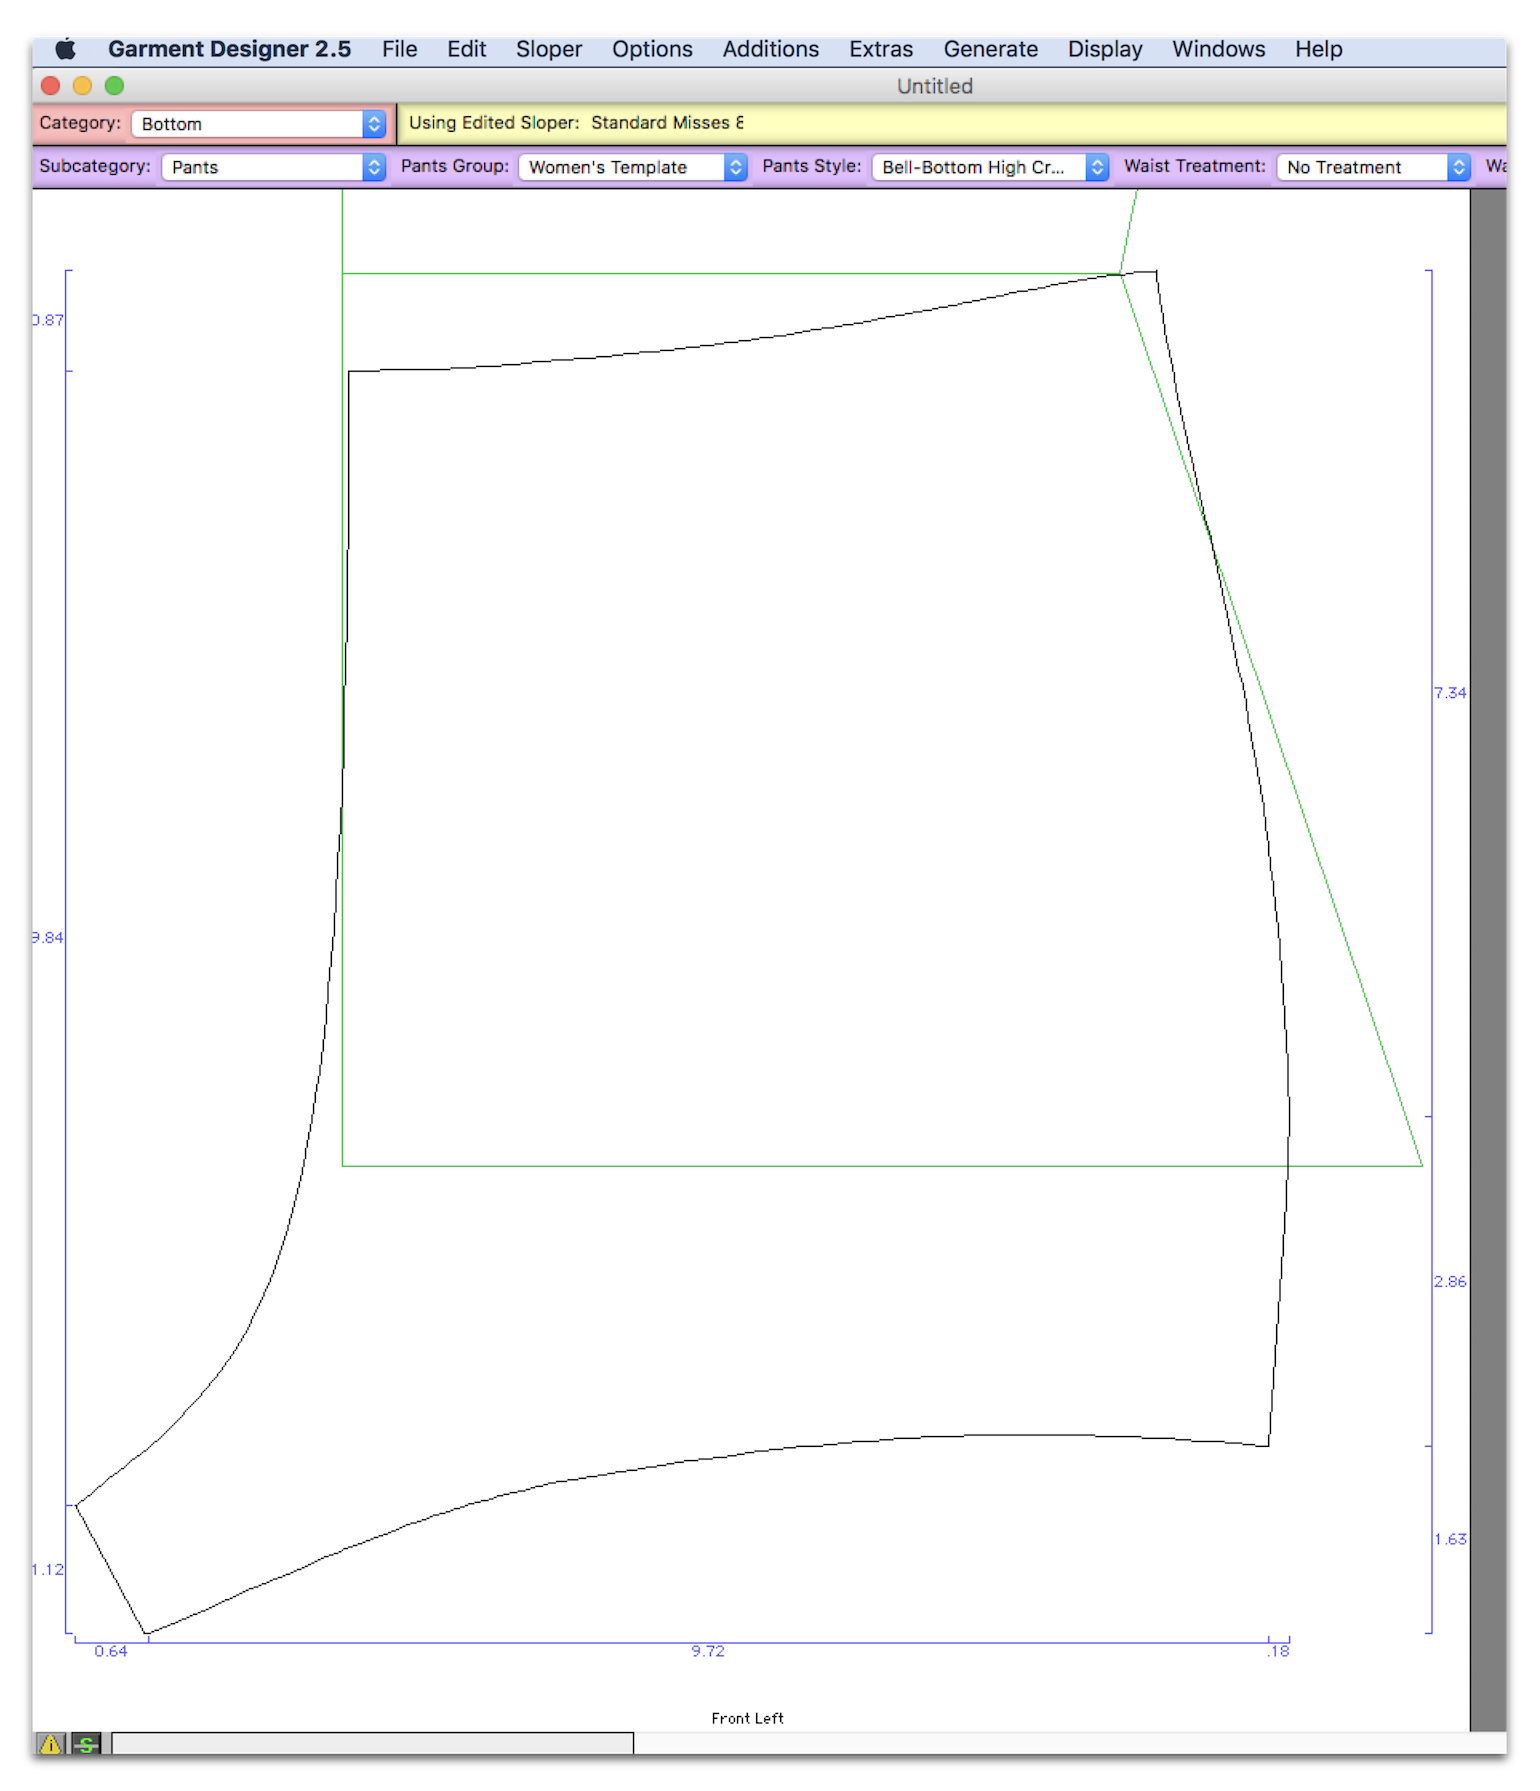
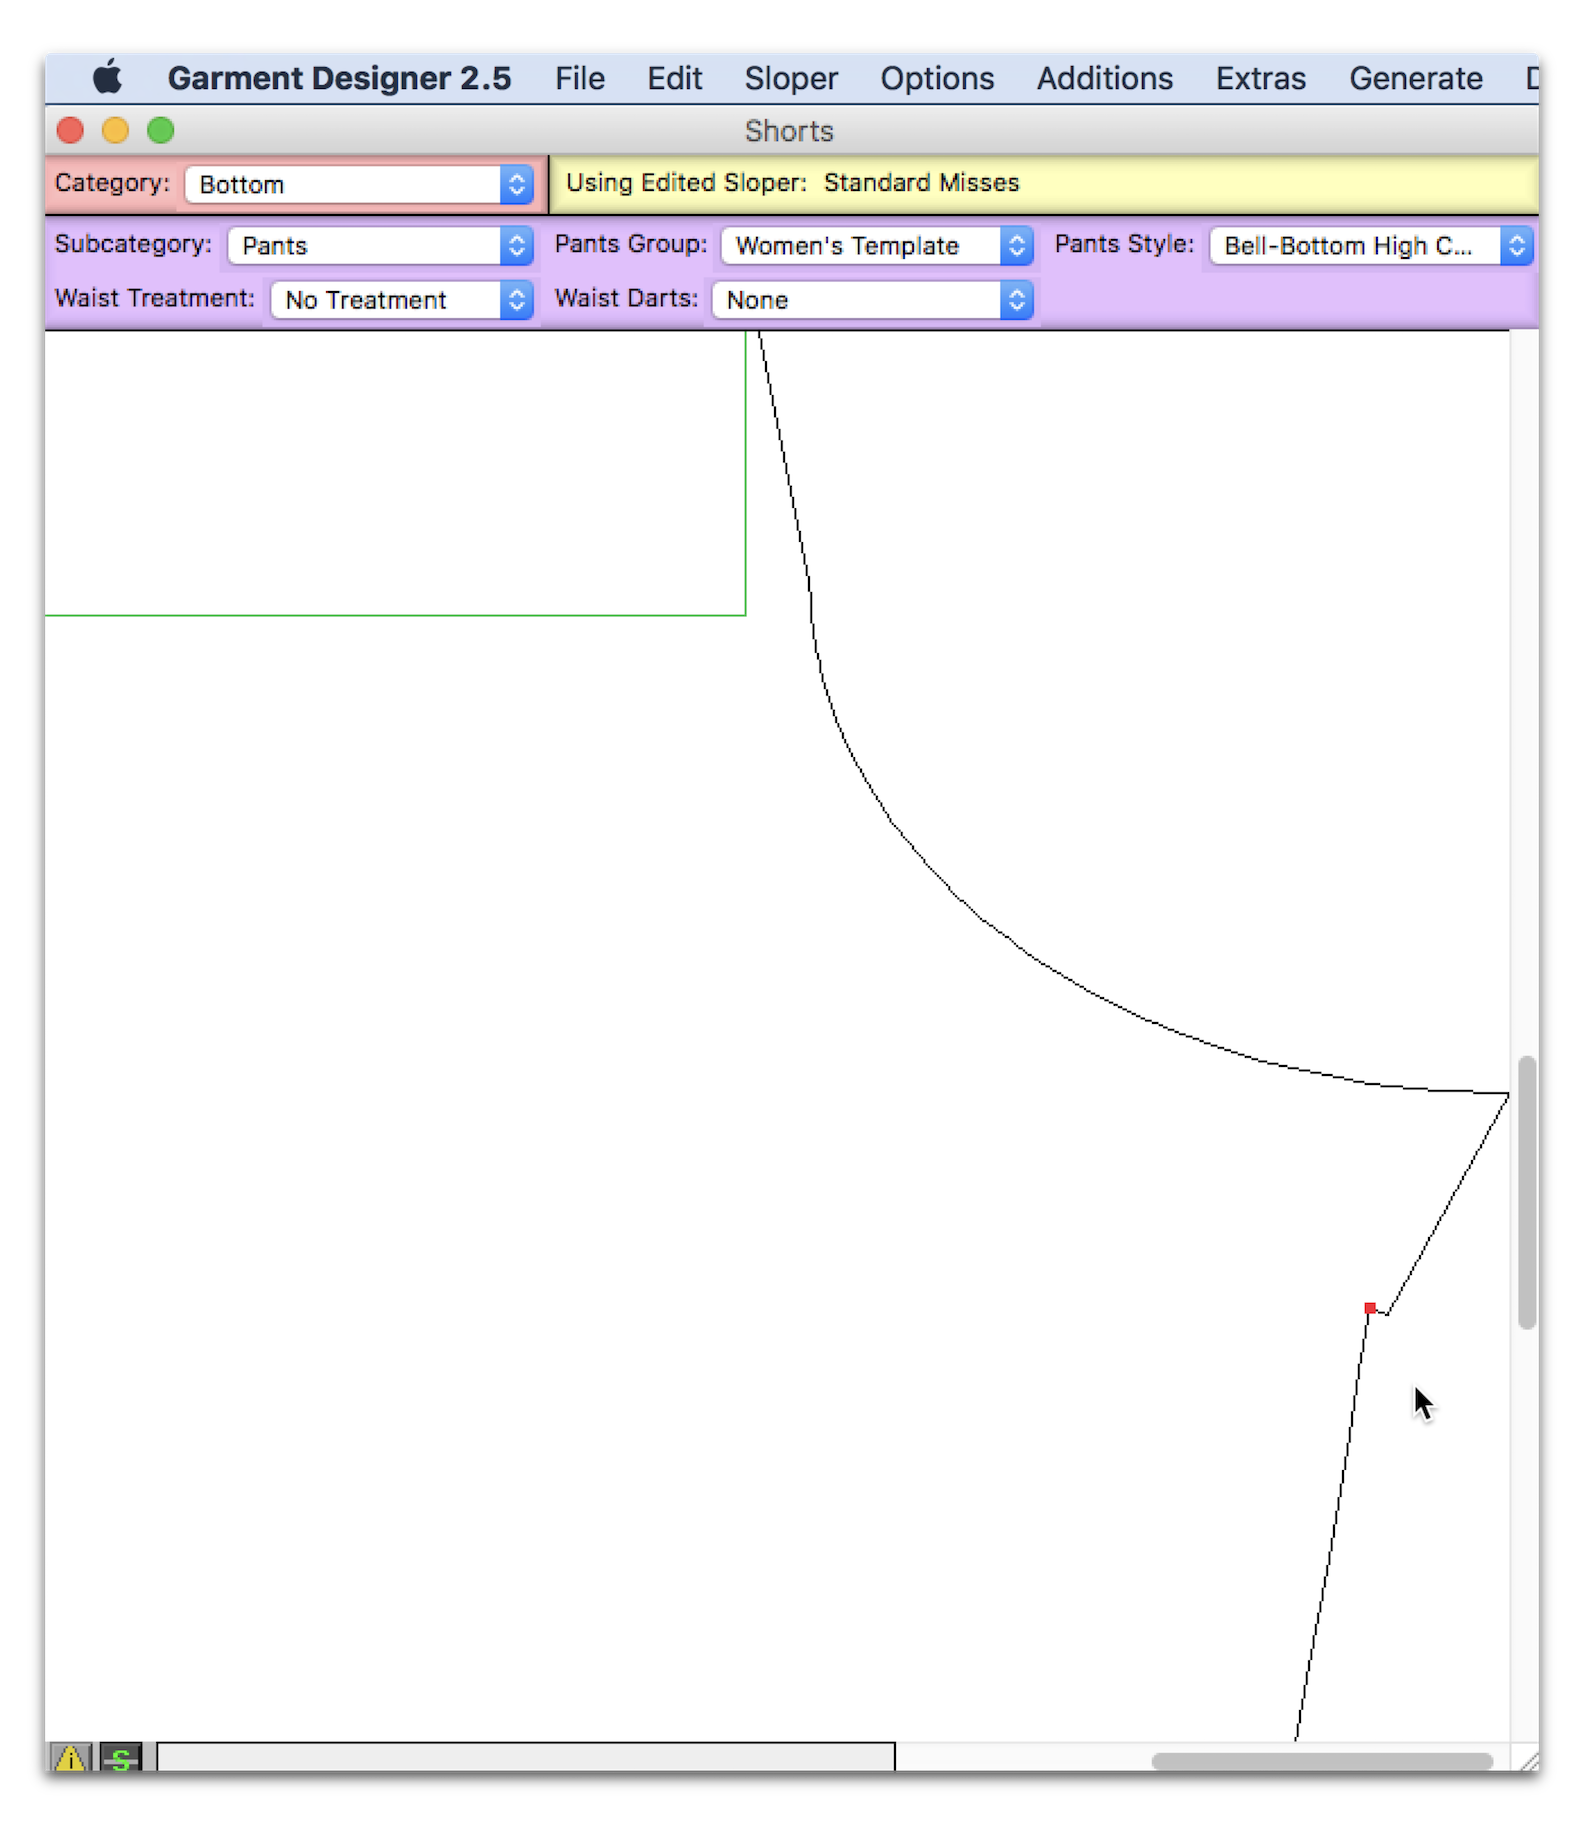
Something to note: I ended up having to put a couple points close together to essentially ‘merge’ them (you’ll have to really zoom in to see the two points). You can zoom in on Garment Designer by going to your Display menu and going to ‘Scale To’, then choosing your zoom factor.
It is worth the time to learn the keyboard shortcuts for scaling. You can find these shortcuts in the shortcuts handout located in your Help Sheets folder within the Garment Designer Folder.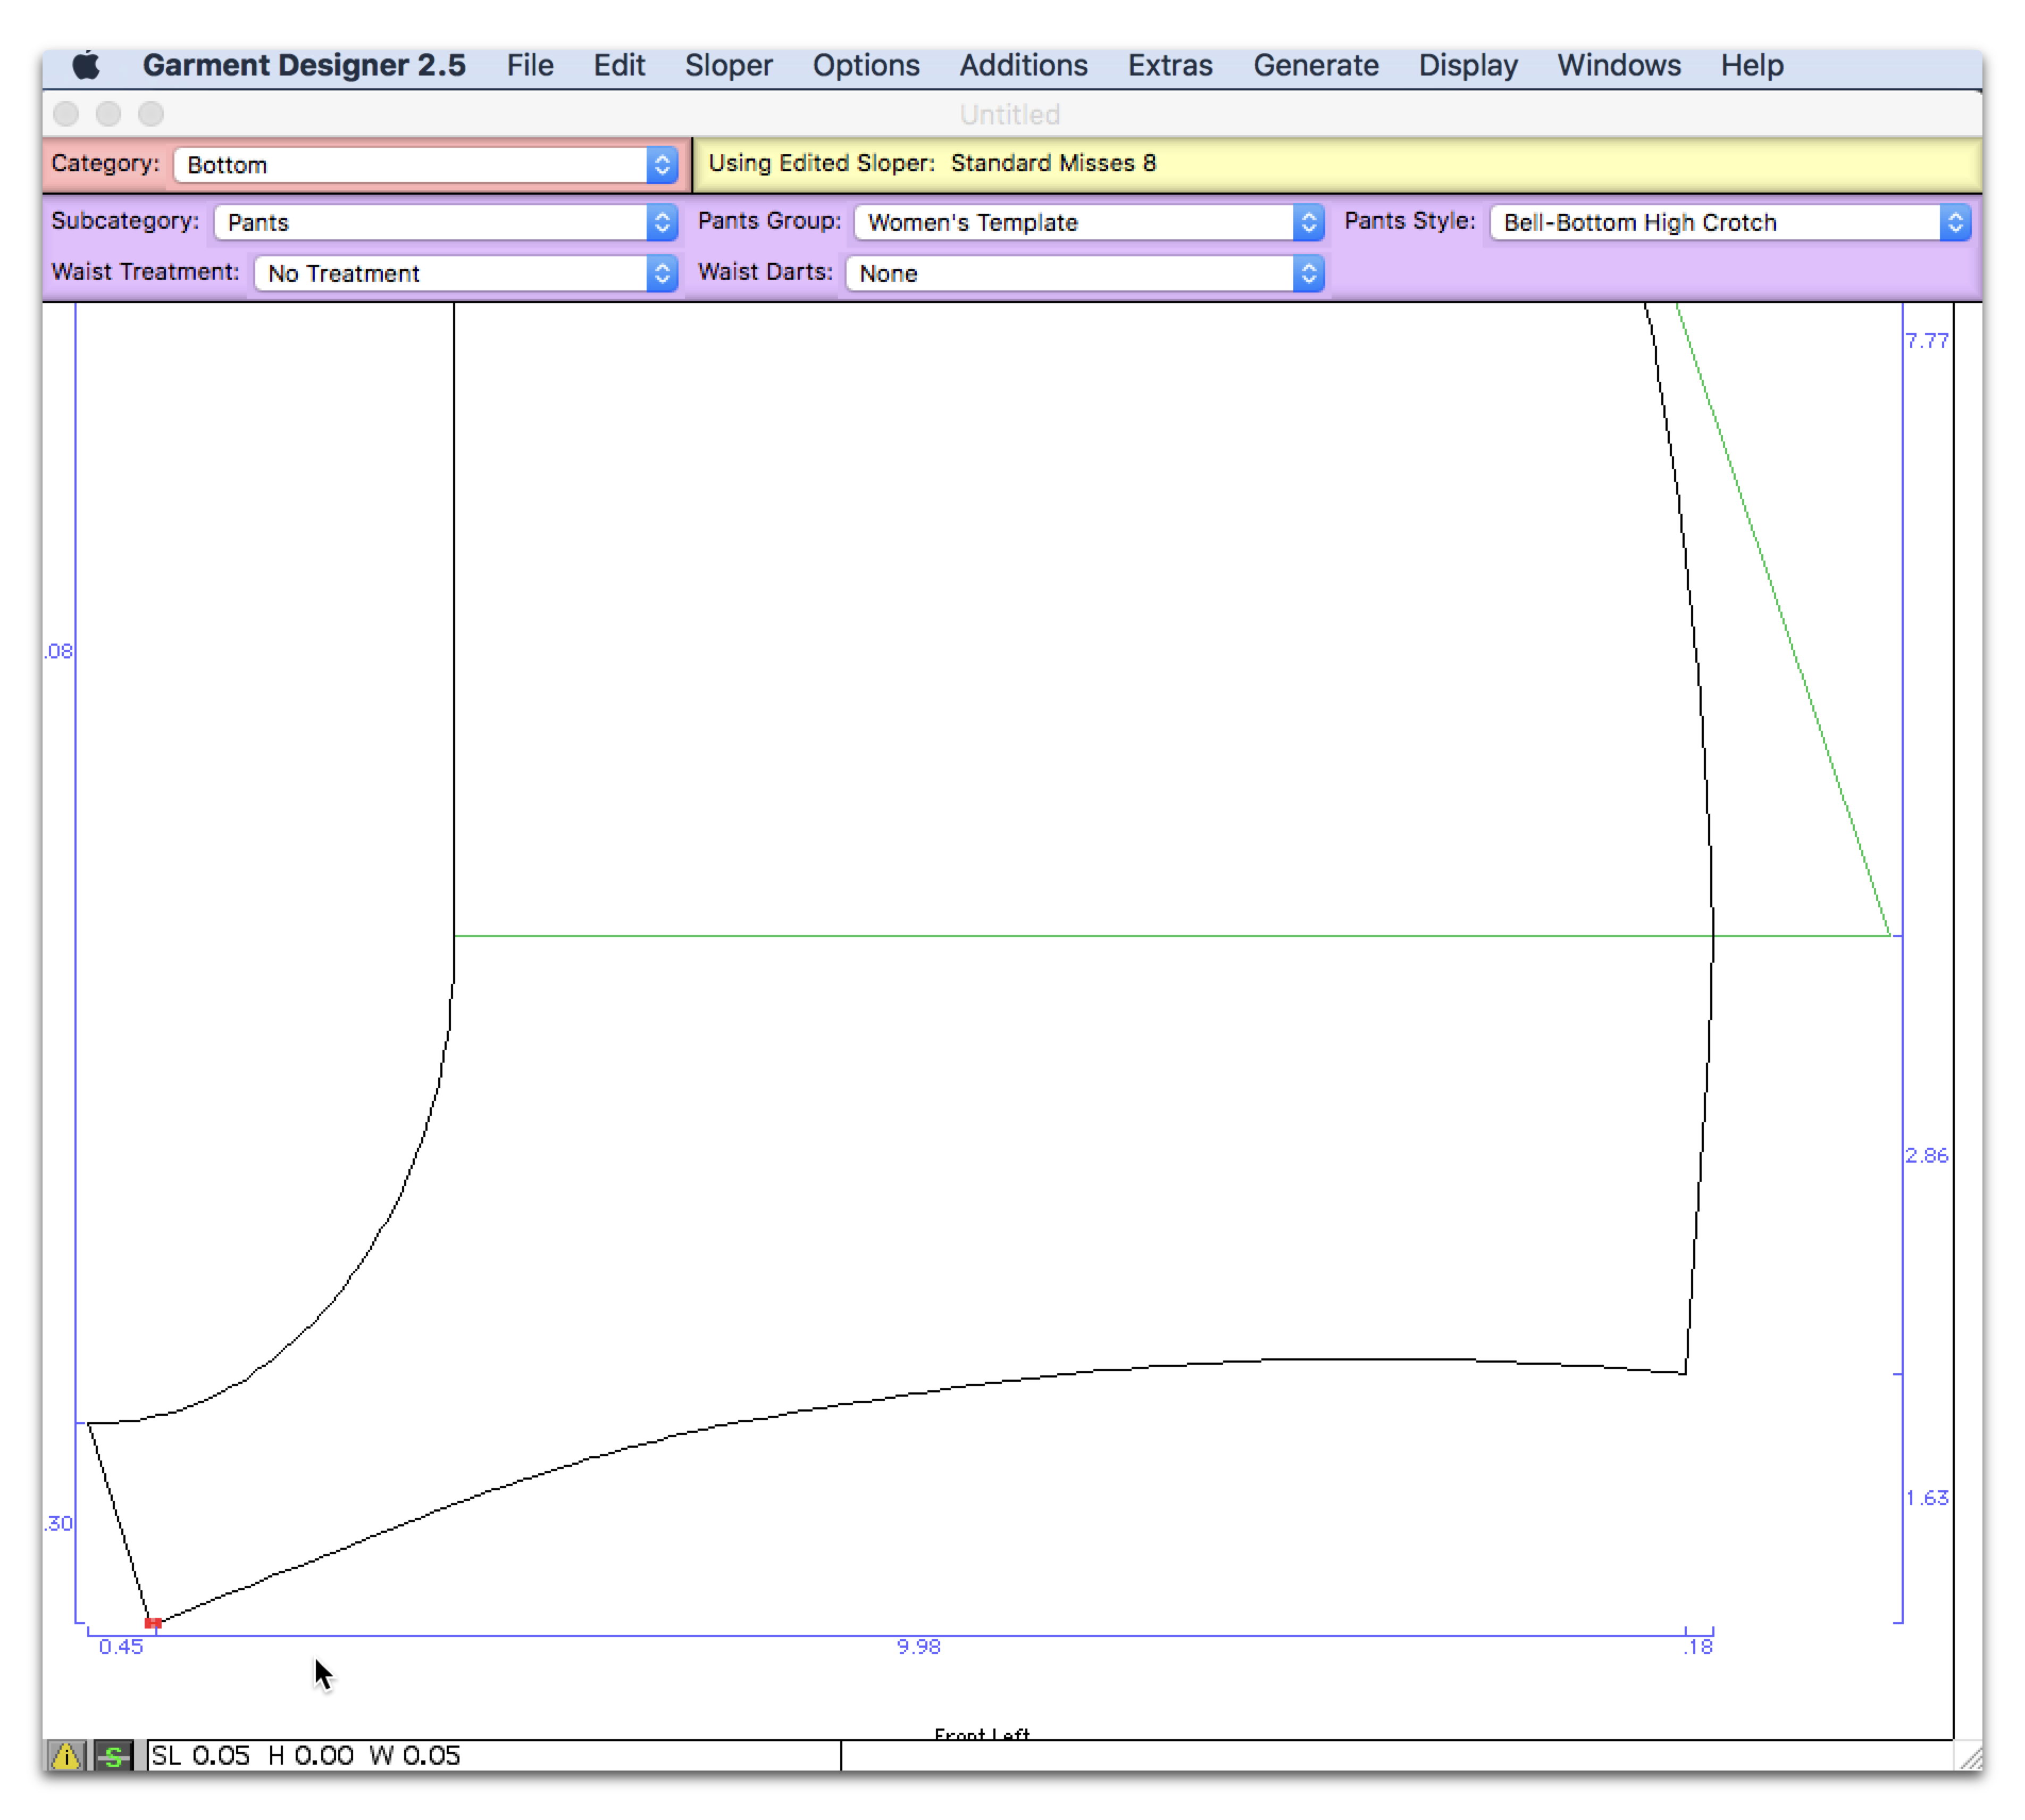
Near the end, once I have my dimensions matching and all I need to do is fix some of the curves, I will go back and measure the actual lengths of the segments on my pattern and compare them to the segments on Garments Designer and adjust the curves as necessary. If I need a curved segment to be longer I add more of a curve to the segment, if it needs to be shorter I straighten the segment out.
I also used this opportunity to make any changes I had been meaning to make to the flat pattern, which in this case was changing the leg hole and crotch shape. If I want to change it some more, I now have it on Garment Designer which will make modifying the shape easy (and will save me on some pattern paper!)

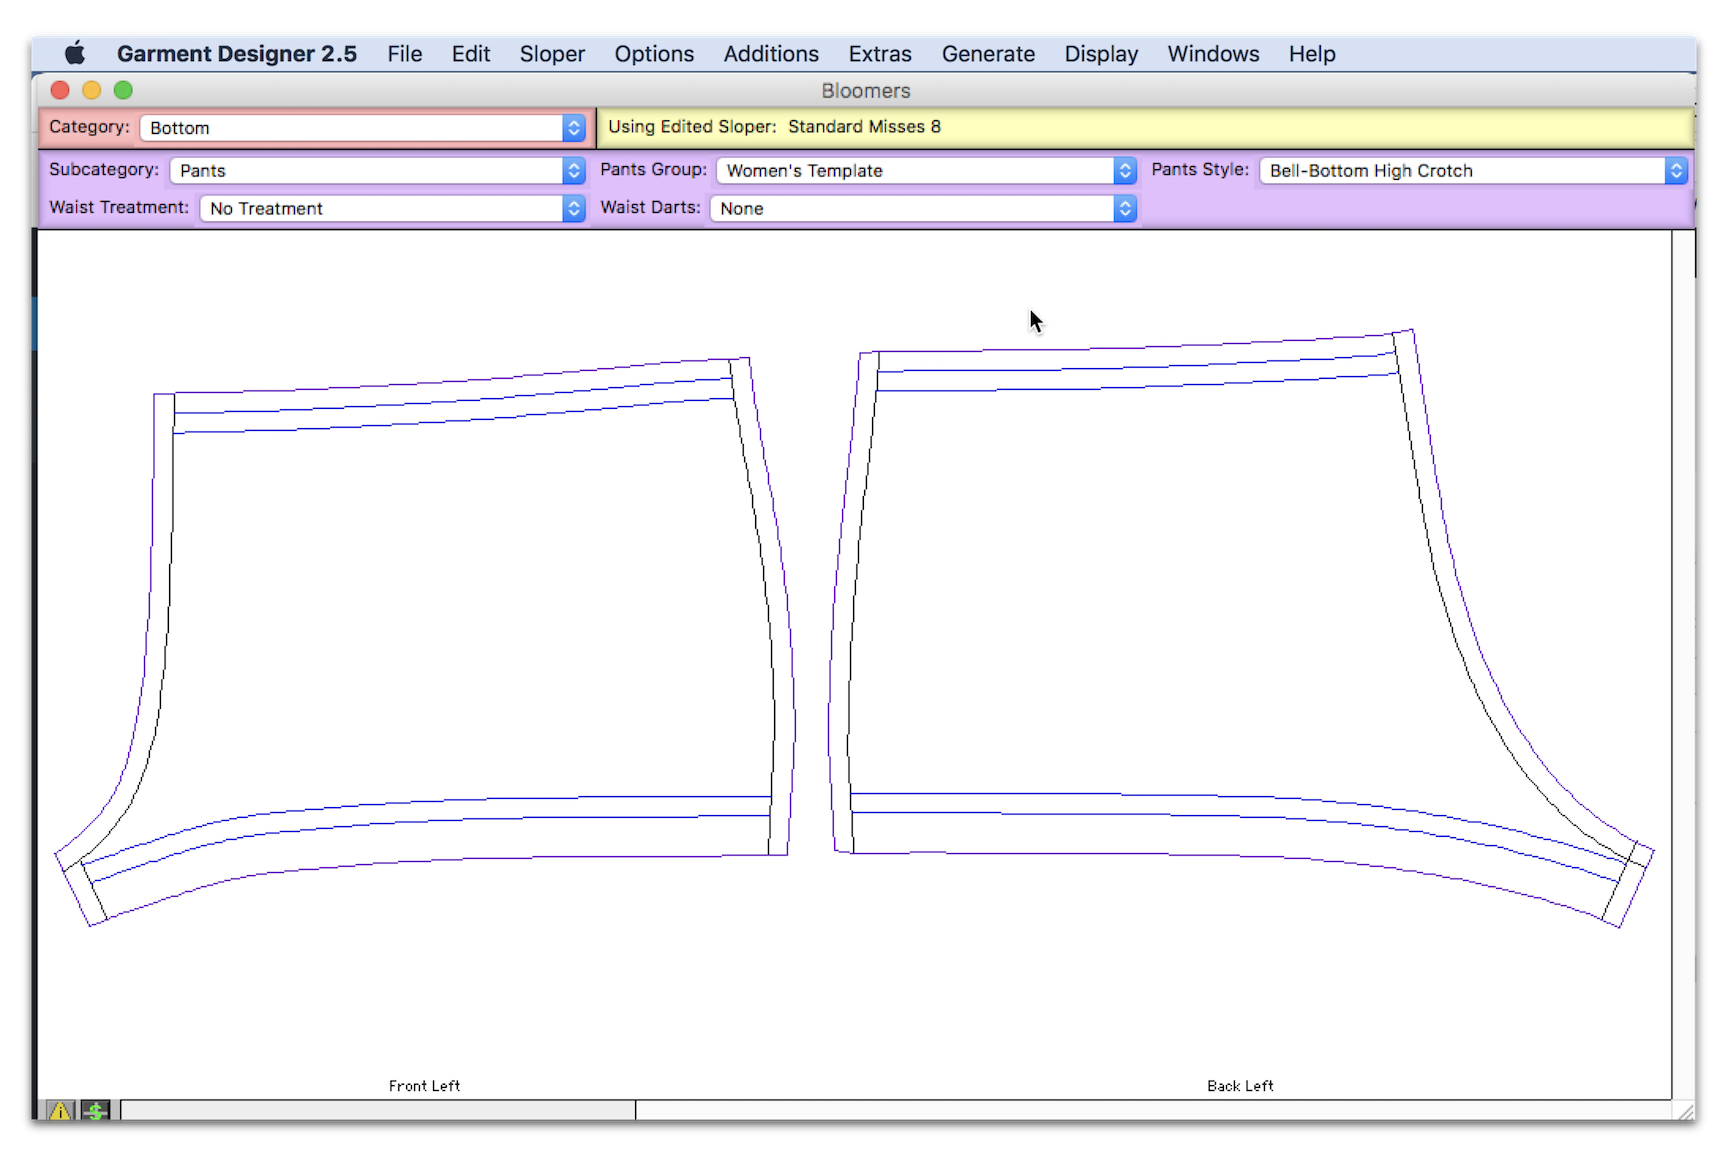
BACK PATTERN


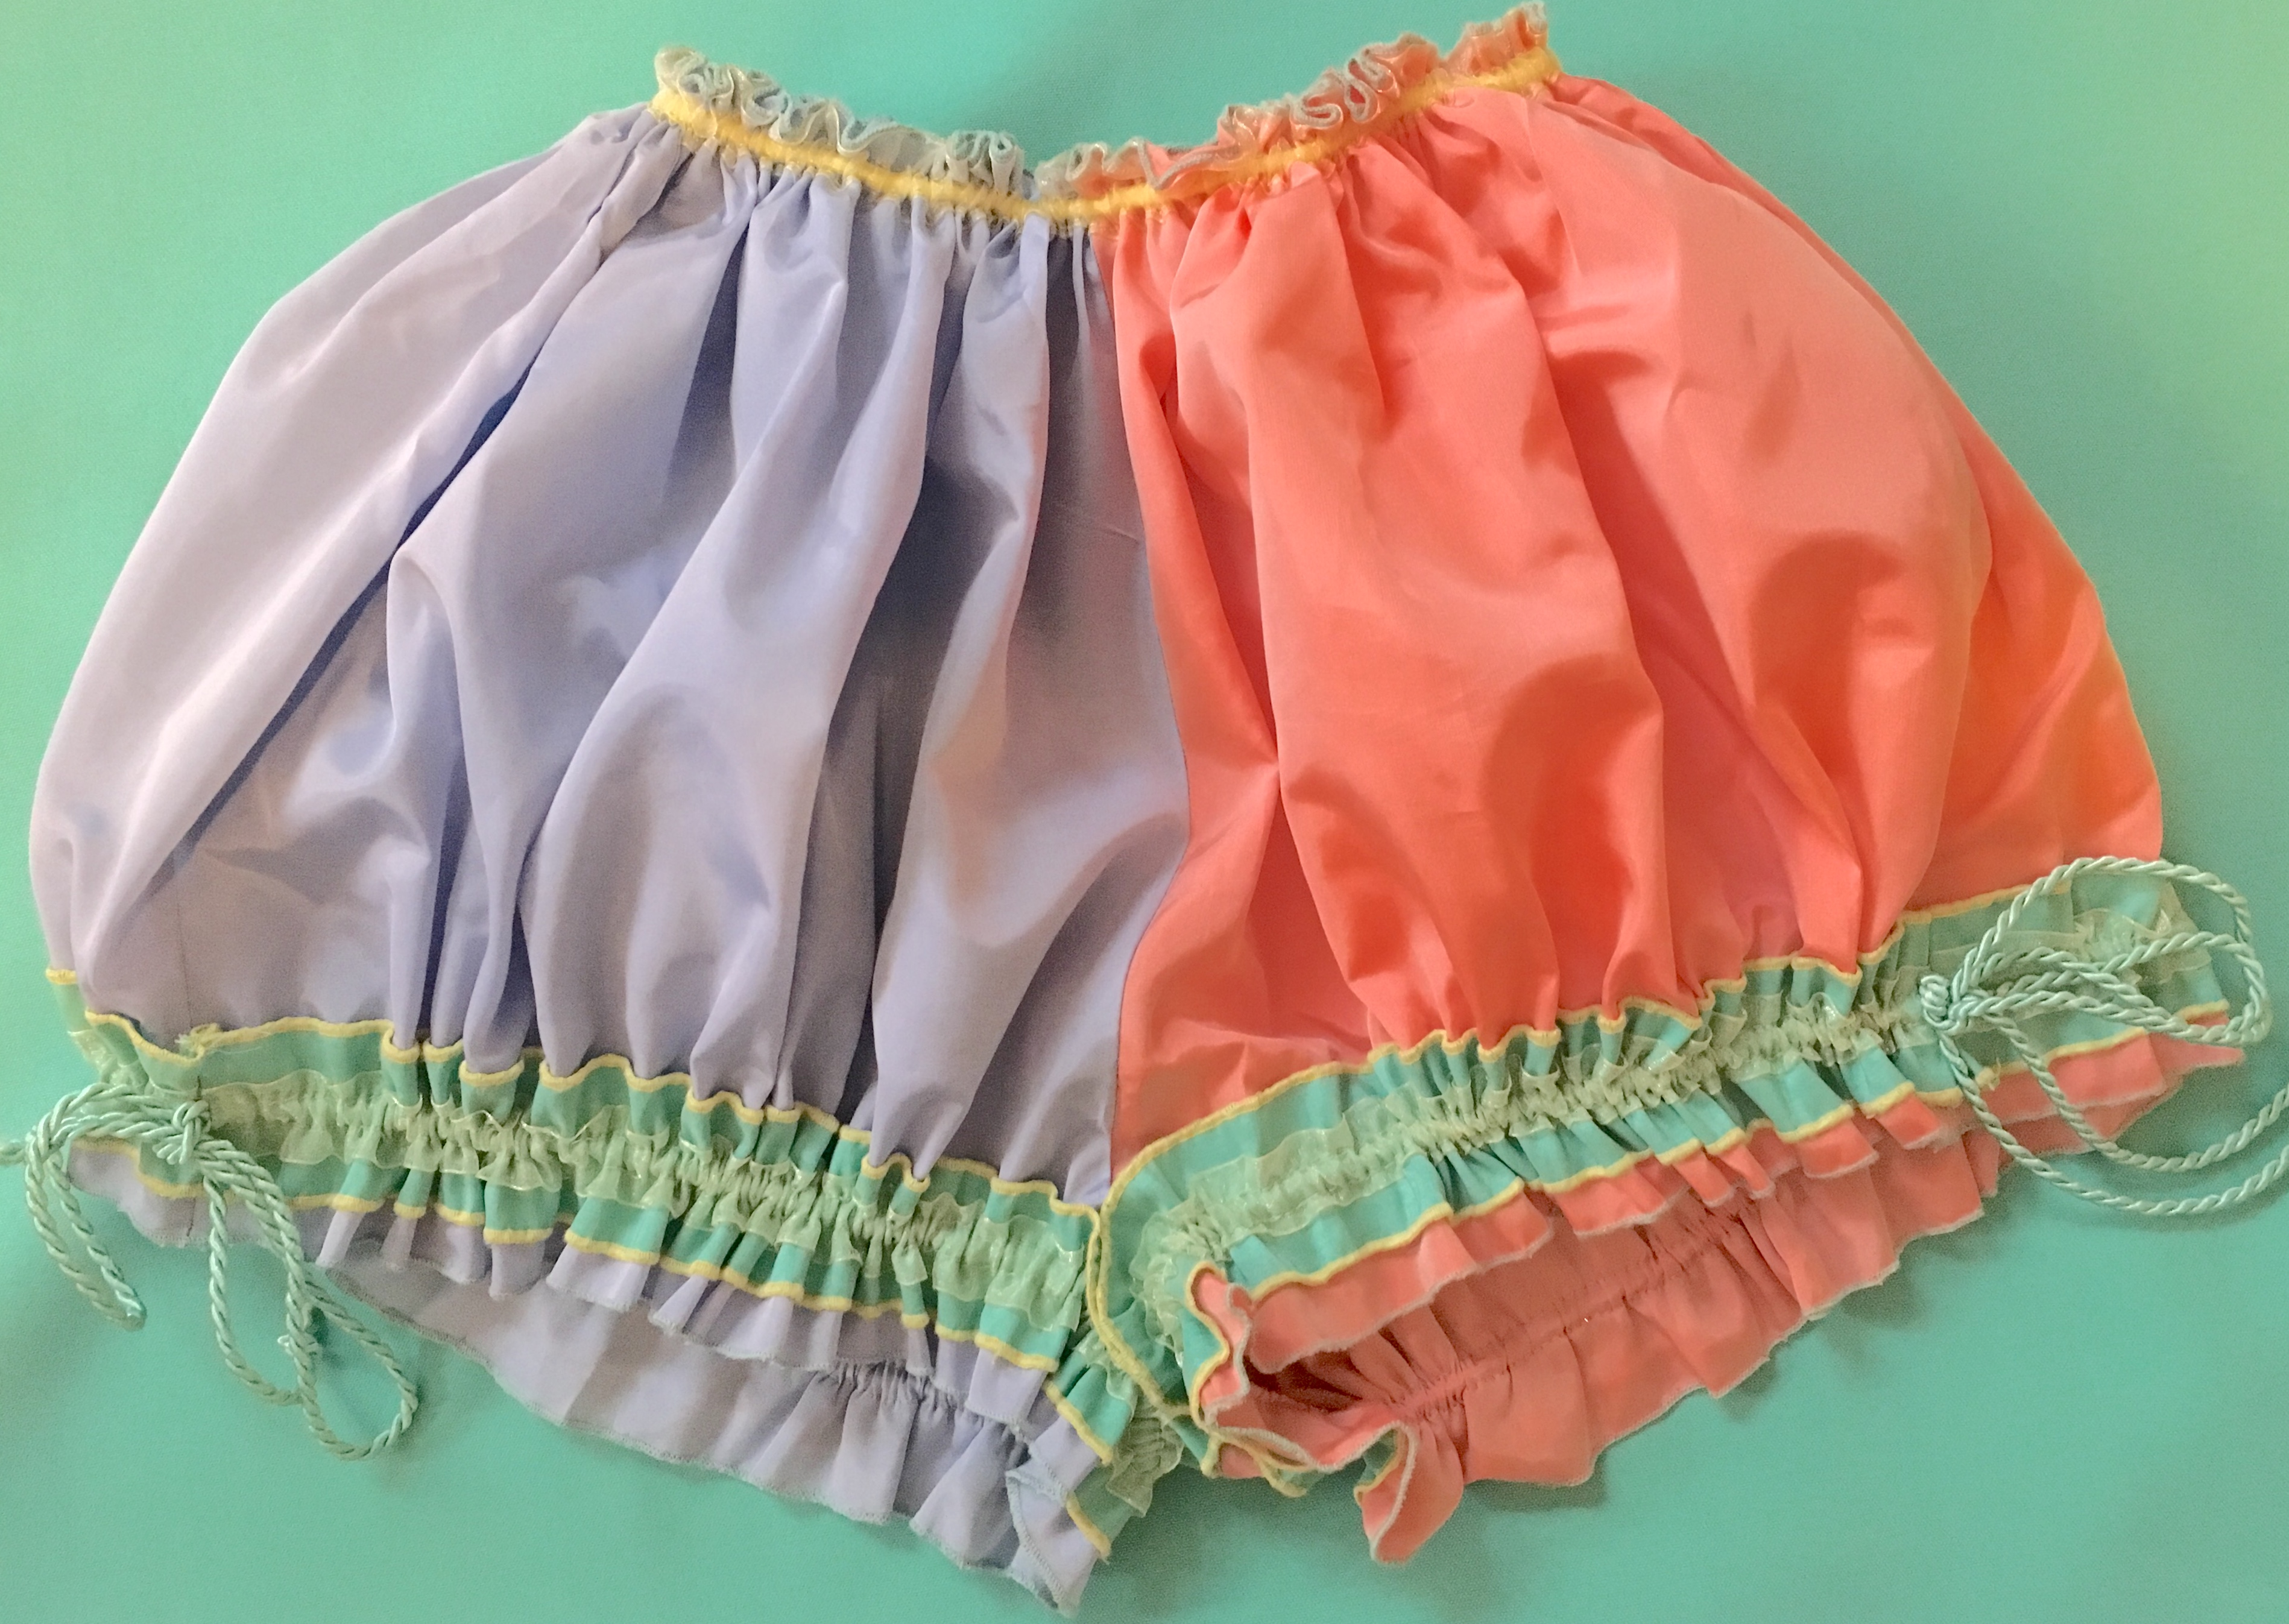
Once I had my basic shorts pattern in Garment Designer I was easily able to modify it for my bloomers pattern. It is a fun pattern I have used in the past for costumes that I based off my shorts pattern. In Garment Designer, it was just a matter of expanding the pattern for gathering.
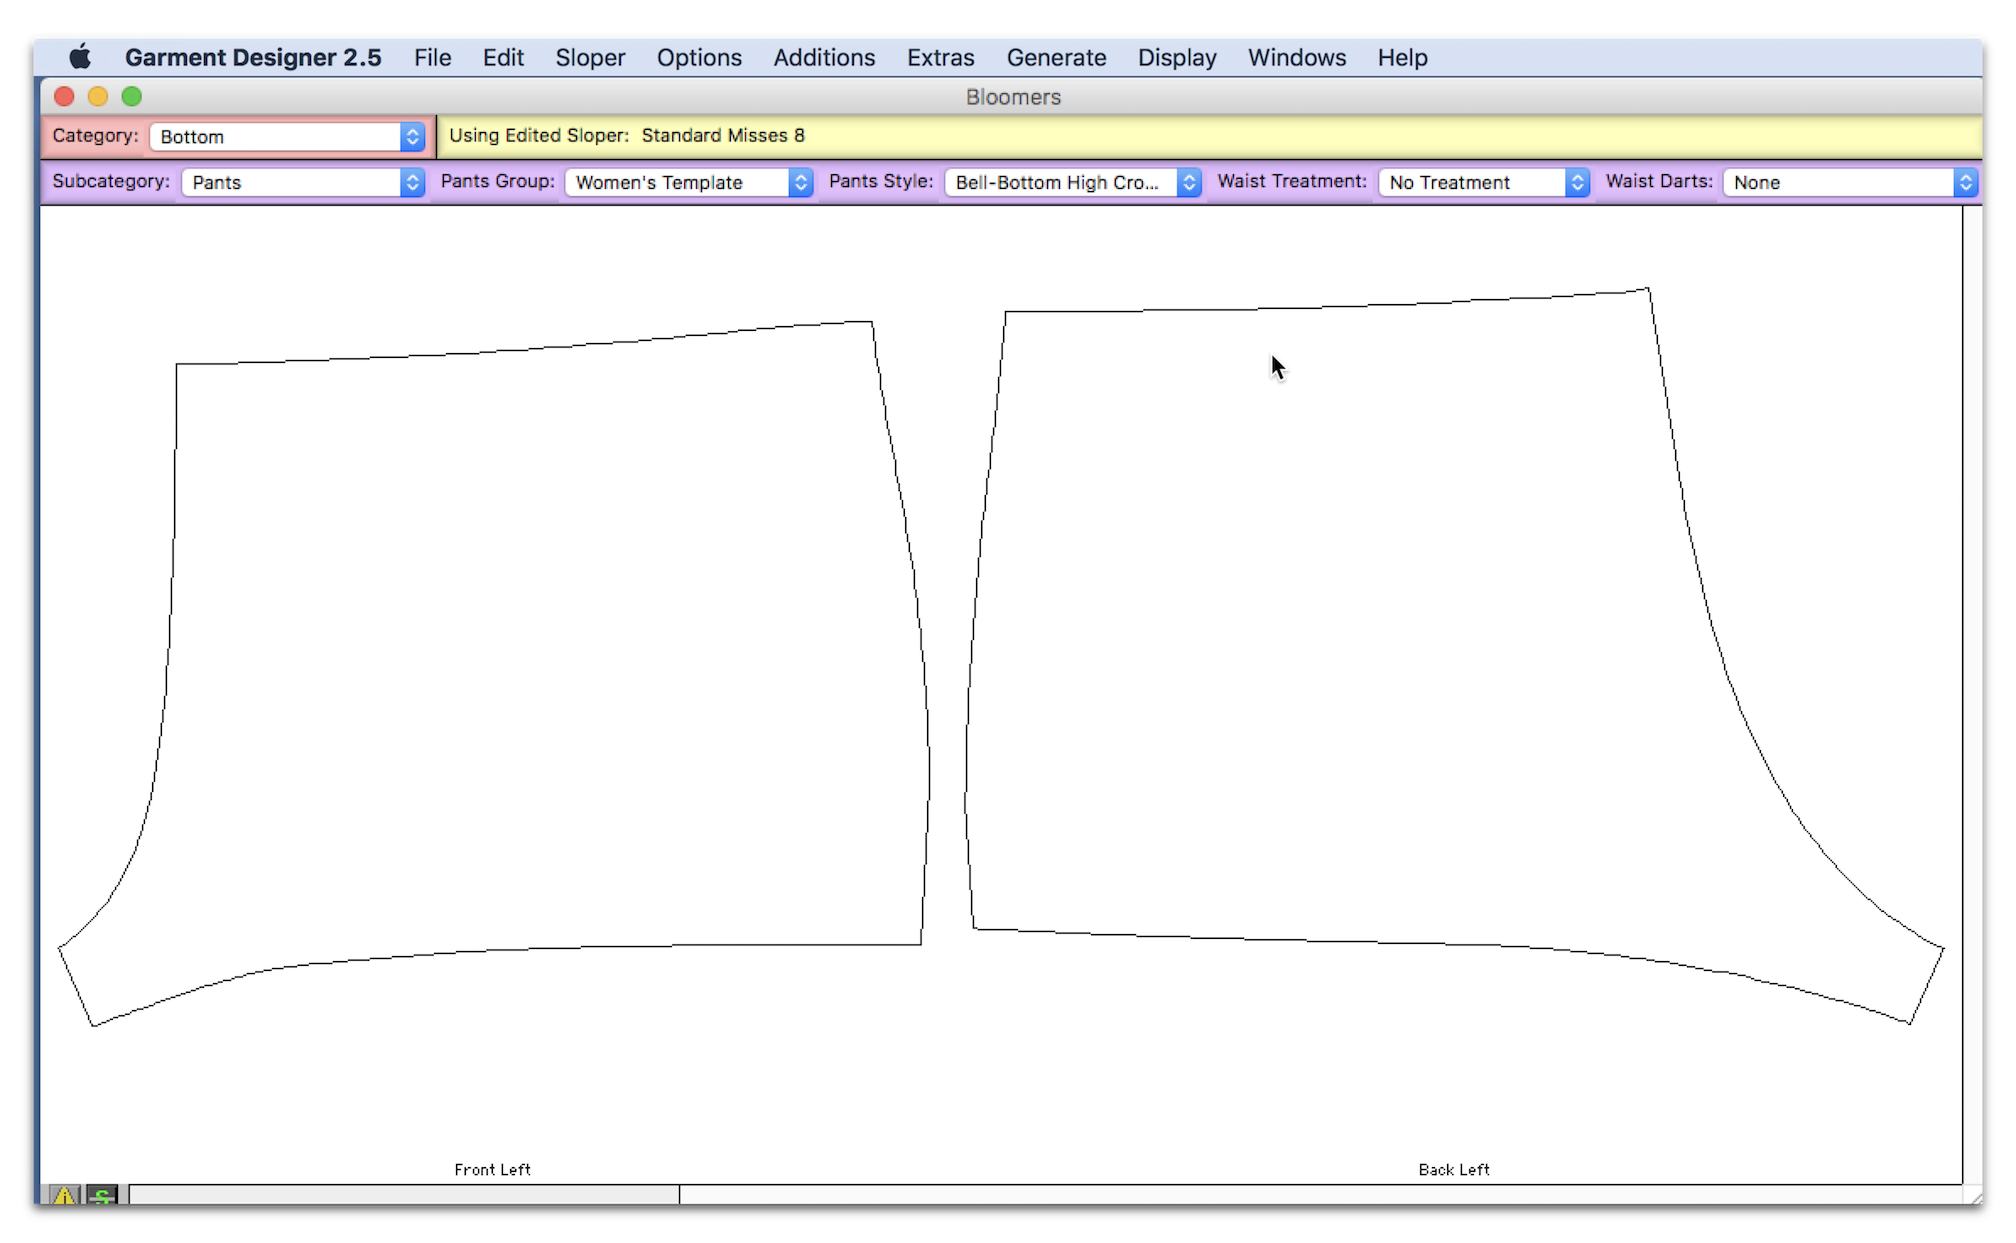
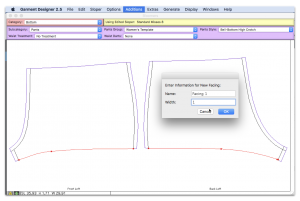
I was also able to mark my channels by using the facing option in Garment Designer. Susan has taught me that using the facings option is a great way to create a demarcation on a garment.
Thank you for reading and good luck on your next Garment Designer project!