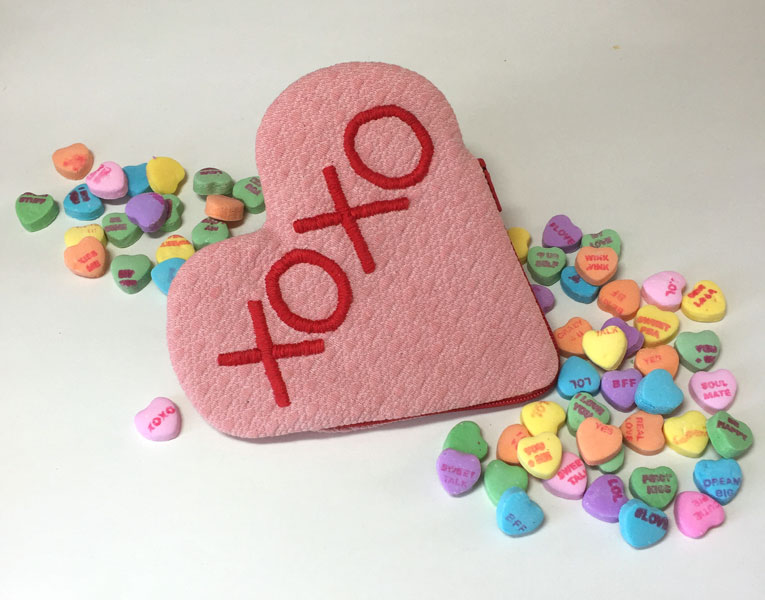
For this month’s design challenge, I have created a small heart-shaped coin purse via Garment Designer. Nothing gets me in the spirit for Valentine’s Day like some classic Sweetheart Candies. Perhaps not so much the taste of them, rather more the nostalgic visual appeal. Thus I used it as inspiration and made my heart coin purse in the image of a Sweetheart Candy.
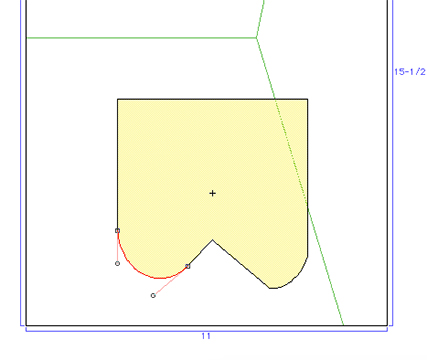
To create my pattern in Garment Designer, I started by choosing a Top/Dress Hem Pocket under the Extras menu. Then I changed the style of the pocket to Rounded Square. This option gives you round points to manipulate in order to create the heart shape. Note that the round points are on the bottom, so you will be making this heart upside-down! First, move the bottom center point of the pocket upward to start creating the convex curves of the top of the heart. Next, move the two rounded curve points upward and pull the handles of the points down to continue creating the convex curves. (*See picture below.) Do your best to mimic the curve on one side to the other side of the heart. Finally, move the two top points of the pocket toward the center to create the bottom tip of the heart. Tweak until you achieve your personal heart-shaped preference. Once you are finished, add your seam allowance and only print the page(s) with your heart pattern.
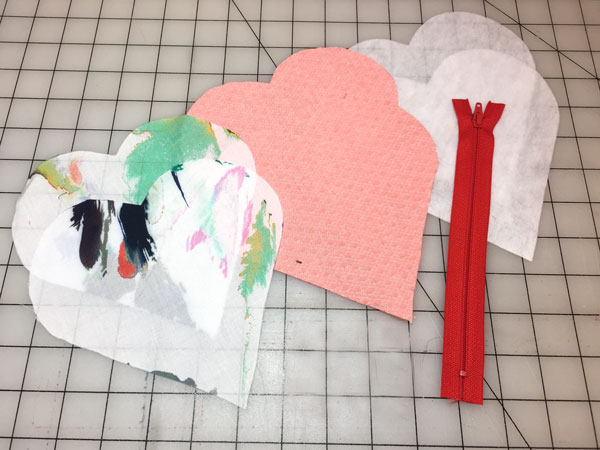
Now we are ready to create our design! I cut out two self pieces (pink), two linings, and two heavyweight Pellon stabilizers to help stiffen and strengthen my fabric. The only trim you will need is a zipper (my pattern fits a 7” zipper).
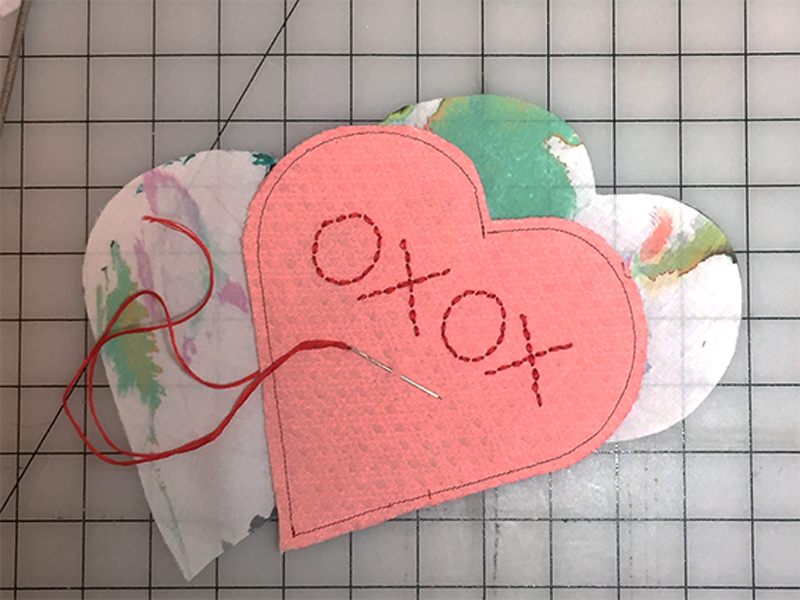
First I sewed the Pellon to each of my self pieces. On the front I decided to add a little embroidery to really get that Sweetheart Candy affect. I chose the “XOXO” candy as inspiration. To start the embroidery, I back stitched an outline of “XOXO”. I would recommend creating the backstitch in block lettering in order to make your statin stitches more consistent and easier to begin and end each stitch.
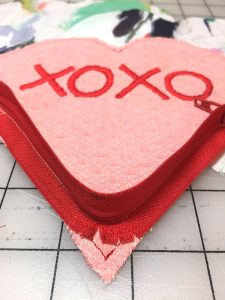
Once I was done with the embroidery, I was ready to sew the accessory together. First, I attached one heart self piece to the zipper. I choose to place my zipper centered on the bottom “V” of the heart. The trickiest part is the bottom point of the heart. Here, make small snips with your scissors on the zipper tape to allow it to spread open and create a nice curve. (*See picture above.) Do the same with the other self piece. Next, I sewed the remaining top heart curves of the self pieces right sides together. Because of the angles and shape of the heart, I decided it would be easier to hand stitch my lining into the purse. Frist, I machine sewed my lining right sides together on the top heart curves. Then I sewed it in at the zipper by hand using a pic stitch. This completes the Sweetheart coin purse! I absolutely adore it, but if I were to make it again I would add a small wrist strap.
I hope this post helps inspire your own creation for February’s design challenge and be sure to share it with us by emailing info@cochenille.com. Happy patterning and happy sewing!