Recently, I visited with my mom in Canada. She is 94 and still actively knits. She primarily makes slippers and hats for her seven great grandchildren, and I occasionally get a pair of slippers too (which I love).
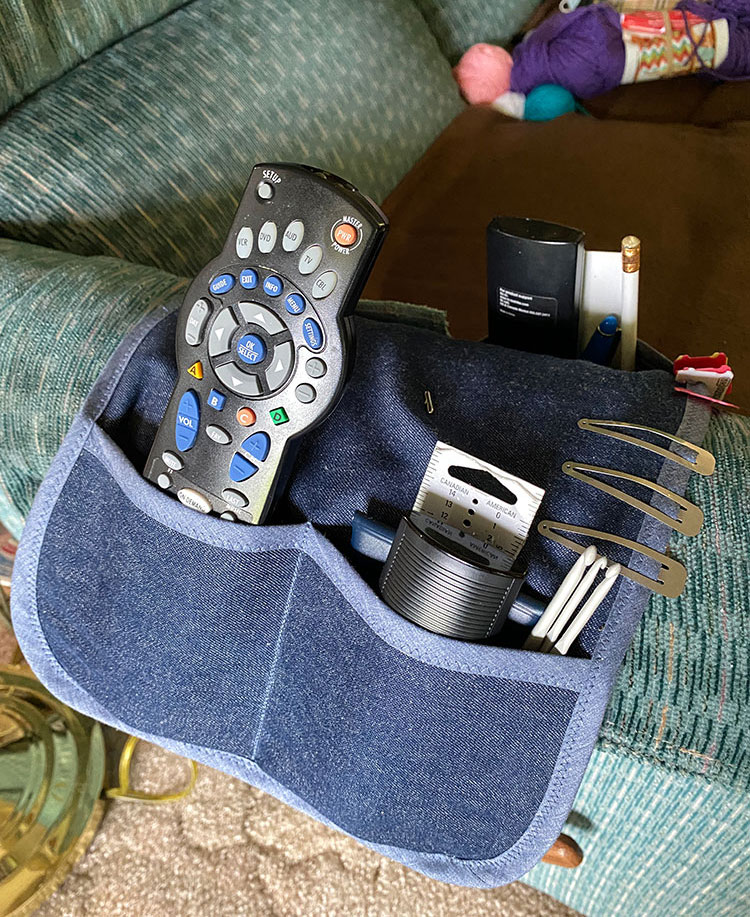
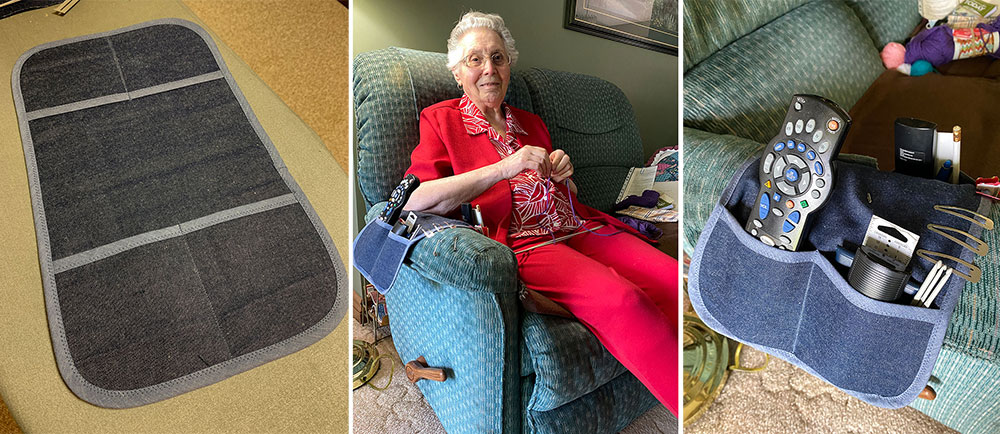
Mom likes to knit while she watches television. She tells me that she knits during the commercials (according to her, they are many and long). For years, she has had her various tools and tv remotes in a cloth caddy which sits on the arm of her sofa. It was getting pretty worn, so she asked me to make her a new one. You can see below how she uses the caddy on the arm of her sofa. You can also see all the tools she manages to have handy as she works.
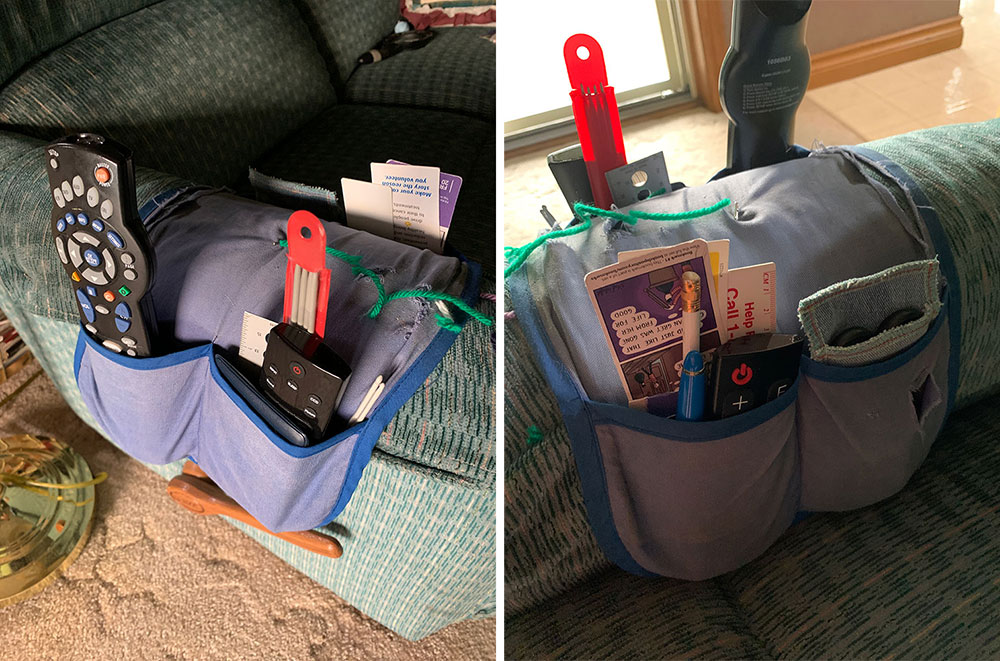
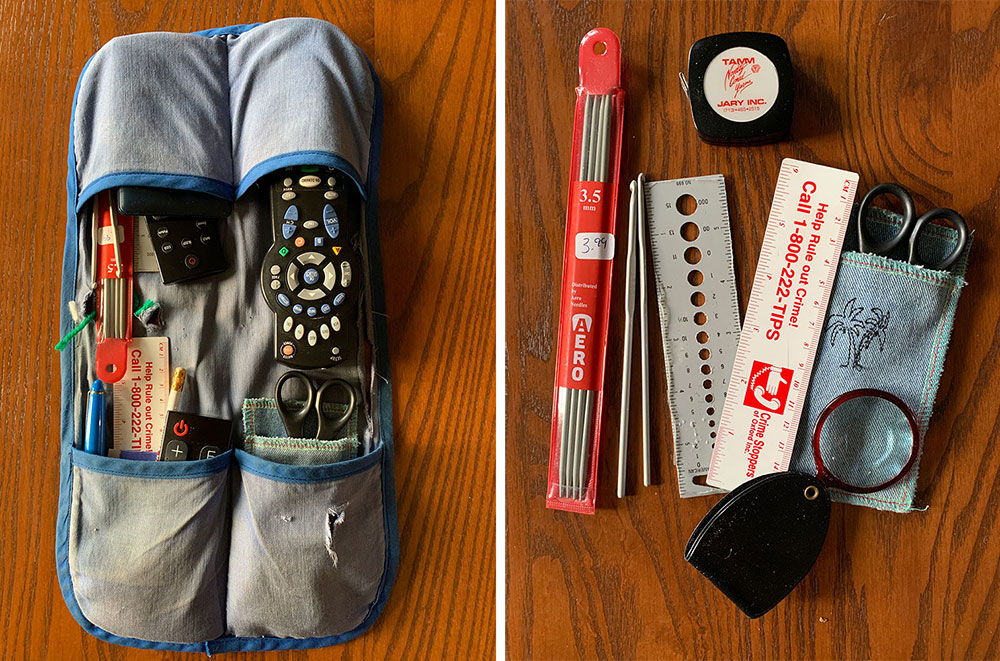
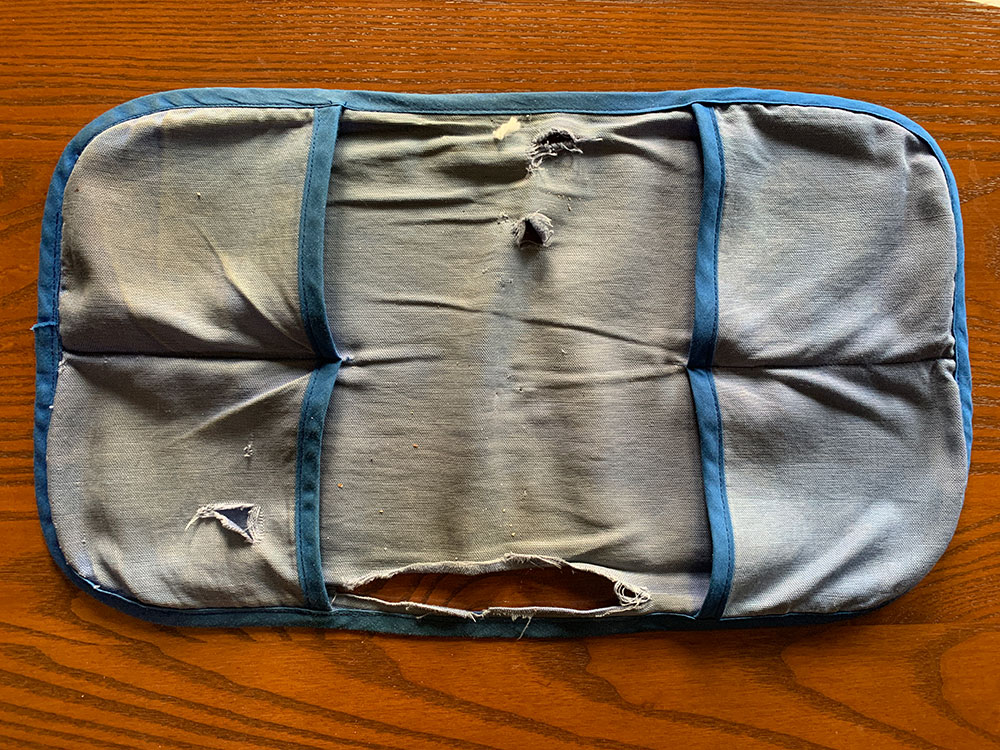
Below you can see her old caddy. As you can see, it is seriously worn and needs to be put to rest.
The Design
The design of the caddy was a simple shape, and I knew it wouldn’t take long to create a pattern in Garment Designer. I began by measuring the original caddy. It was 10” wide by 16-1/2” long.
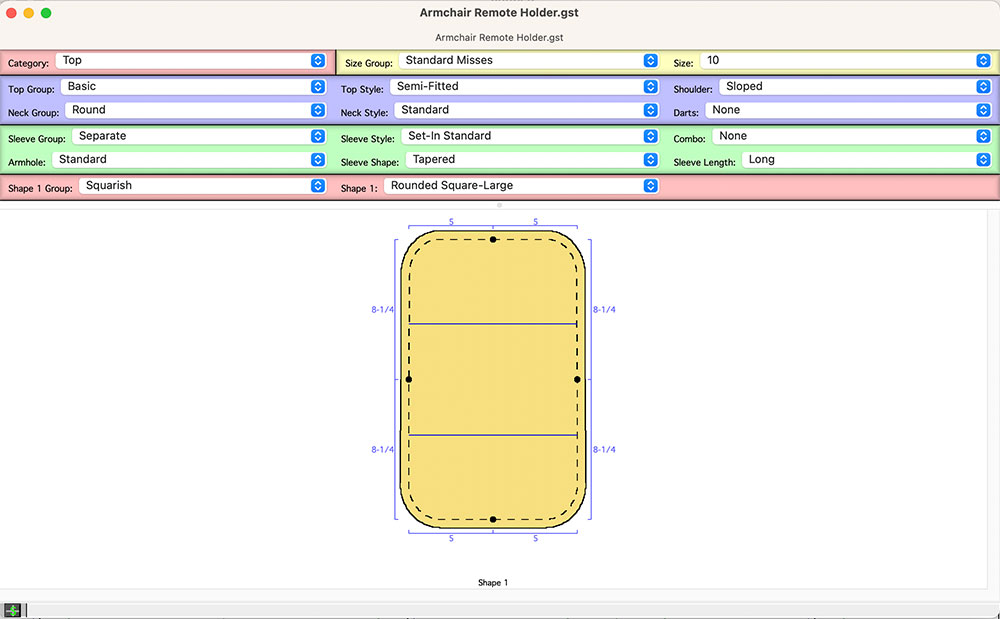
Using the Generic Shapes that Garment Designer software offers, I chose the Large Rounded Rectangle. The corners are nicely rounded which will make sewing on the edging simple. I clicked and dragged the segments until I achieved the size I wanted, and then, I used the Facing function to add lines where I wanted the pockets to be. Lastly, I added seam allowances. The entire process took less than 5 minutes.
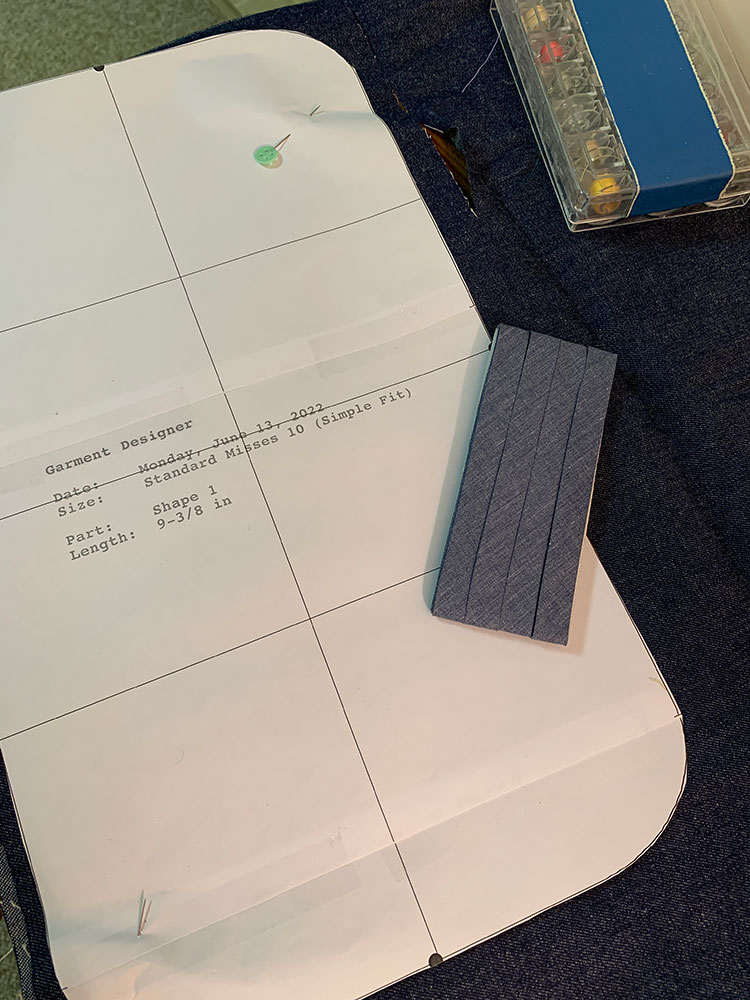
I printed the paper pattern in full scale, and it took 3 sheets of paper which I quickly taped together. Then, I cut out the long base, plus the two pockets from the denim fabric. The pockets were an abbreviated portion of the base.
Materials:
For fabric, my Mom chose denim, and for the trim she chose a wide bias fold-over tape.
Free Pattern!!
If you are a Garment Designer user, and would like the pattern, click here.
If you don’t have Garment Designer, you can click here to get the pattern in a PDF format (3 pages). You will need to tape them together.
Construction
Once I had cut out the fabric, I used the following steps to sew the caddy
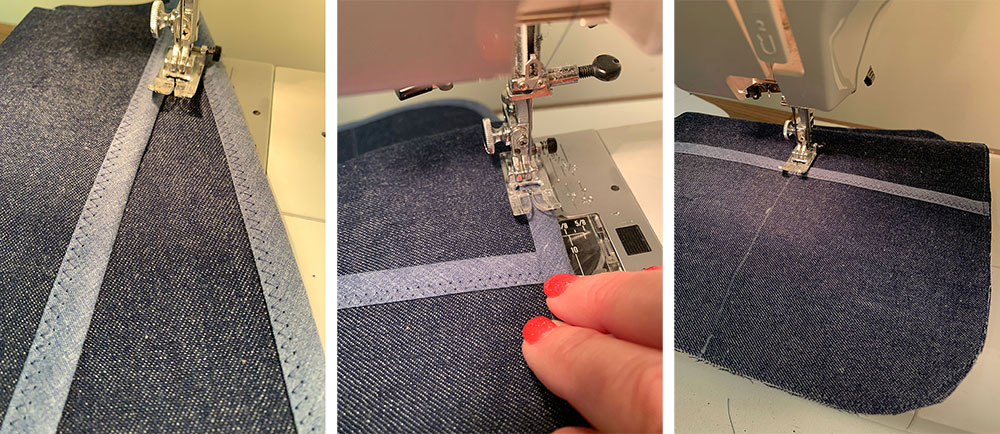
- Bind the flat edge of each of the two pocket pieces.
- Pin these pieces onto the base, and then baste them in place by basting around the entire piece at 1/8”.
- Then, use a folded bias binding and encase the entire outer edge. I used a zig zag stitch for this task.
- You can fold over one short end of the bias tape to create a nice finish.
- Divide the pocket panel into two sections, and chalk mark the center line. The number of divisions you make will depend on what you want to put in the pocket.
- Top Stitch these lines to create independent pockets.
That is it! You are finished.
Now you can place the caddy on your sofa arm, and pin it in place with a large safety pin.