Patterning Using Garment Designer: Extra Extras! Read all about it!
Hello All!
I’ve been meaning to post some more details on how I made this fun top on Garment Designer using the Extras menu on Garment Designer.
I started off with a waist length contoured top with a boat neck and a bust dart then modified the pattern points.
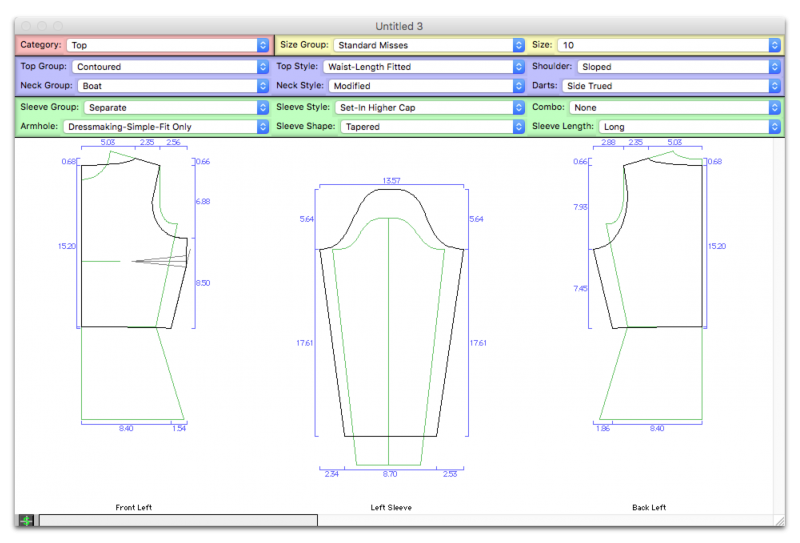

I moved my dart down to make a french dart.
I brought the front neckline down a bit, shortened the sleeve and tried to get as little ease as possible since I wanted it to be pretty fitted for my knit fabric.
I also chose to use the Dressmaking Armhole since this style allows the front armhole to swing in slightly in the front, make a more comfortable fit for a top like this.
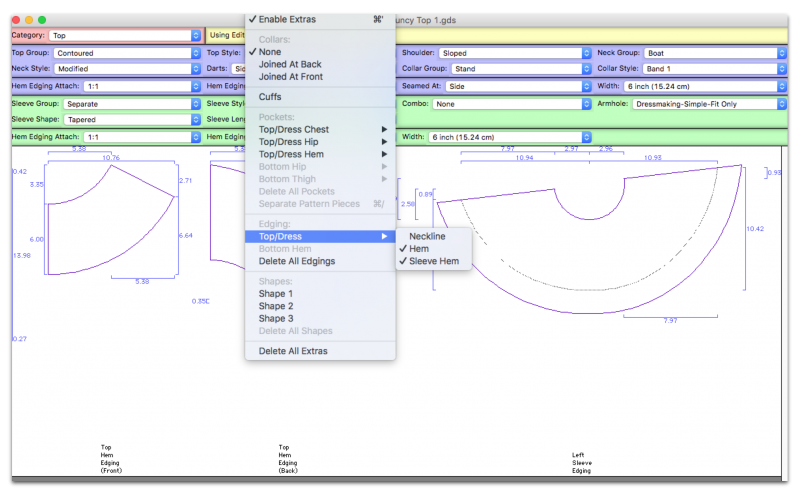
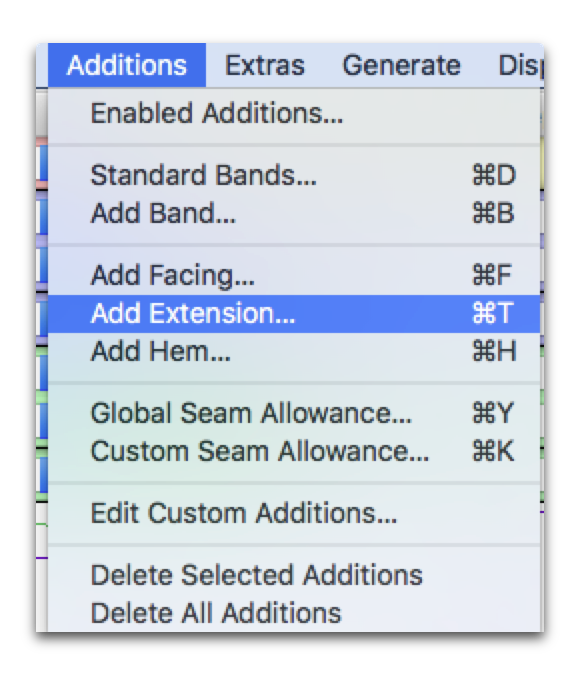
Now the fun part…adding the extras!
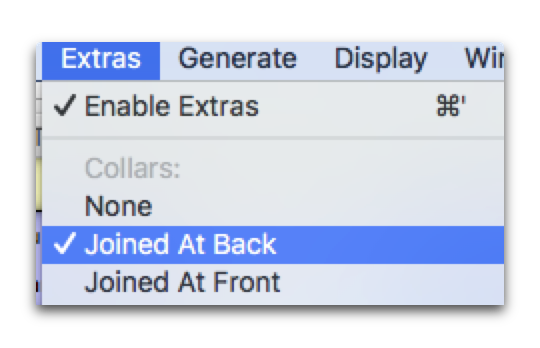
To add a collar, I went to the Extras menu and selected ‘Joined at Back‘.
This presented me with my collar options:
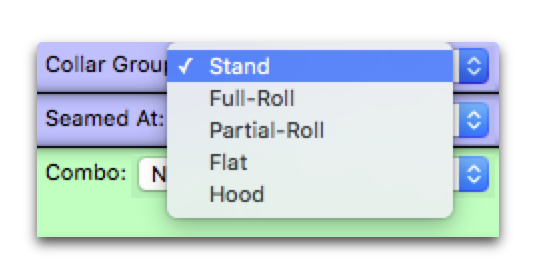
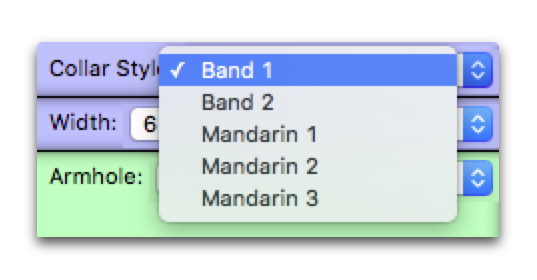
I wanted a full stand and used the band option. I made my band about 3″ tall on the pattern, as I wold be folding it in half for a 1- 1/2″ tall collar.
Then I added my sleeve and peplum edgings from the Extras menu to add some flounces.
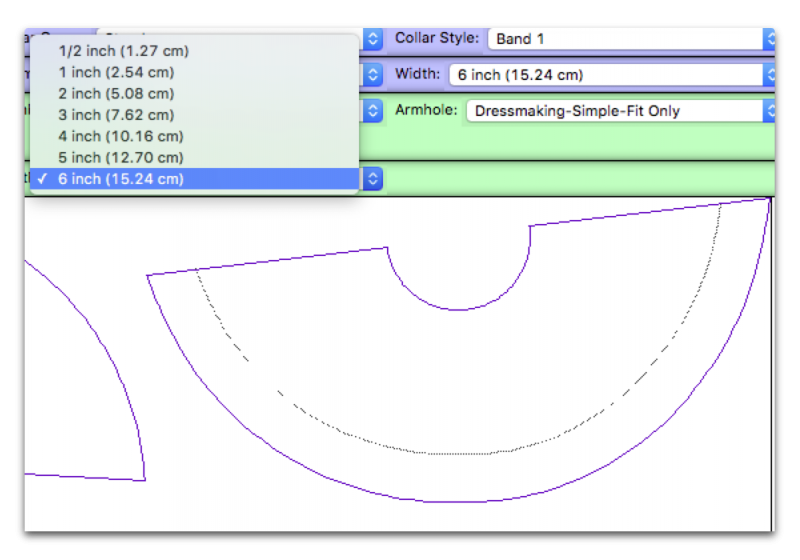
If you take a look at my sleeve edging, you will see I chose the longest option I could, which was 6″… but I wanted 8″.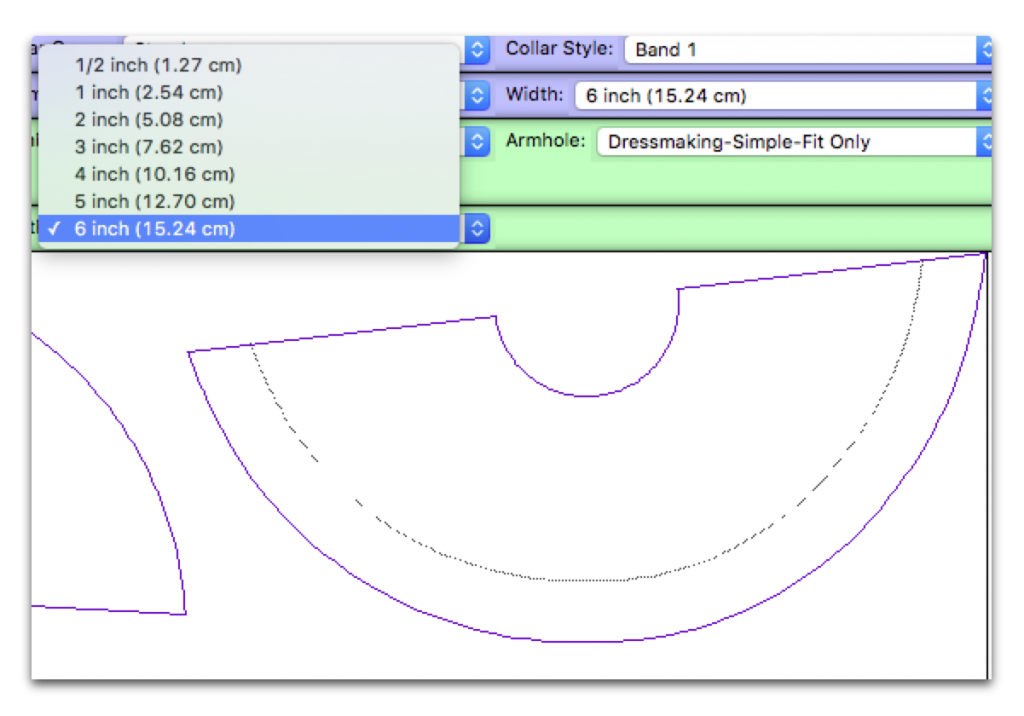
I could have added a 2″ custom seam allowance to the sleeve edging (Additions > Custom Sleeve Allowance or keyboard shortcut ⌘+K).
Instead I chose to highlight the edge I wanted to extend, then added a 2″ extension (Additions > Add Extension)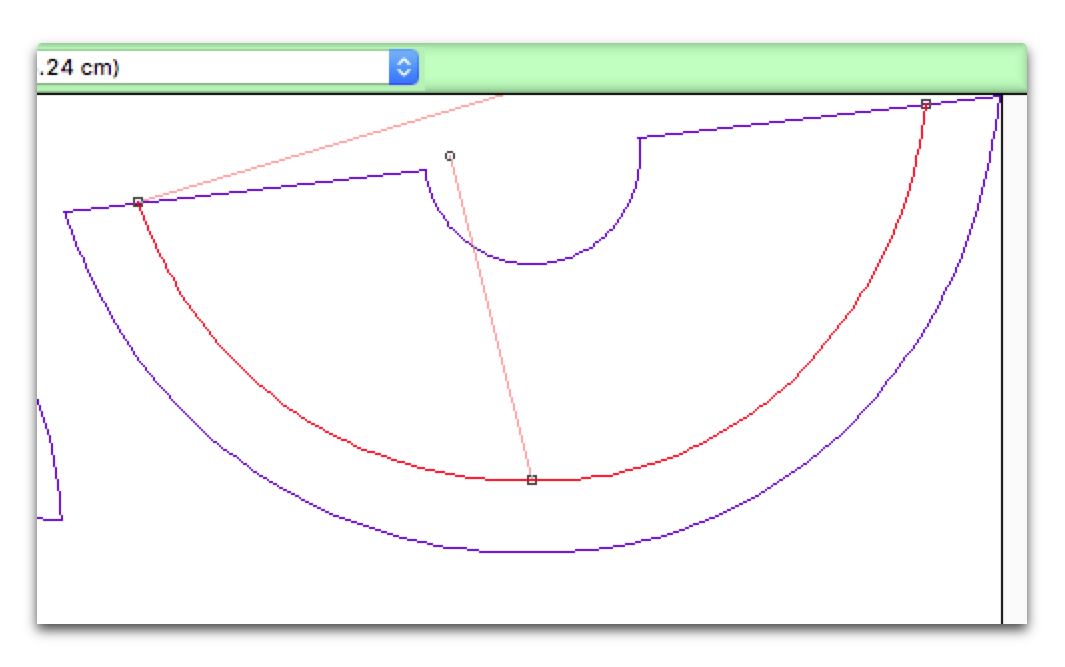
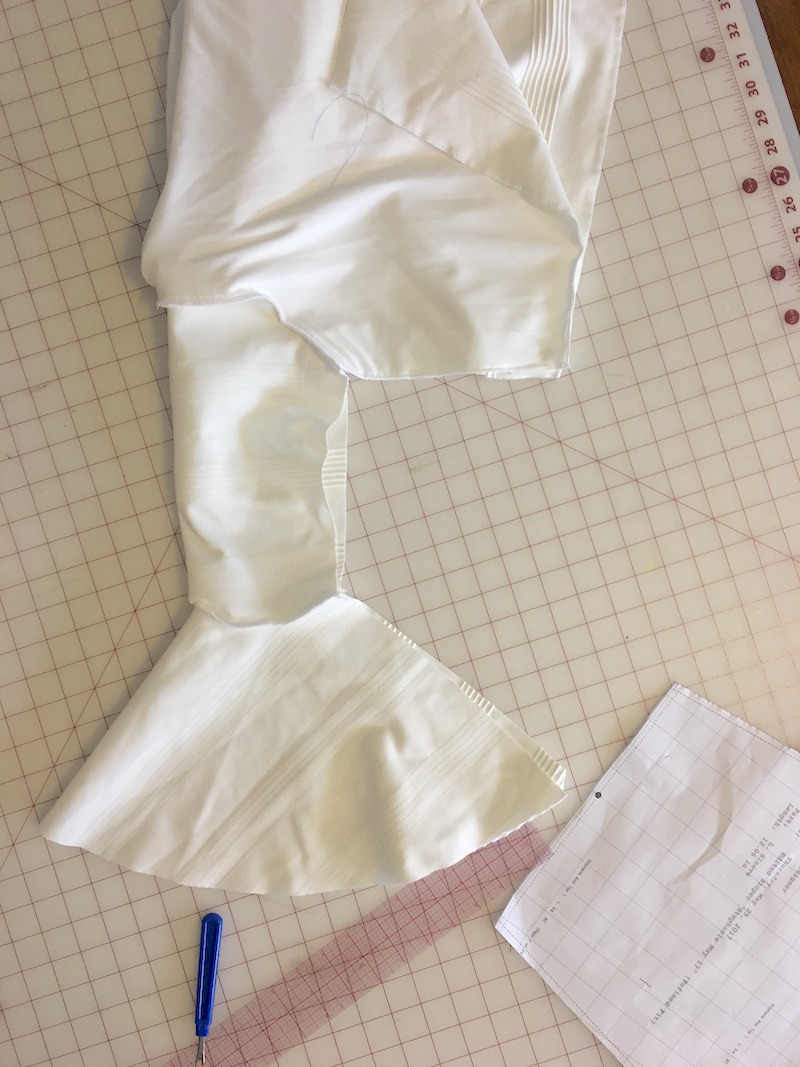
I chose to attach at a 1:1 ratio so that the seam didn’t get too thick. I then added a 3:1 ratio for maximum flare. I did the same thing for my peplum by adding an edging to the hem of the shirt. I kept it at 6″ but elongated the back to 8″ and then played with the points to smooth the transition of the hem at the sides.
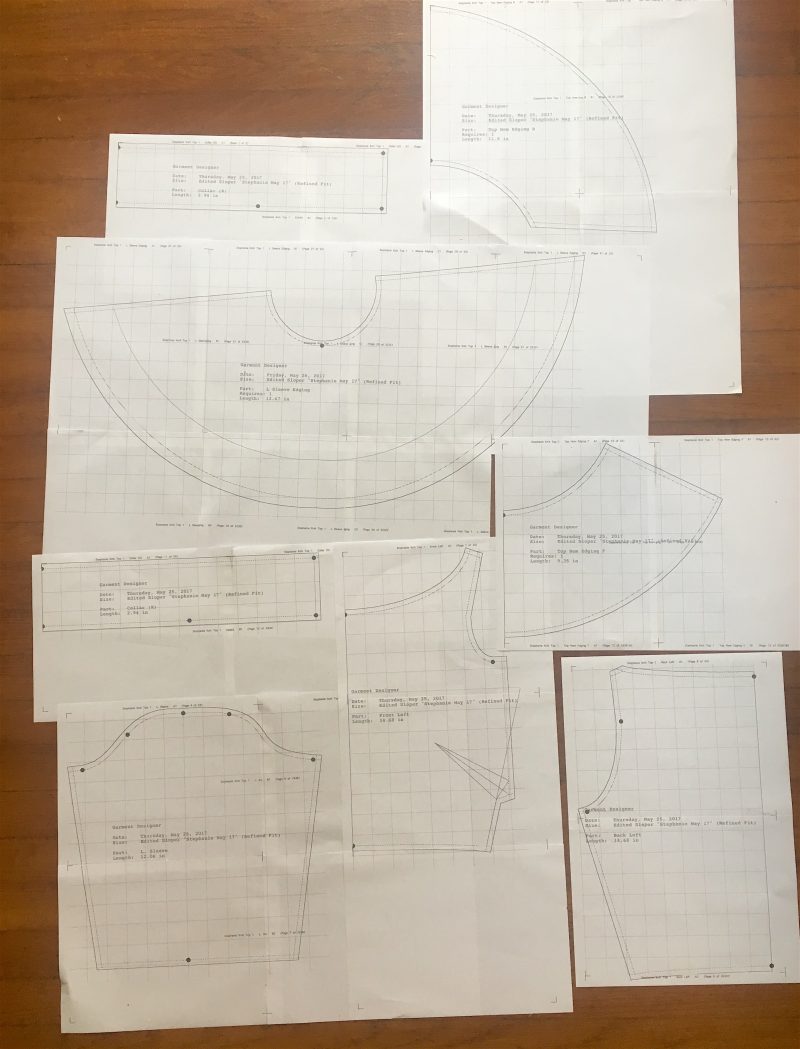
I added my seam allowances (1/4″ since I was using a knit fabric and will be using my serger) and printed it all out.
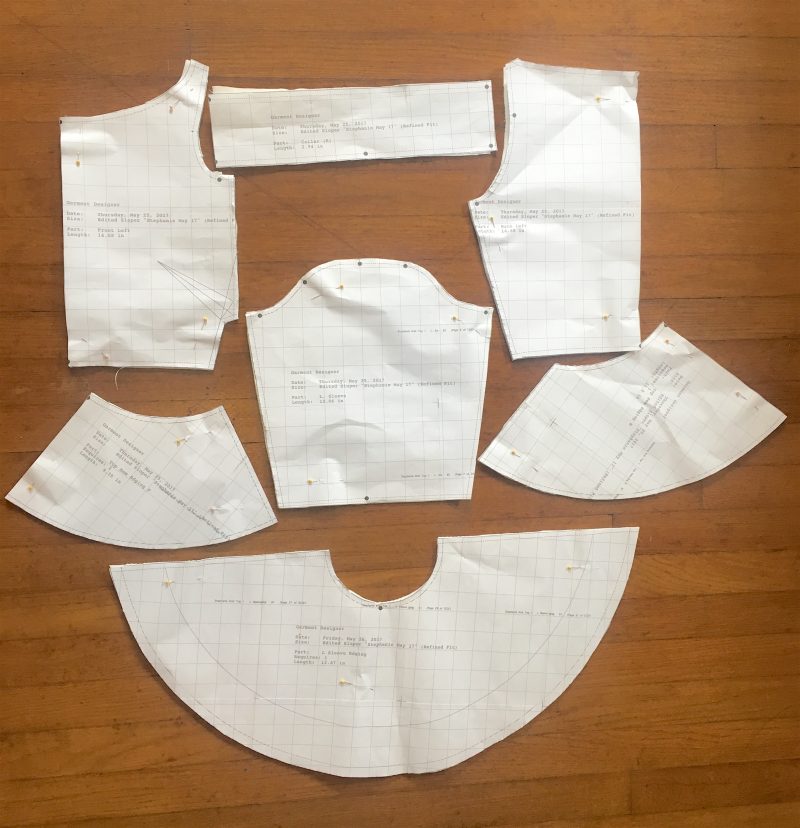
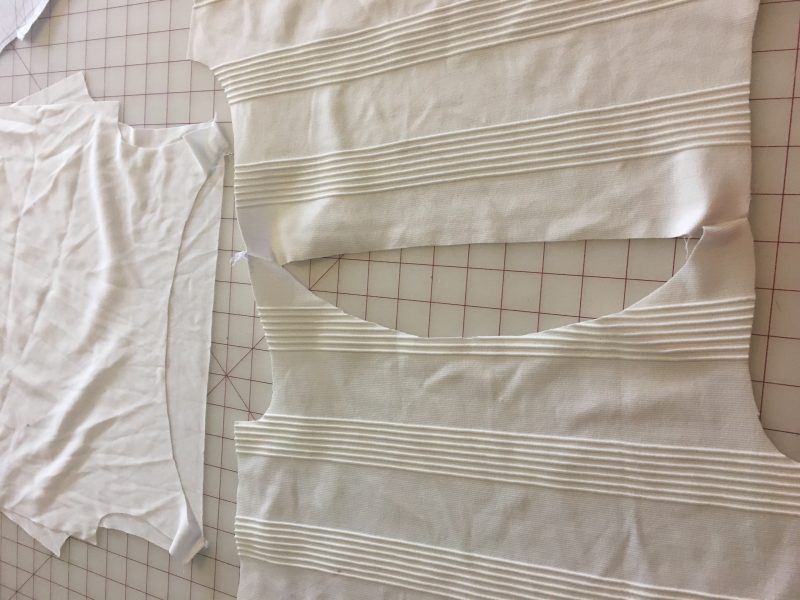
Cut it out of my fashion fabric…
Then began the sewing!
Since I just had to make this out of a white knit, I thought I would line the bodice with white for modesty.
I chose to use a white interlock fabric.
I will say in advance that the way I sewed this top up isn’t the only way, just the way I chose to order my steps as I went.
I wanted to have a clean seam at the neckline so my first step was to sew the shoulder seams of my fashion fabric then separately I sewed the shoulder seams of my lining.
I also made sure to mark my darts and really carefully snip out my notches. Normally to mark notches on a 1/4 seam I would cut outward triangles but this was a quick project so I went with tiny snips.
I sewed the center back of the collar together, folded it at the fold line and then made a long basting stitch in the seam allowance.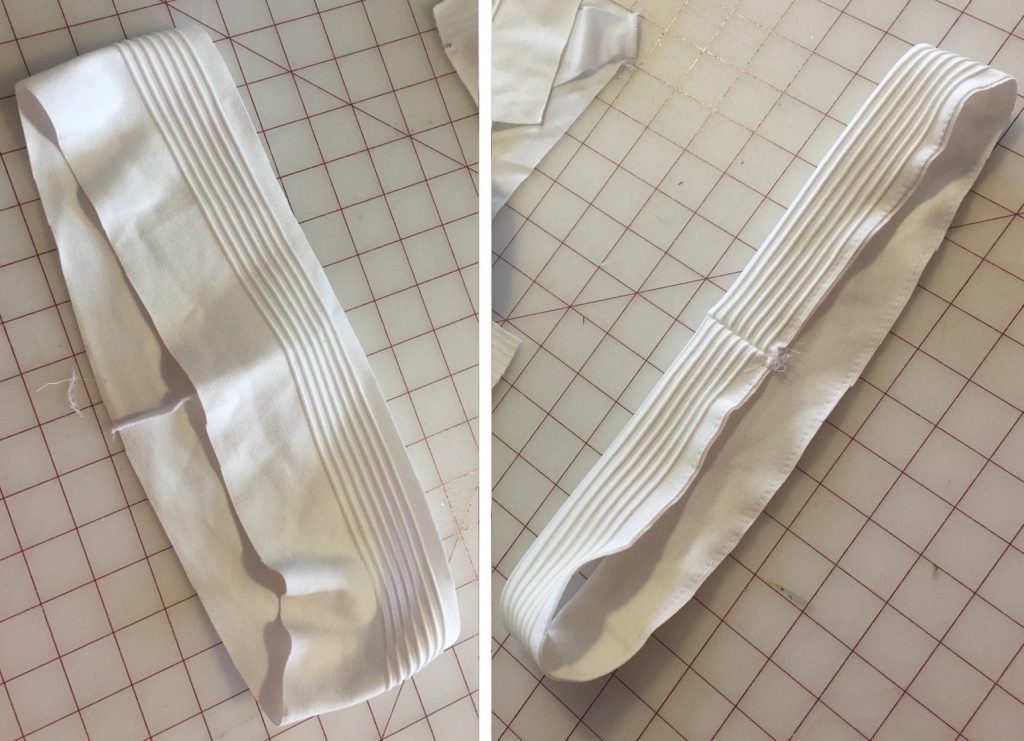 I then basted the collar, right sides together, to the fashion fabric.
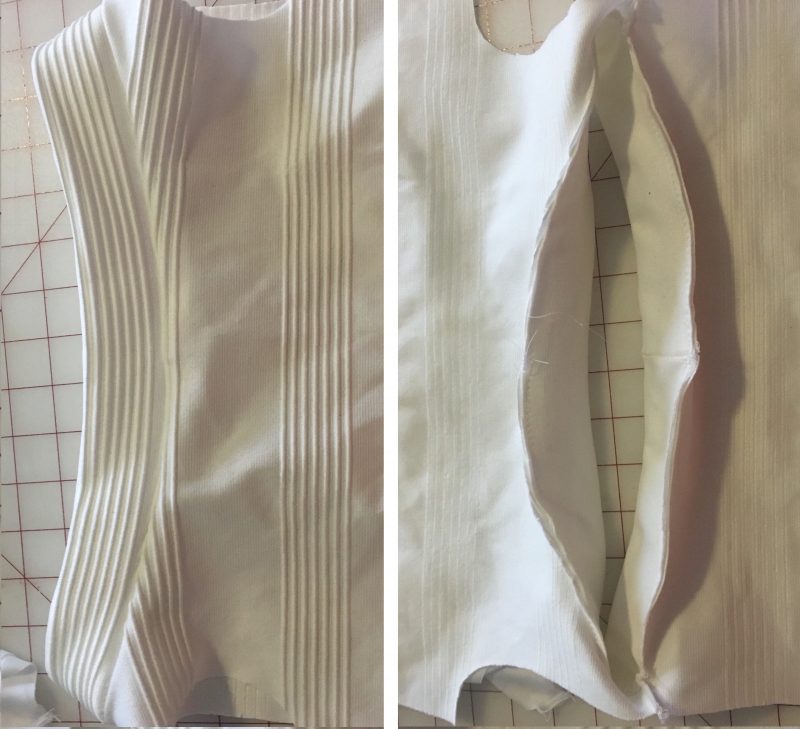
Then I pinned my lining on, sandwiching the collar between the self fabric and the lining, with my finished seams facing inwards towards each other.

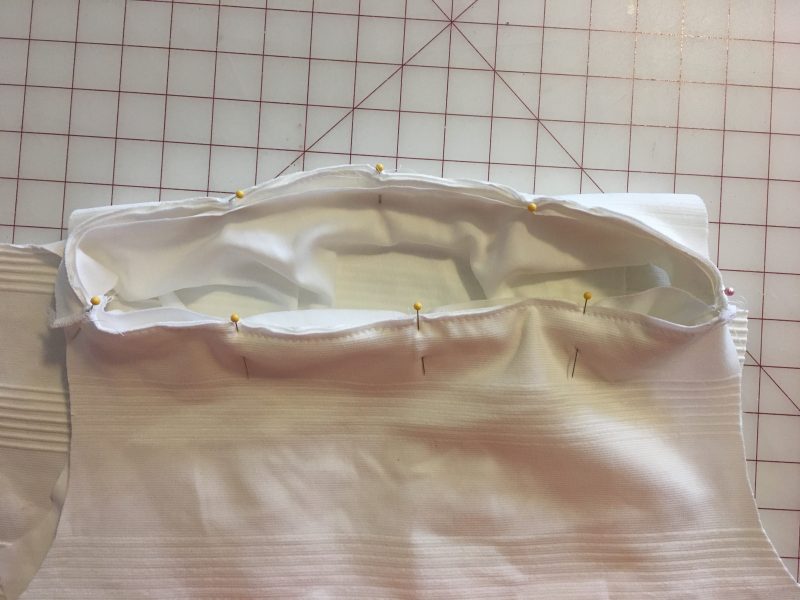
I sewed the lining, collar and self fabric together then turned… No raw edge on the collar anymore!
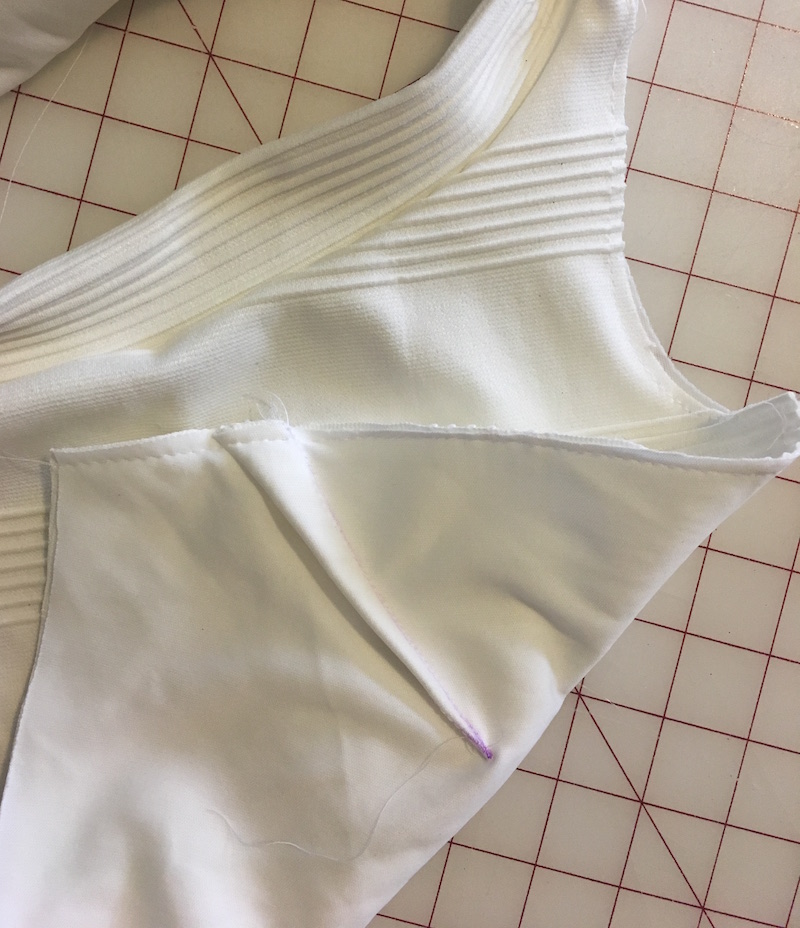
I had marked my darts earlier and decided to sew them together by basting the pieces together, then sewing the dart closed.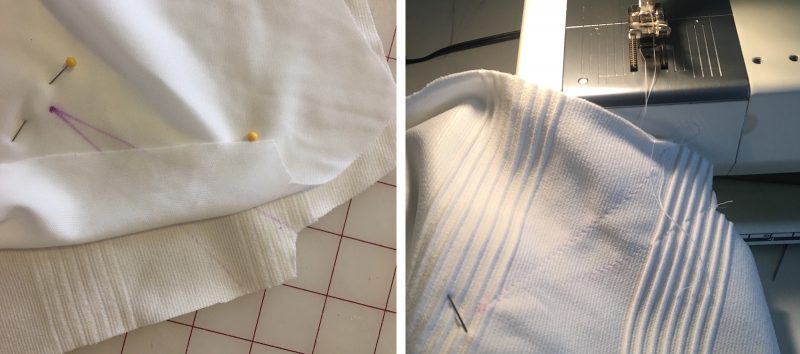
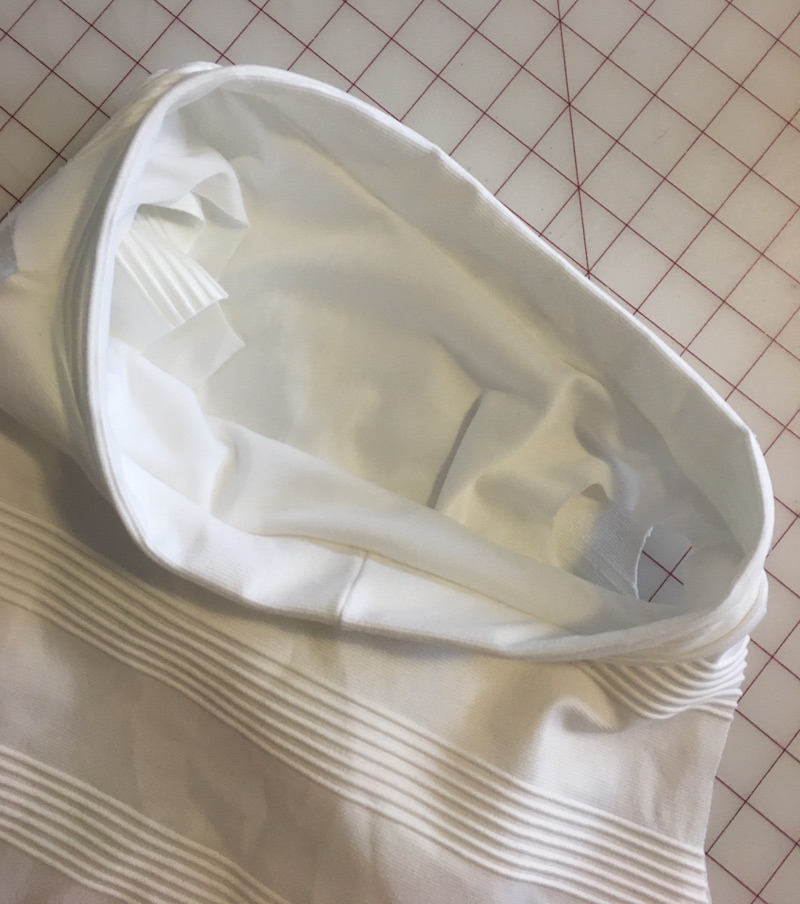
Then I made a basting stitch around all the remaining edges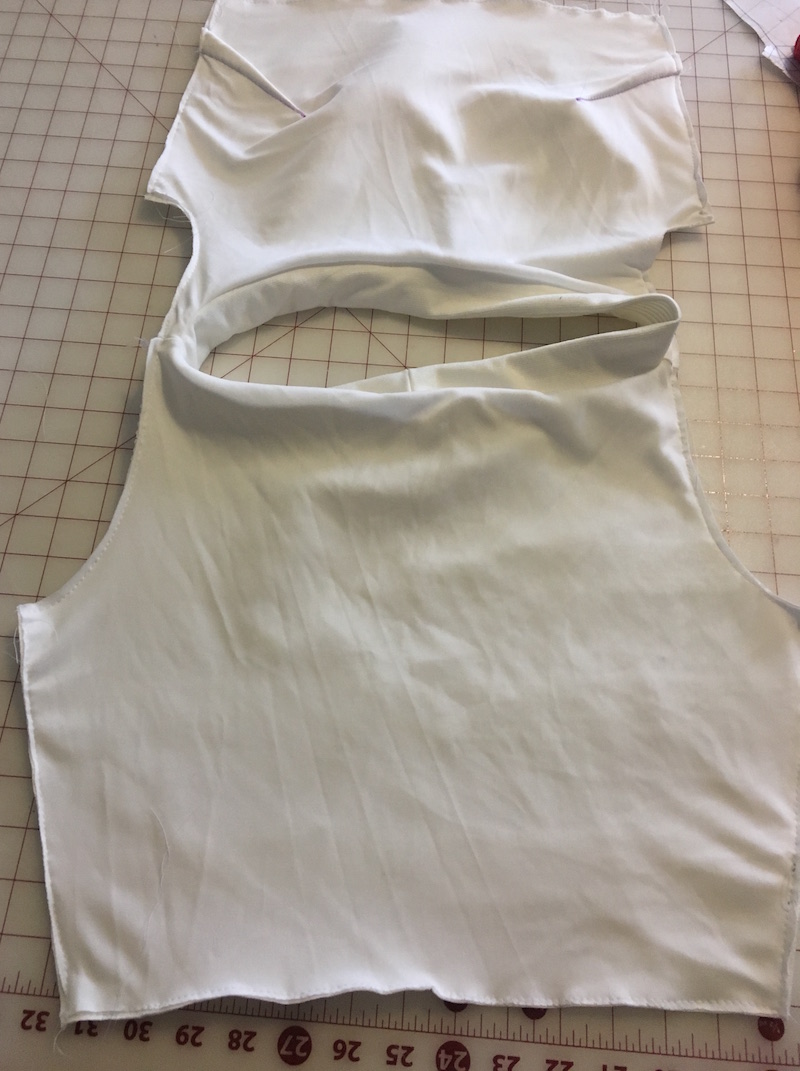
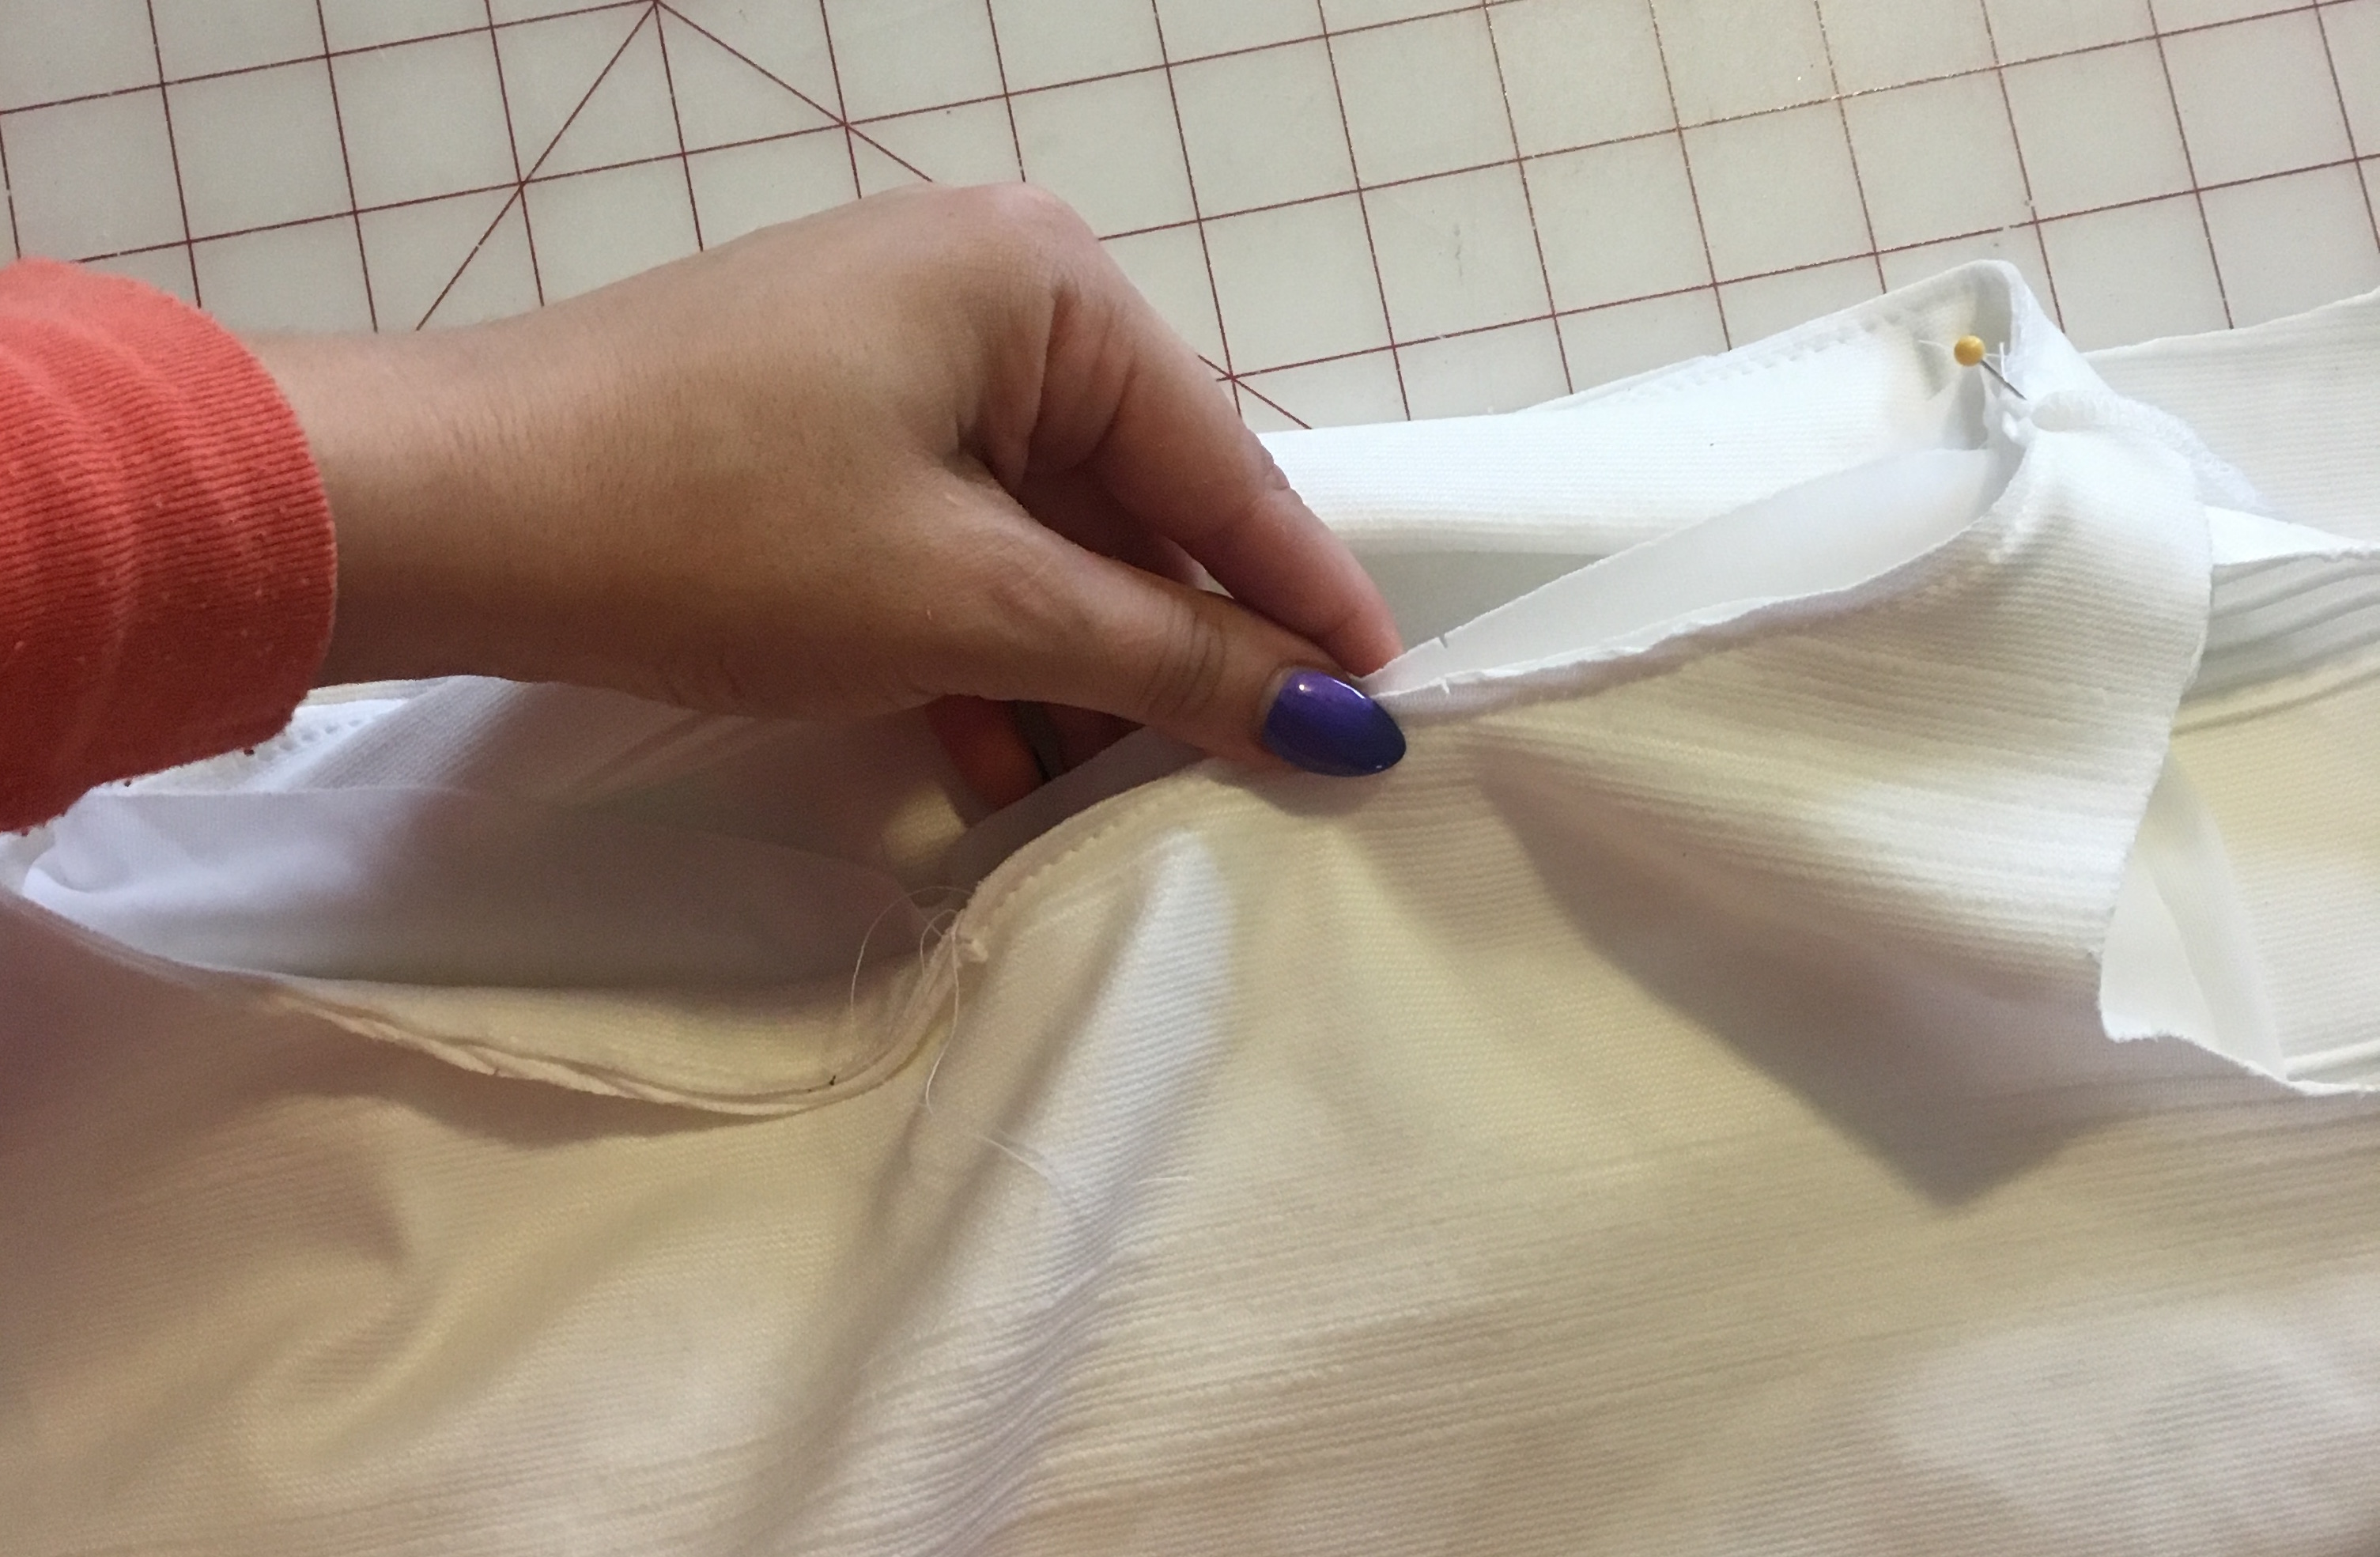
Instead of closing the side seam and setting the sleeves into the armscye, I sewed them in flat and left the side seam open.
I also added the sleeve edging at this point. I could have added the peplum too, but decided for no particular reason to leave it until last.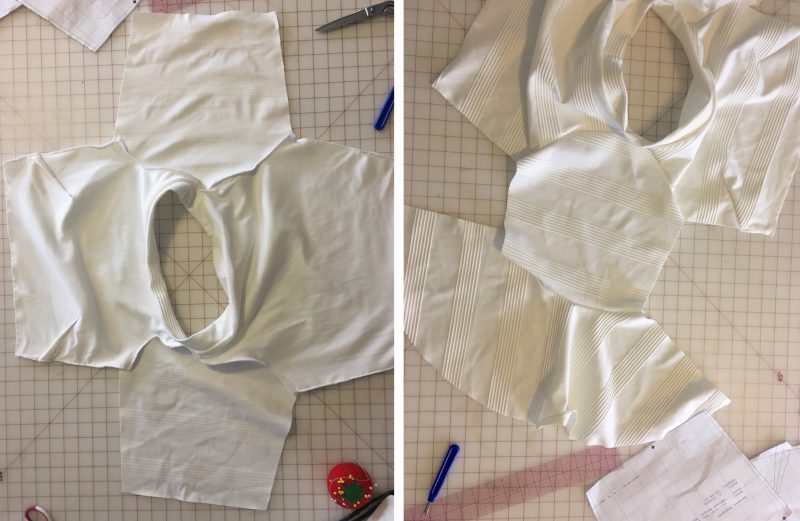
The last steps were sewing the side seam and sleeves together and adding the peplum, then I was done!
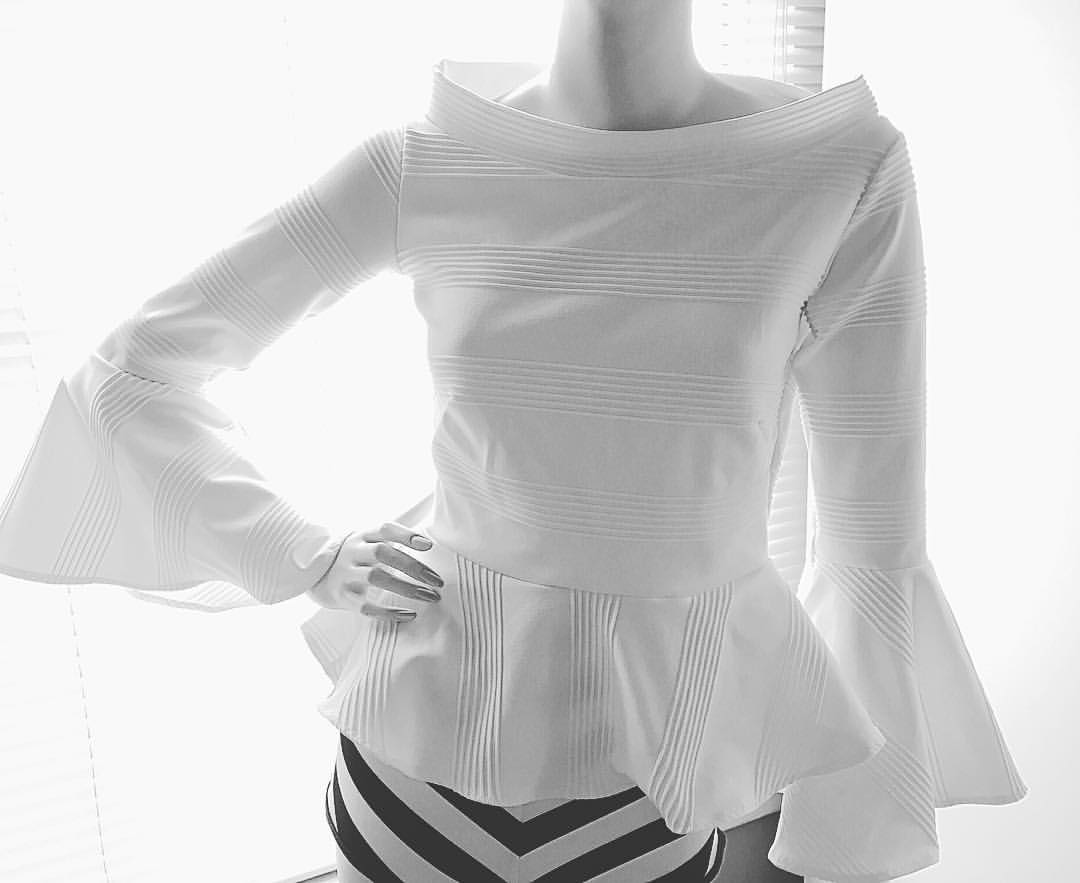
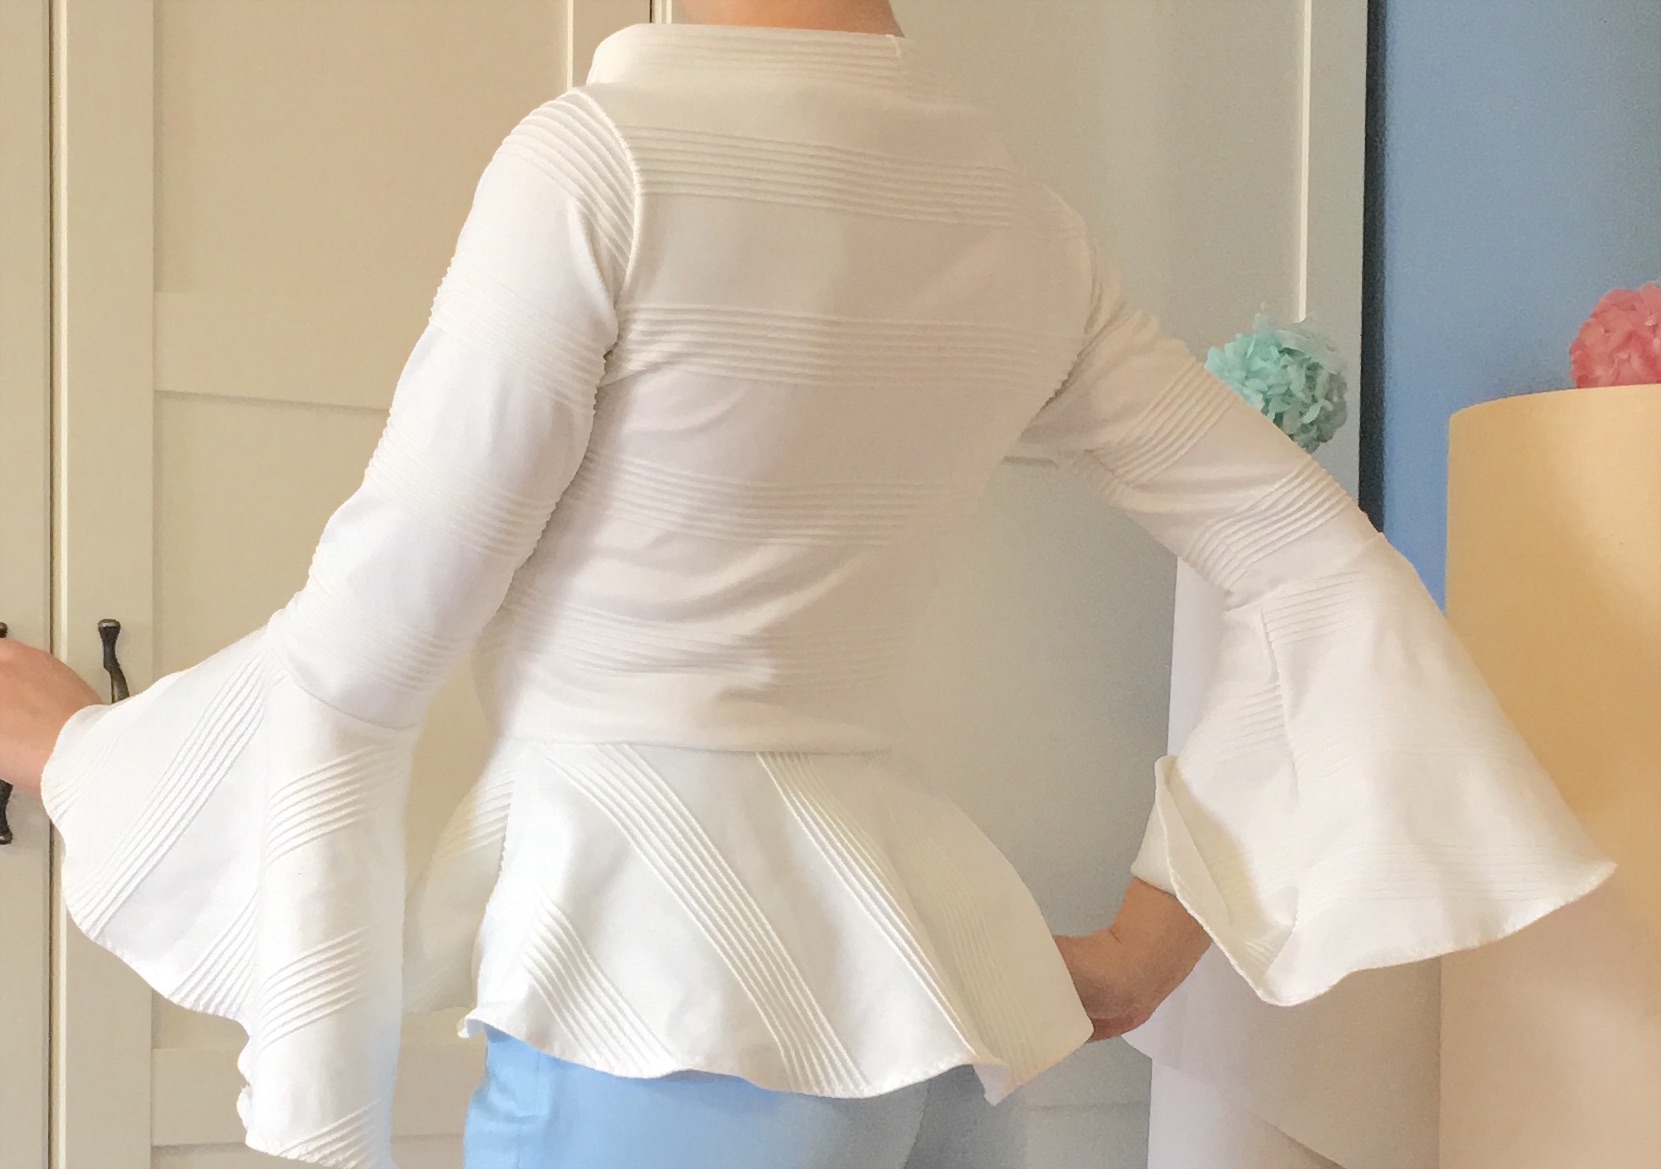
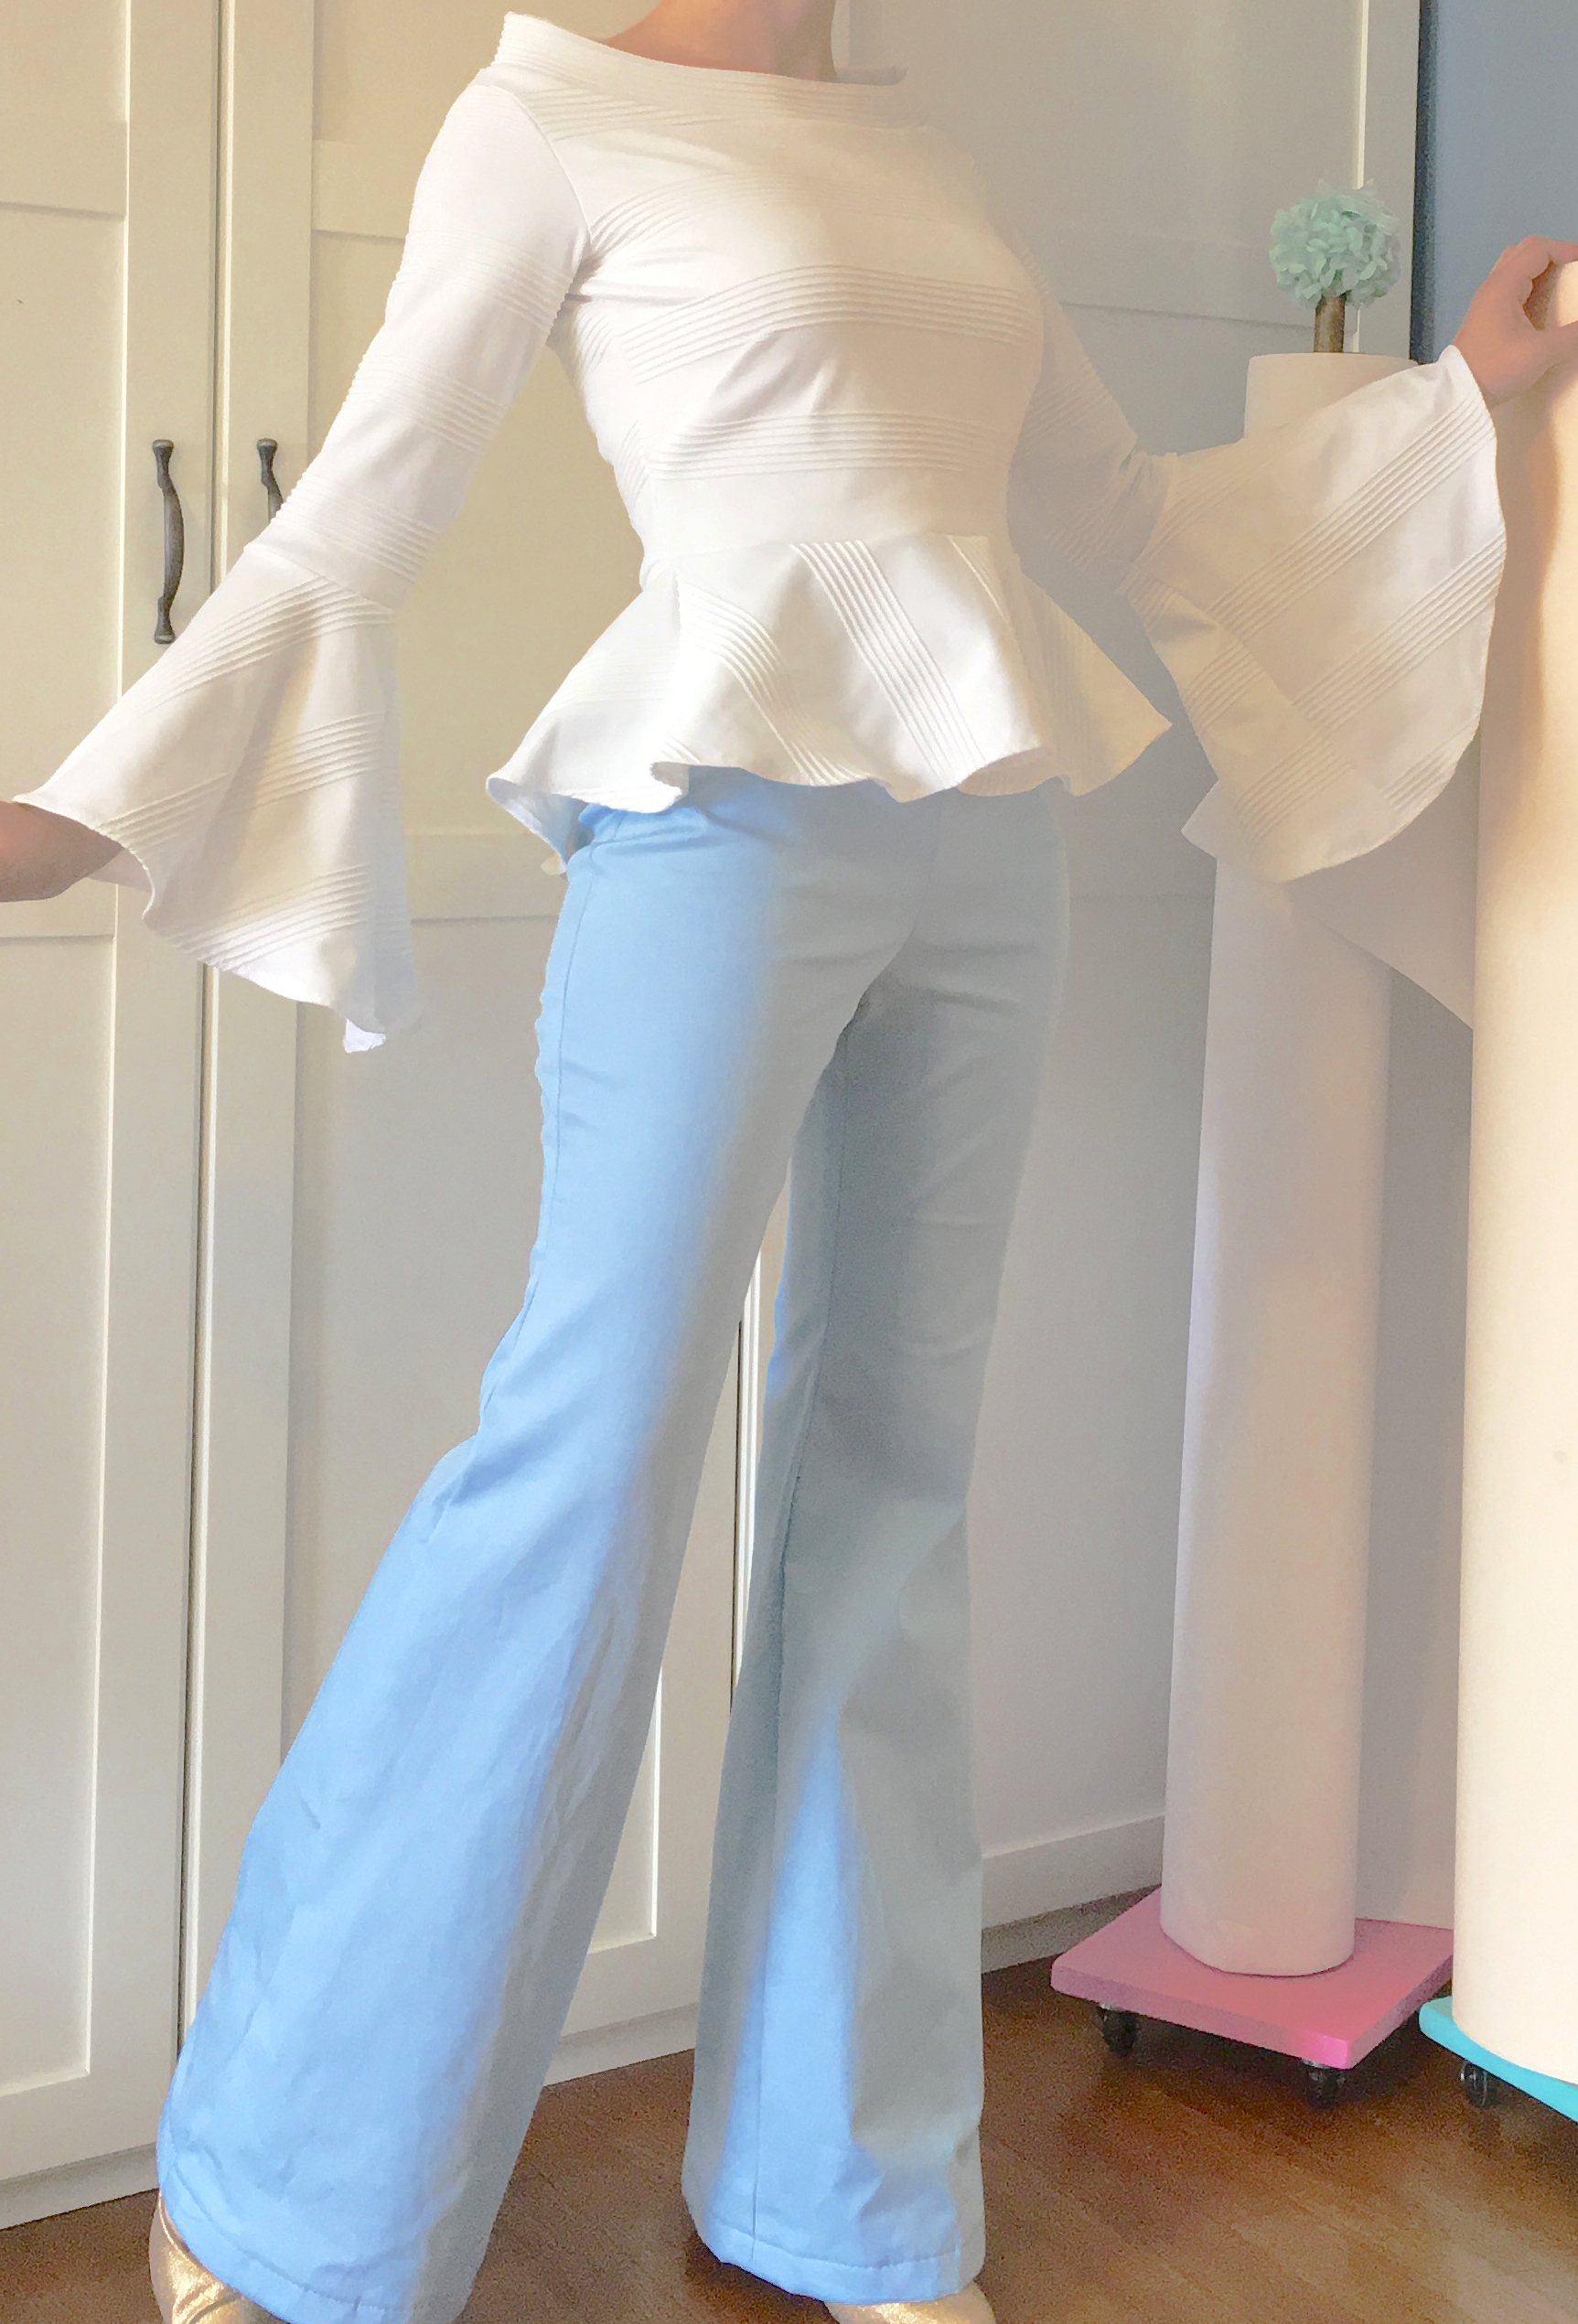
Here is the final top along with some Garment Designer patterned pants!
There are more extras to explore on Garment Designer…Until next time, happy crafting!