If you are like me, you have a closet full of clothing, and I’m sure you have your favorite garments, just as I do. These favorite pieces have much to tell us, if we take the time to understand them, and perhaps even take some measurements from them.
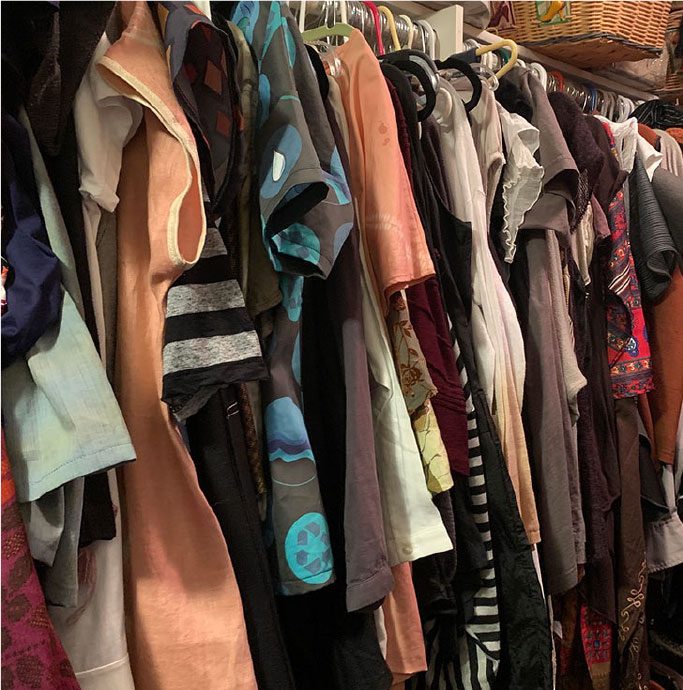
Why You Want to Learn About the Clothes in Your Closet
- You’ll discover the lengths and widths that flatter your body and suit your personal comfort level and style.
- You’ll see how different fabrics can change garment measurements slightly.
- You’ll find out which necklines and body styles you’re naturally drawn to.
- By examining and measuring these clothes, you’ll gather plenty of information to use when altering patterns or creating your own.
- Garment Designer patternmaking software users will find this information incredibly handy when they sit down to build their next pattern, as the measured garment tells them a lot about their preferred lengths and widths as well as ease allowances. This makes building patterns on screen much simpler.
Putting Your Closet to Work
Here’s a simple exercise to get you started. We’ll keep the number of measurements to a minimum, focusing only on the most important ones. The goal of this exercise is to identify the favorite elements of the clothes you wear, and then to put numbers to those elements by measuring them, so you can create a plan for future use. You can use this knowledge to alter a pattern, check a commercial pattern, or better still, create your own with patternmaking software such as Cochenille Design Studio’s Garment Designer.
Getting Ready: Choosing Your Favorite Garments
Choosing your favorite garments and learning from them will help you understand the styles you’re naturally drawn to. Let’s begin by working with tops. Here are the steps.
- Choose two or three of your favorite tops. If this is your first time measuring a garment, pick simple styles without too many design details.
- Examine each top to see what they have in common.
- Note the neckline, armhole style, sleeve shape and body shape of each garment.
- Look at the fabric of each garment and see whether you tend to choose the same kinds.
Analyzing Fabrication, Fit and Other Important Factors of a Garment
I always find it helpful to describe the garment I’m about to measure, because describing it helps me see details I hadn’t noticed before. Think of yourself as the person writing the garment description on the back of a sewing pattern. Your job is to describe it well, in short, clear sentences, so that anyone reading it would understand the style of garment you mean.
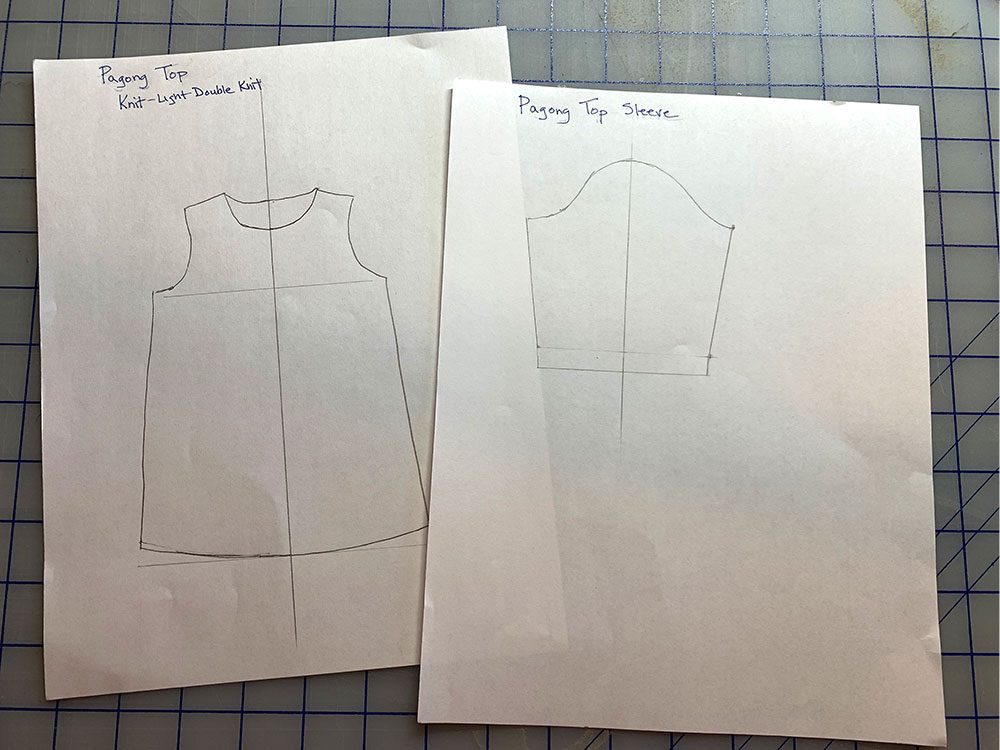
It’s also helpful to make a quick flat sketch of the garment. It doesn’t have to be beautiful, as long as you understand it, and it will help you mark where measurements need to be taken.
Fabric
Identify the fabric of the garment you’re about to measure, and note whether it’s a knit or a woven. Fabric plays a big role in how a garment fits. A soft, drapey fabric allows a fuller garment, while a heavier fabric suits a more tailored one. If you are working with a knit, analyze its stretch so you know which knit fabric to choose for your project.
Fit
Identify the level of fit you believe the garment has, such as fitted, semi-fitted, average fit or oversized.
Design Features
Note any additional design features, especially those that will affect the garment’s measurements. For example, a box pleat in the back changes the garment’s width, so keep it folded flat while you measure the silhouette.
Tools
Before you begin, gather the following tools. Several of these are available on our web store.
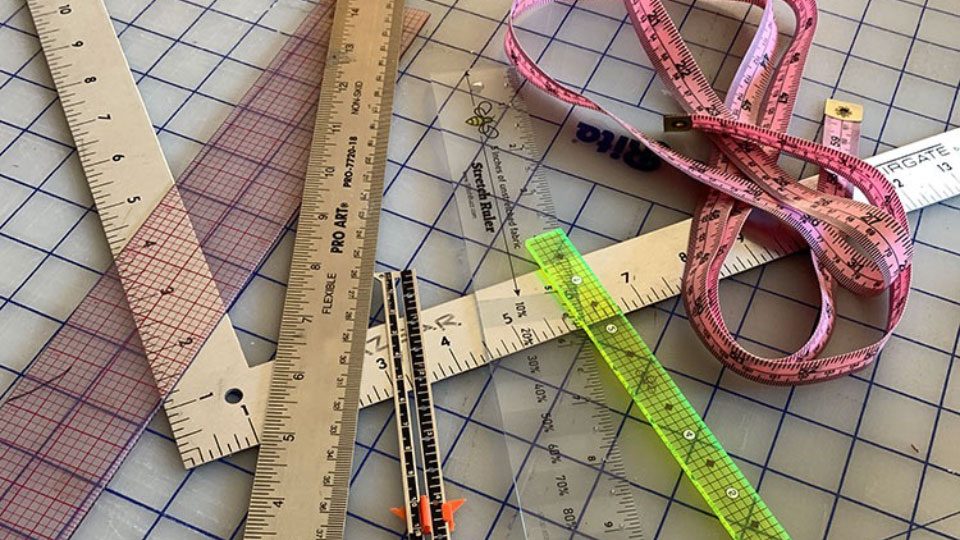
- Paper and pencil for recording
- Measuring tape (we like the Measuring Made Easy tape, although its greatest strength is measuring bodies).
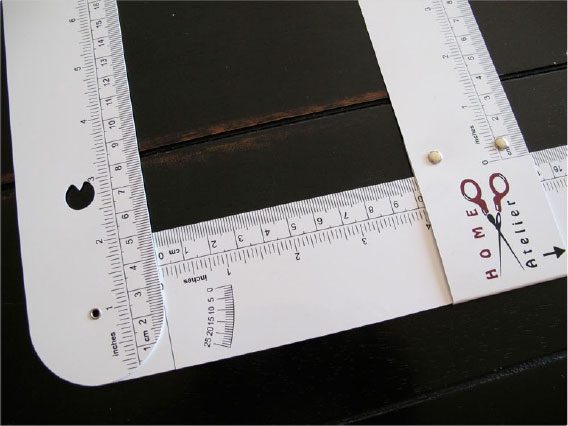
- Rulers or L-square (it’s handy to have a variety of these)
- Hurth ruler (an amazing three-part measuring tool)
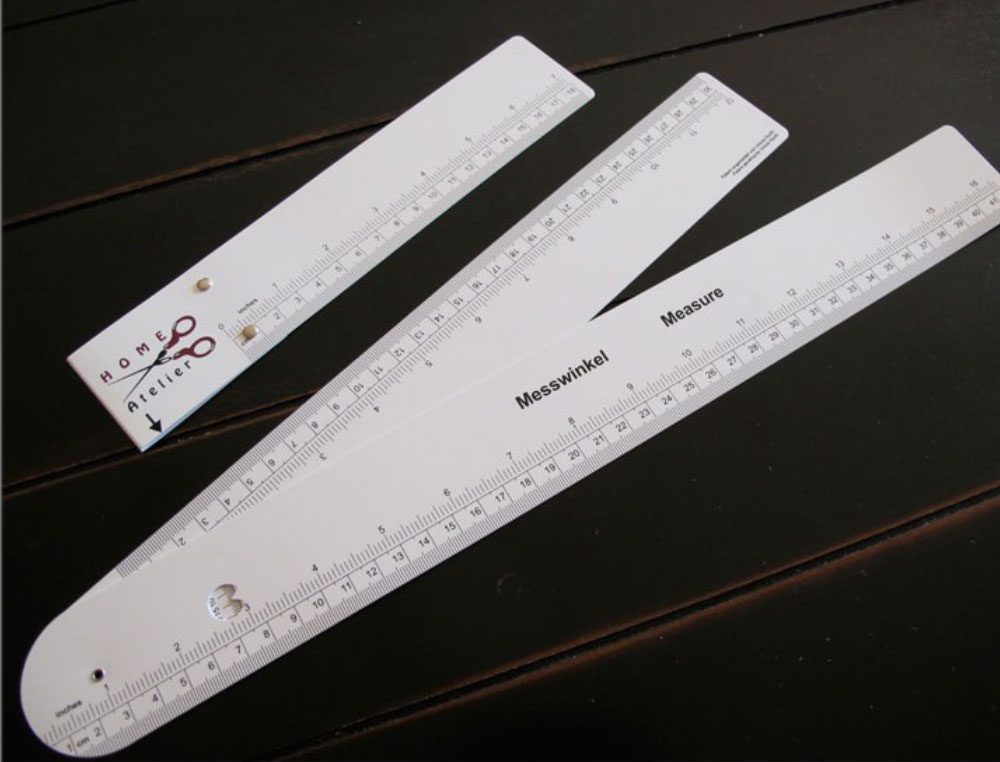
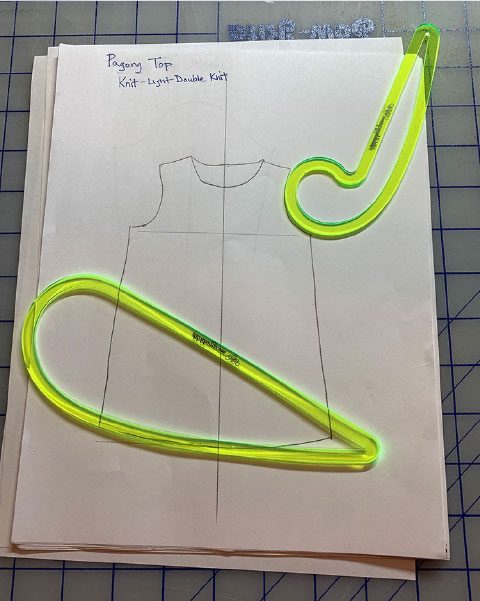
- Specialty French curve (optional). We like the Curvy ruler as it has a ruler on both a curved and straight edge.
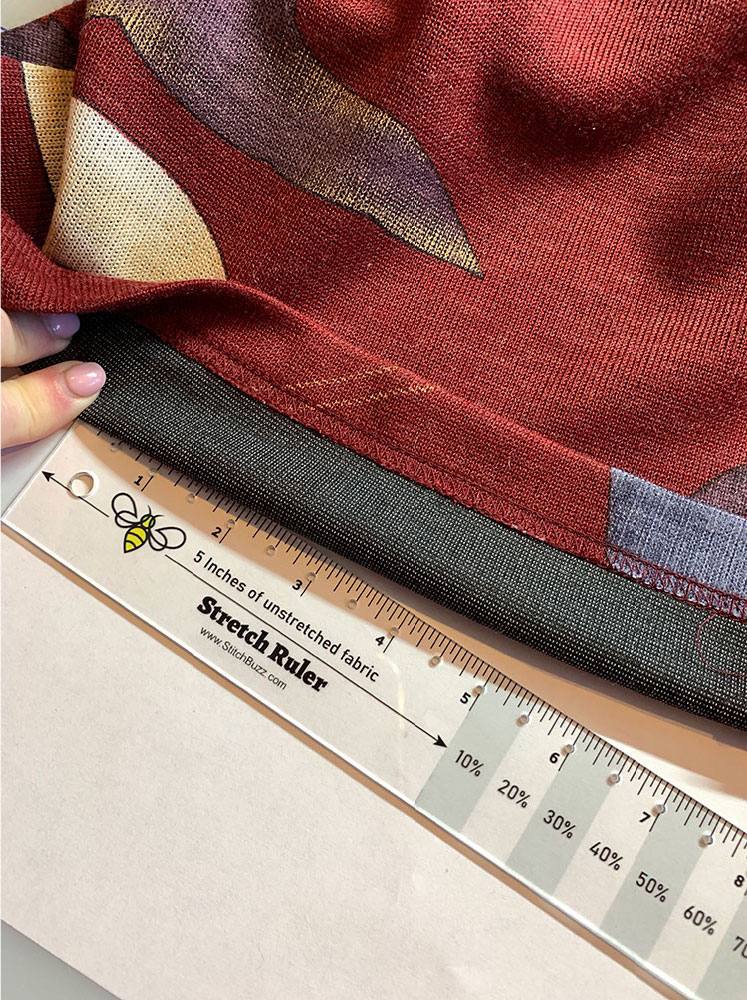
- Stretch ruler for knits (handy if you’re working with knits). Notate the stretch factor on your measuring sheet.
- Small rulers for drawing your flat sketch
- Small French curves (to help you draw your flat sketch)
Prepping to Measure
For your first measuring experience, choose the simplest of your garments.
When preparing to measure your top, measure only one part of it at a time. Don’t try to measure the sleeve and body in the same step, because one piece will pull the other out of shape. Start with the body, then the sleeve, and then any other part of the garment you need reference measurements for.
Front Body
- Begin with the body of your garment.
- Lay it on a flat surface, gently smoothing the entire bodice as flat as you can.
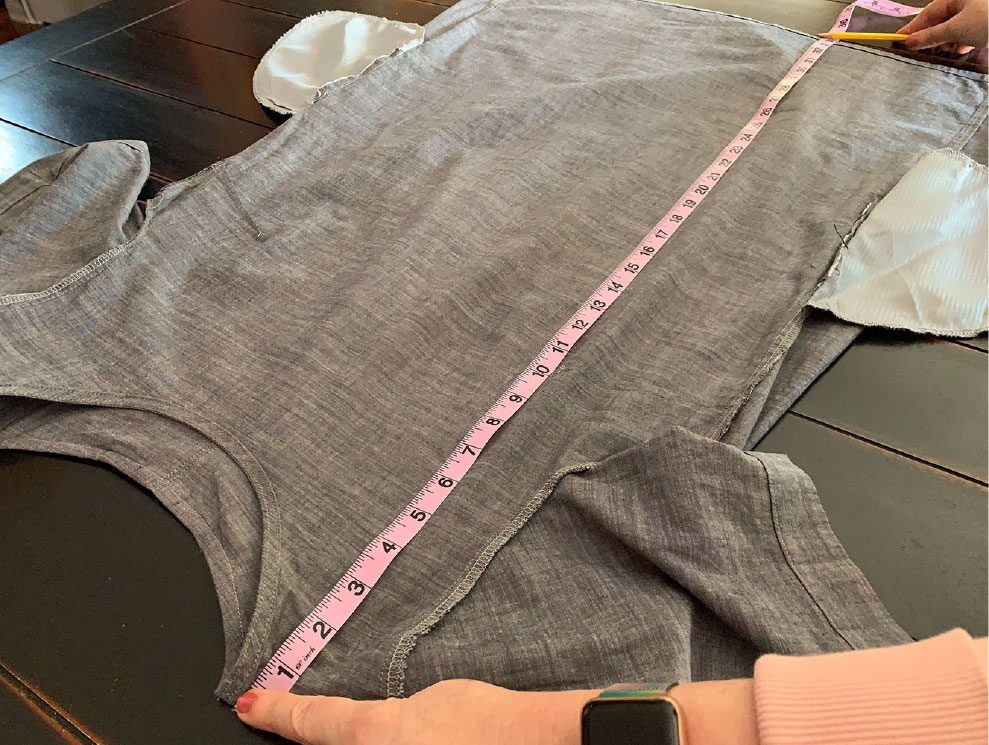
- Stand back and look at the front of the garment to see whether it is roughly the same width and length as the back. If it isn’t, make a note of it.
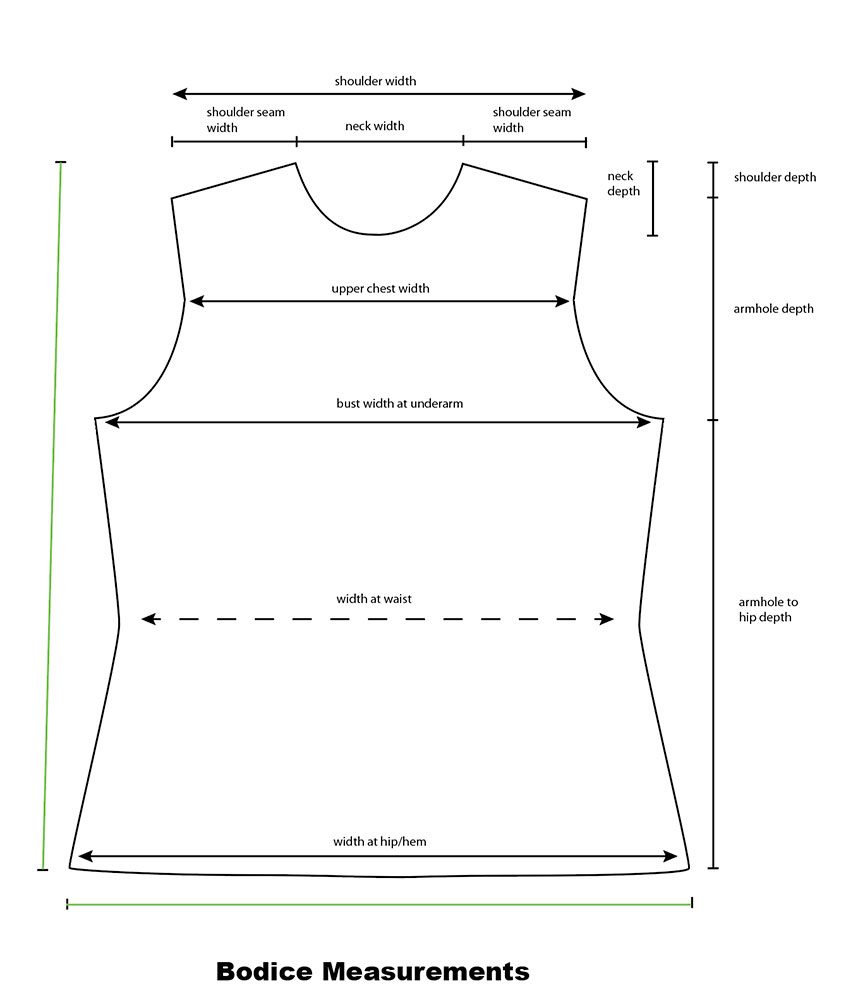
- Overall Size: Measure the greatest length and the greatest width of the garment. Take the length from the high shoulder (where the shoulder seam meets the neckline) to the hem. The width is usually at the underarm, but occasionally it’s at the hem. Together, these two measurements create the overall rectangle your garment sits within.
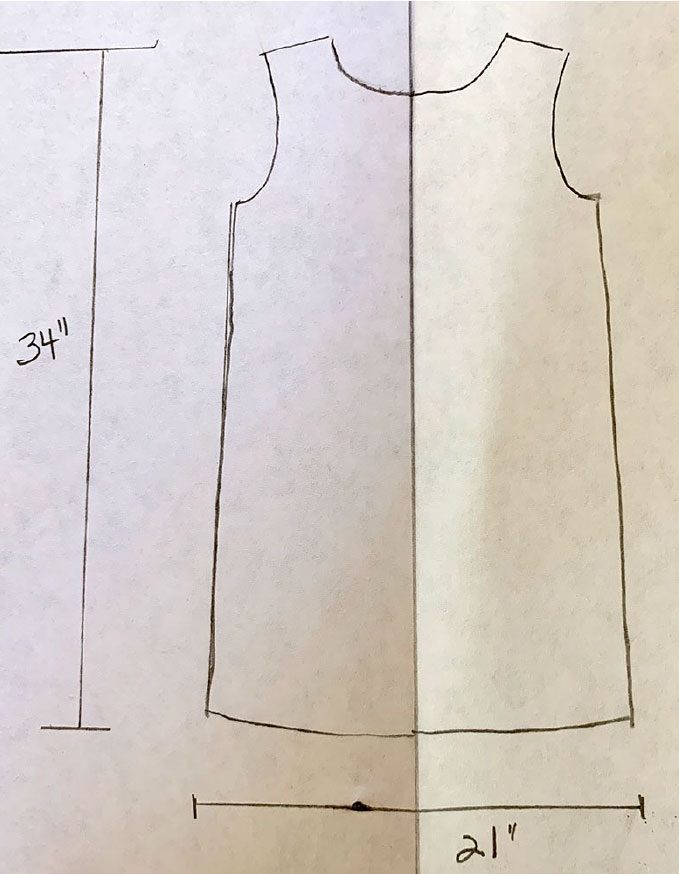
- Horizontal/Width Measurements: Measure the shoulder width, neckline width, width at the underarm, width at the waist (if applicable), and width at the hem.
- Vertical/Length Measurements: Measure the shoulder seam depth (vertically from the high shoulder down to the end of the shoulder), the armhole depth (vertically from the end of the shoulder down to where the underarm meets the side seam), and the length from underarm to hem.
- Measure the vertical depth of the front neckline.
- Special Note: If your top has set-in sleeves, you could also measure the upper chest width.
Back Body
In most ready-to-wear, the back body measurements are generally the same as the front. With a better-fitting garment, though, it’s worth checking whether they differ slightly. Otherwise, assume the back measurements are the same as the front, apart from the following.
- Measure the vertical depth of the back neckline, which will differ from the front.
- Confirm the upper chest width of the back. With a set-in sleeve, this measurement may not be exactly the same as the shoulder width.
Sleeve
At this point, you’ll need to reposition the garment so the sleeve lies flat, and the body may twist out of shape to allow this. That’s fine, since you’ve already measured it. There are generally only four parts of a sleeve to measure.
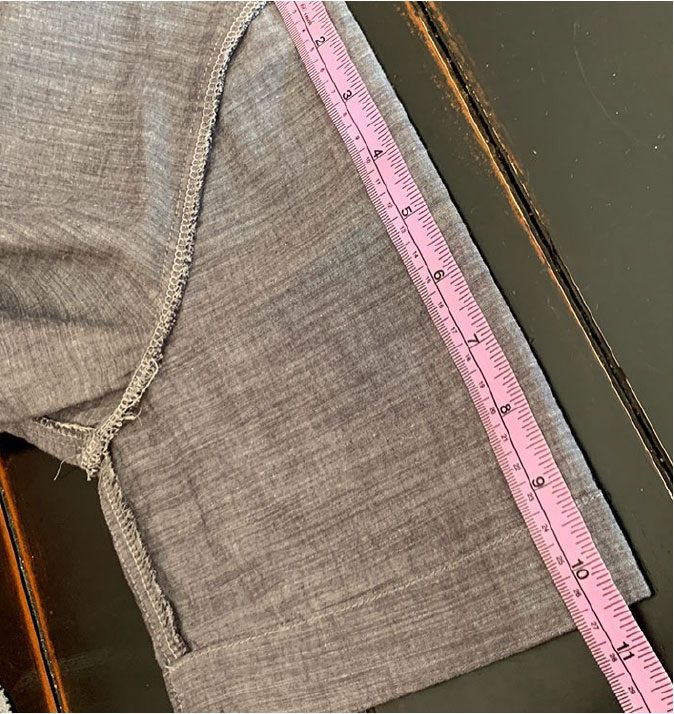
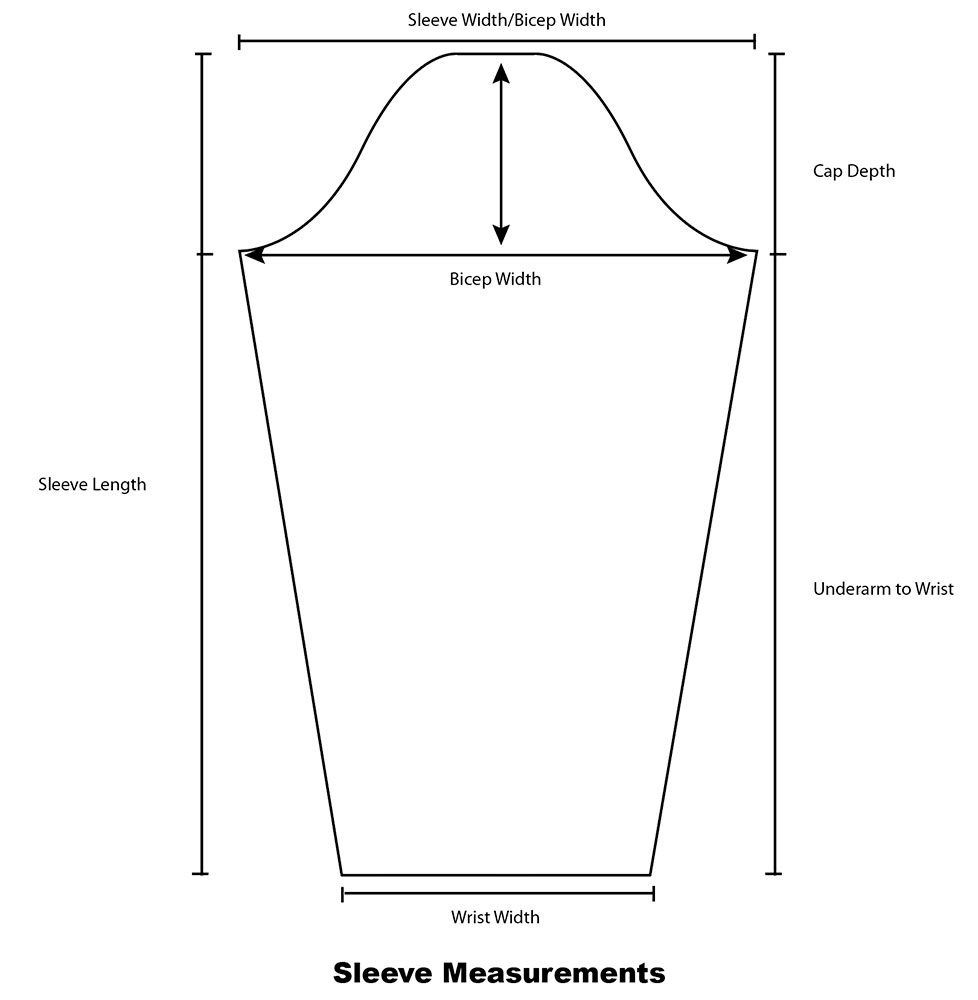
- Sleeve Length: Measure from the top of the sleeve to the bottom.
- Underarm Width: Measure the width of the sleeve across its widest point at the underarm.
- Cap Height: Measure from the underarm line up to the top of the sleeve cap.
- Bottom Width: Measure the width of the sleeve at the bottom edge.
Final Notations
If garment measuring becomes part of your regular practice, it’s a good idea to add extra information to your measurement sheets, so you can tell one garment from the next at a glance. Remember to include:
- The name of the garment
- The date you measured it
- The garment’s fabrication
- Any special details
- The size on the label
- The brand
- Care instructions
- Any other relevant information
Wrapping Up
Your favorite tops have been quietly telling you what you like to wear. By describing, sketching and measuring them, you turn that knowledge into numbers you can use. Keep your measurement sheets together, and over time they’ll become a personal reference for checking commercial patterns, making alterations, or designing your own garments in software such as Garment Designer. Once you’re comfortable with tops, you can apply the same process to skirts, pants and beyond.
Note to Garment Designer Users
If you use Garment Designer, you’ll quickly realize that the measurements you’re taking are the same ones the software uses. Once in the program, carefully choose, from the many style options, the ones that get you closest to your garment measurements, then build the pattern with the exact measurements you’ve just taken. If necessary, you can use click and drag to make precise final edits.
Once I’ve created my pattern, I like to print it out and lay it directly on top of the garment I measured to confirm my numbers are accurate. If I’m off a little, I write the change directly on the pattern, then go back to the computer and make the quick tweak.
~~ Susan Lazear, Creative Director of Cochenille Design Studio ~~